RapiseLauncher Extension for Azure DevOps
This section explains how to execute Rapise test sets from Azure DevOps pipelines using the RapiseLauncher.
Azure DevOps
We assume that Rapise tests are stored in a SpiraTeam. Here we plan to configure a build pipeline for executing a SpiraTeam Test Set on a Microsoft-hosted agent.
The benefit of the Microsoft-hosted agent is its configuration: it has the latest versions of web browsers, with relevant versions of WebDriver connectors. Everything is configured for the test run (updates and pop-ups disabled, etc.). RapiseLauncher can be used to execute Desktop UI tests, API tests, mobile tests, and web tests. For web tests, it is possible to use Rapise's own Chrome extension, IE 11, or any Selenium WebDriver-based target.
The same extension can be used for launching tests on self-hosted Windows agents.
Although in a minimal configuration the RapiseLauncher step alone is sufficient, the pipeline definition may also include building, deploying, or downloading the AUT before test execution. The results of test execution are then stored in SpiraTeam.
Once configured and executed, the extension performs the following actions:
- Automatically downloads and installs the RapiseLauncher.
- Downloads test files from SpiraTeam.
- Executes the test set.
- Publishes execution results, videos, and logs back to SpiraTeam, where they are attached to the test run.
The entire configuration process involves the following steps:
- Add the Rapise extension to the organization using the Visual Studio Marketplace.
- Configure the SpiraTeam connection point for the project.
- Define a pipeline.
- Add the RapiseLauncher task to the pipeline.
- Configure the pipeline definition for executing tests via RapiseLauncher.
Step 1: Install Marketplace Extension for the Organization
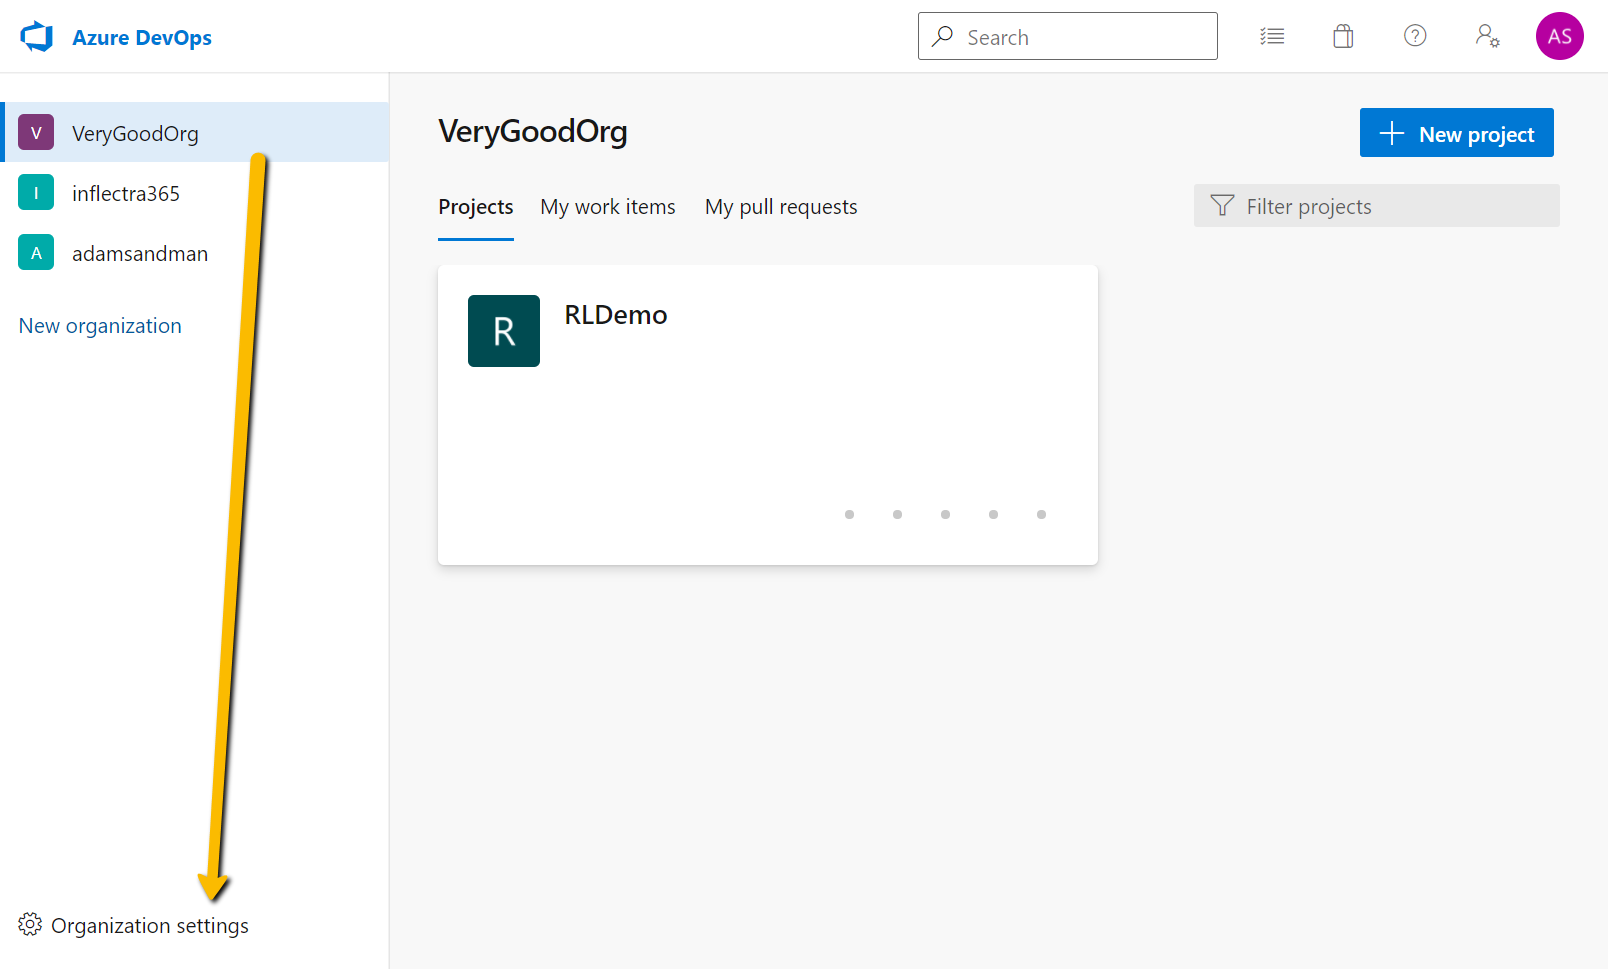
In Azure DevOps, go to Organization settings:
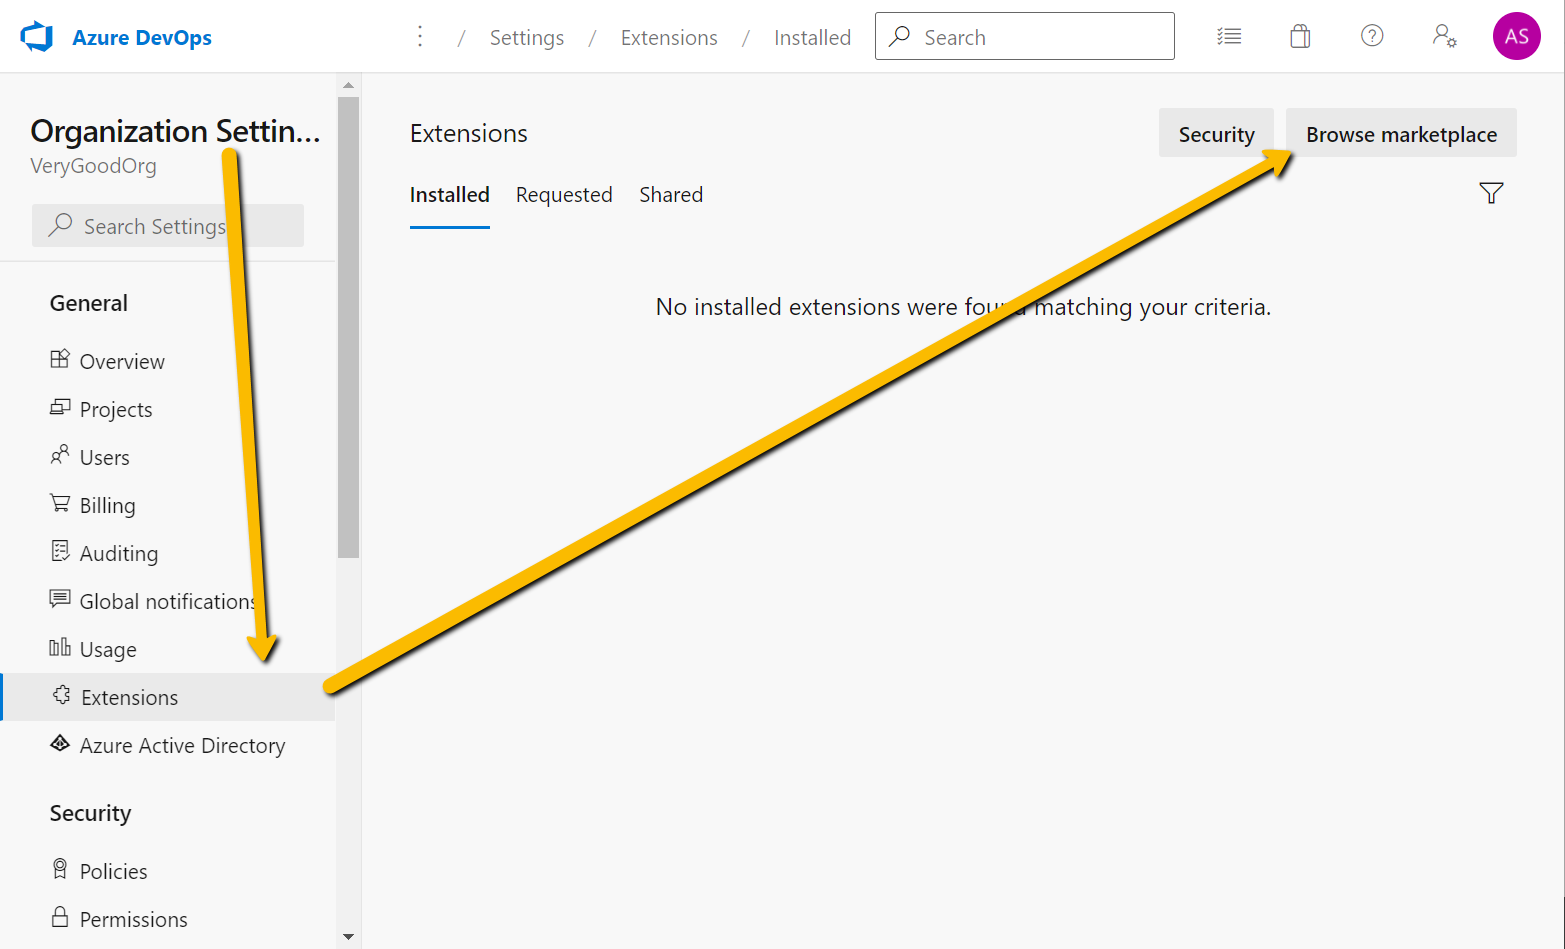
Choose Extensions and then Browse Marketplace:
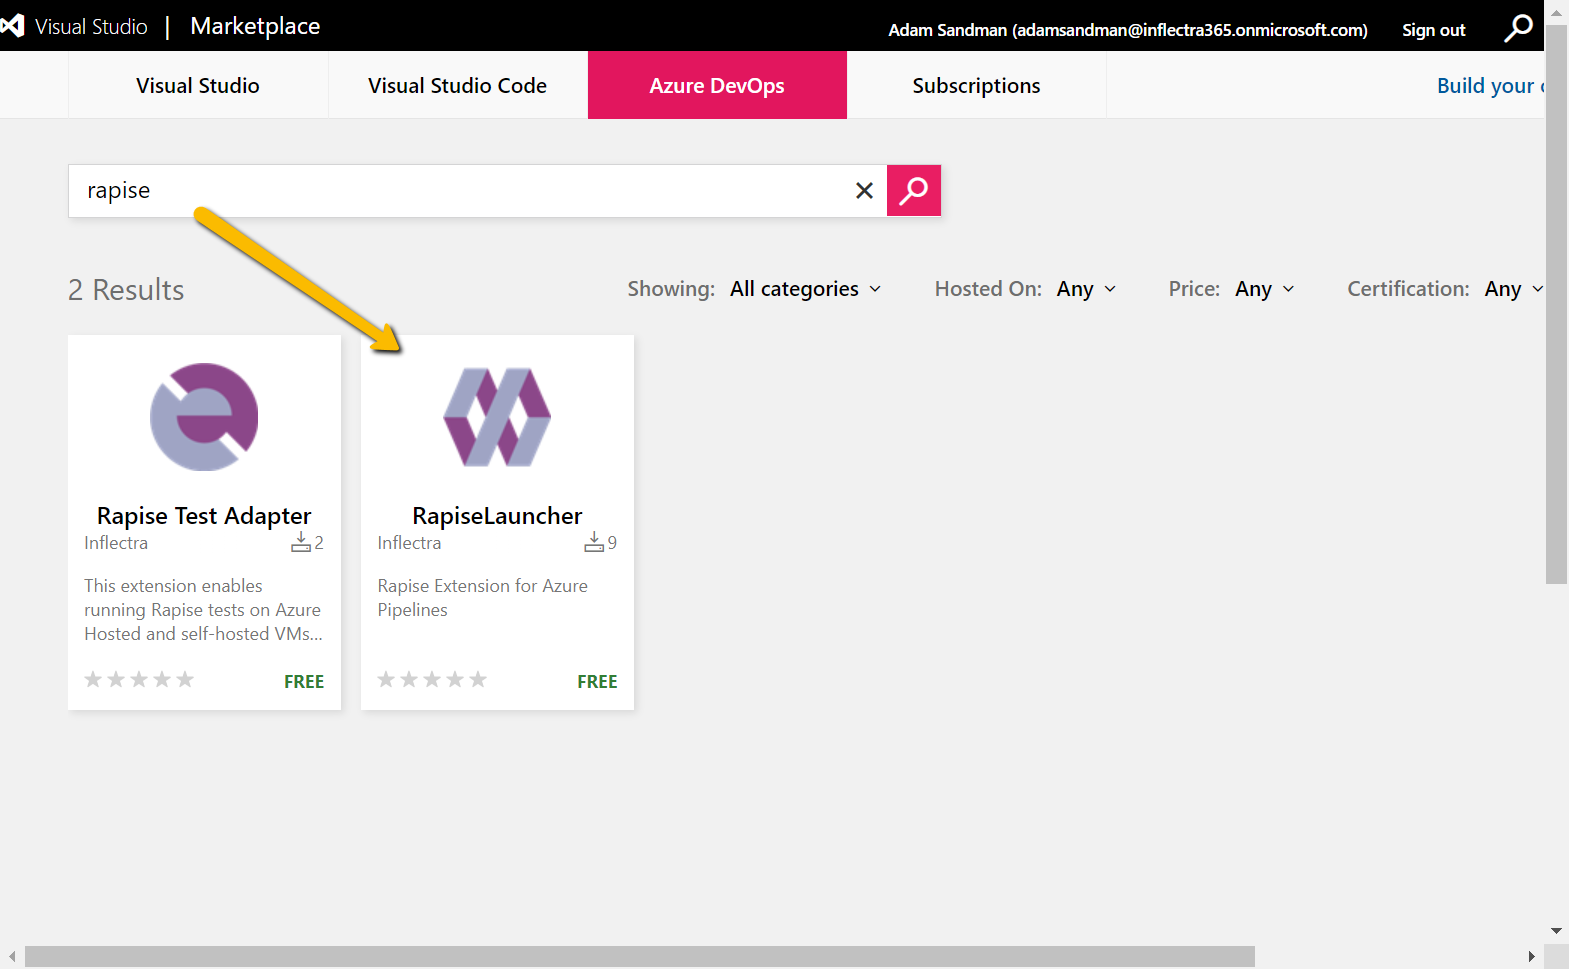
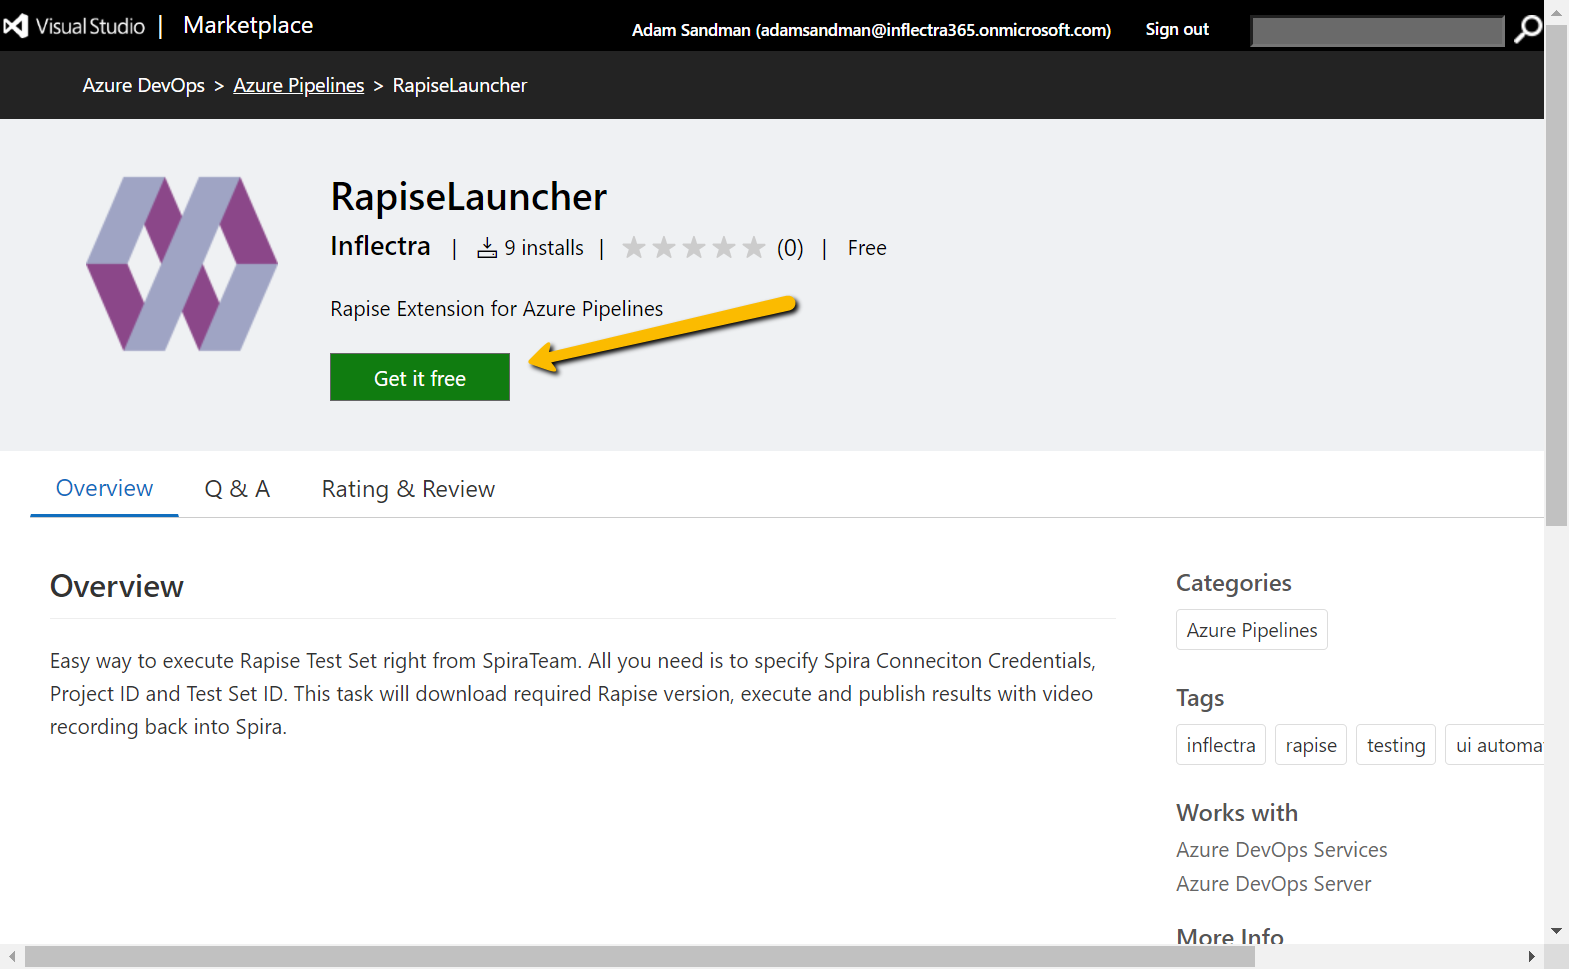
Type Rapise, then choose the 'RapiseLauncher' extension:
Get it:
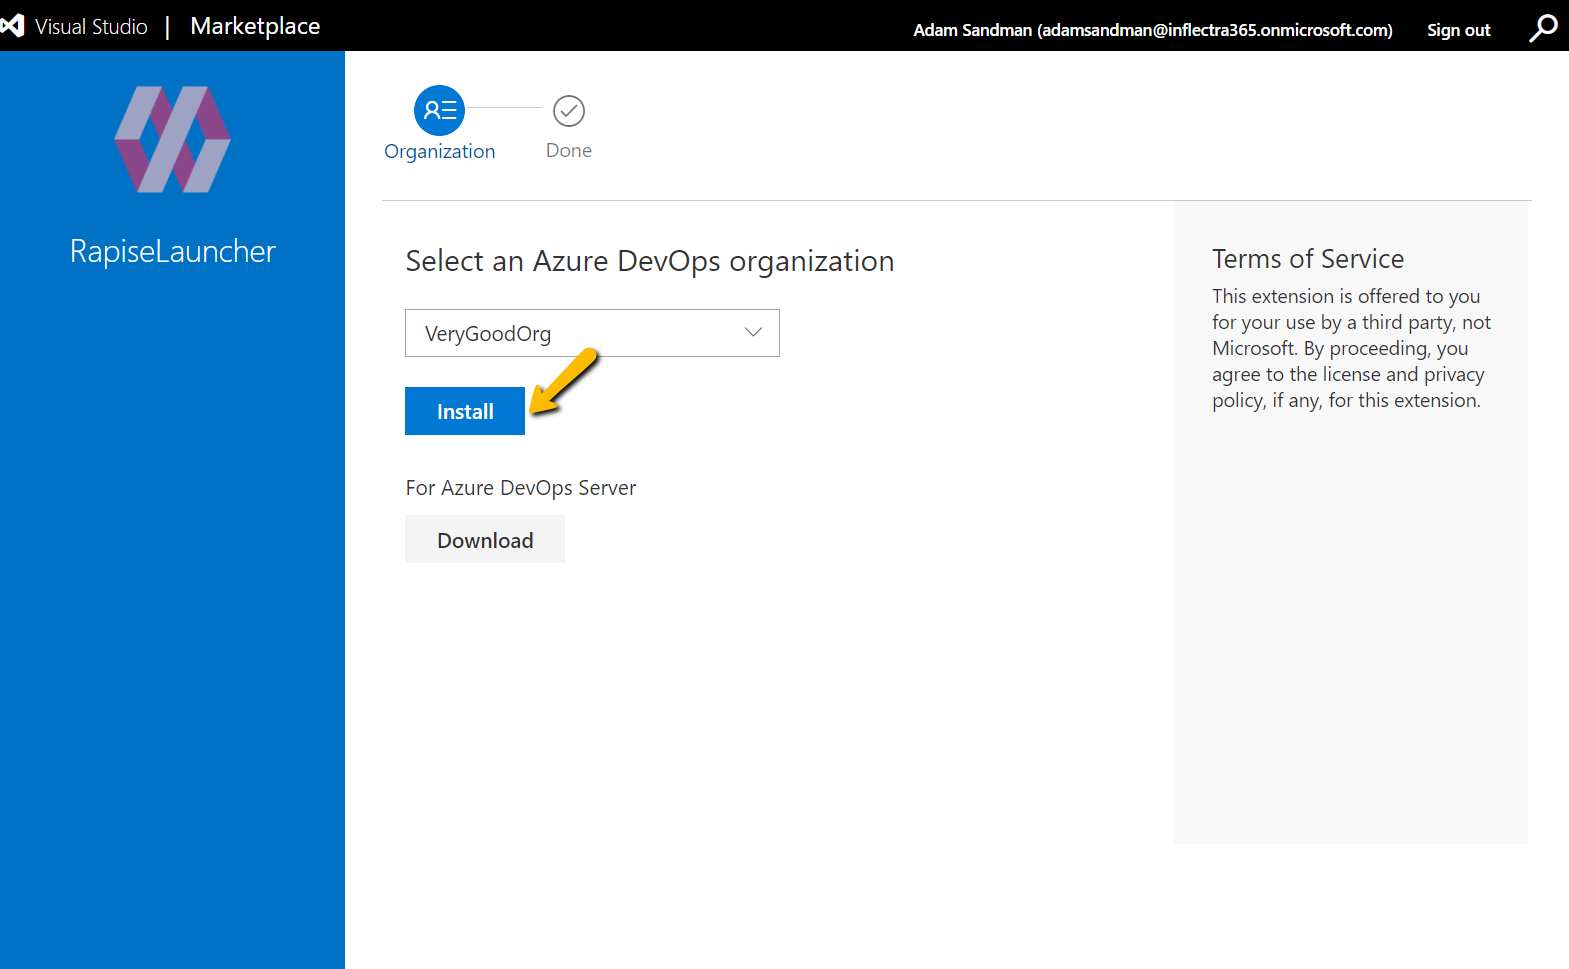
And install it:
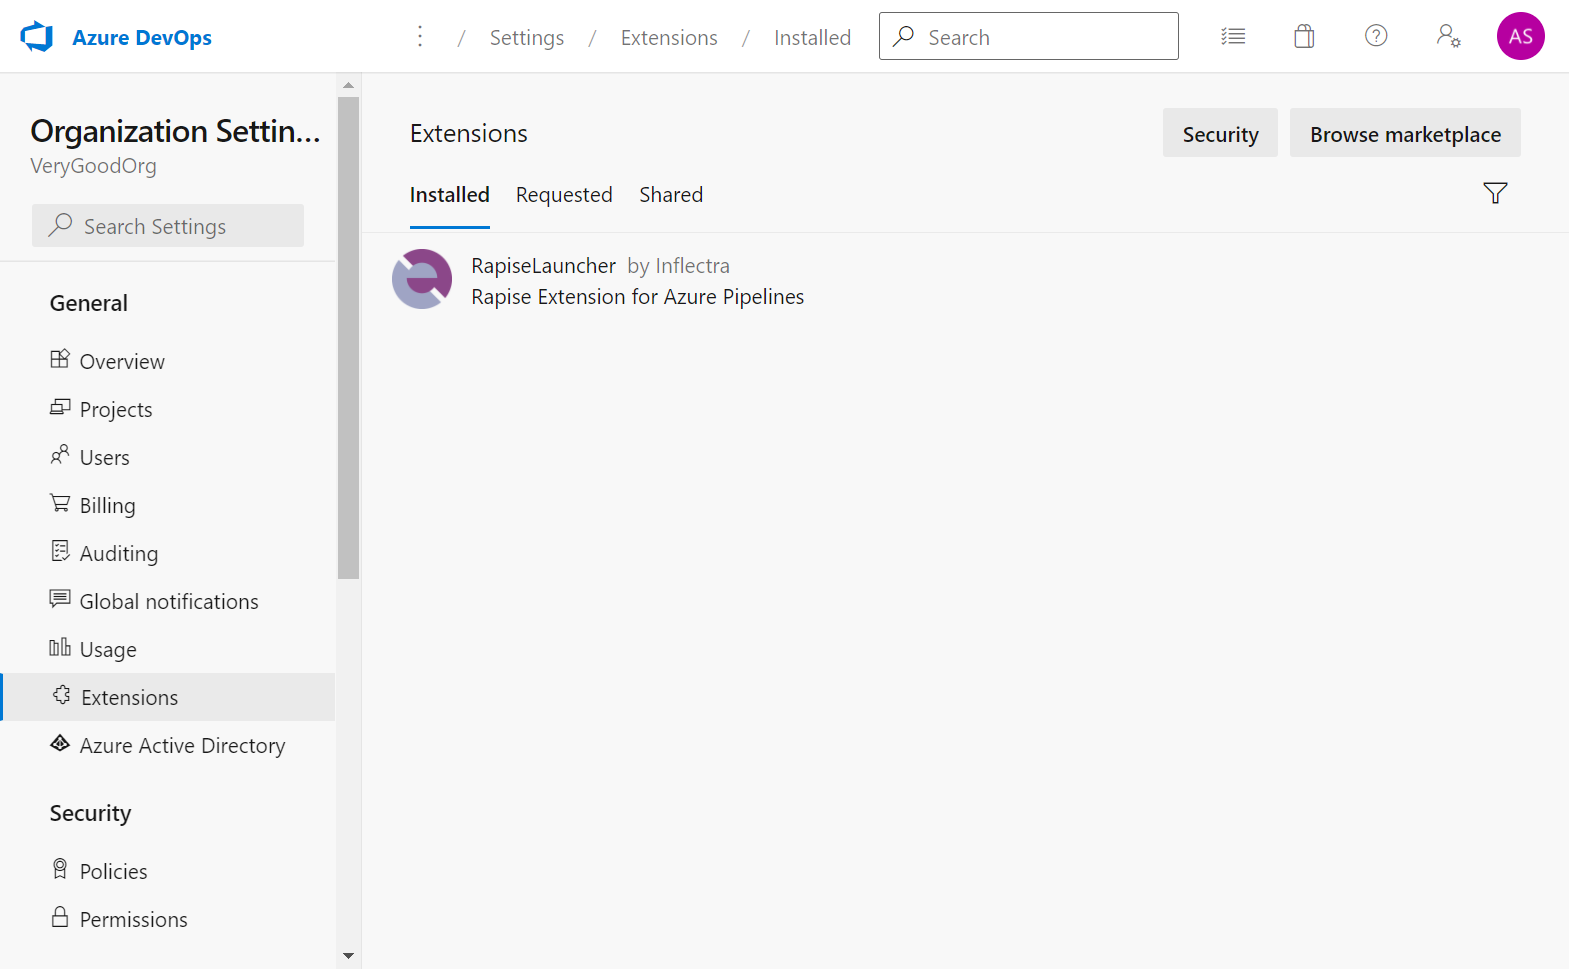
Finally, it shows up in the list of installed extensions:
Step 2: Connect Project to SpiraTeam
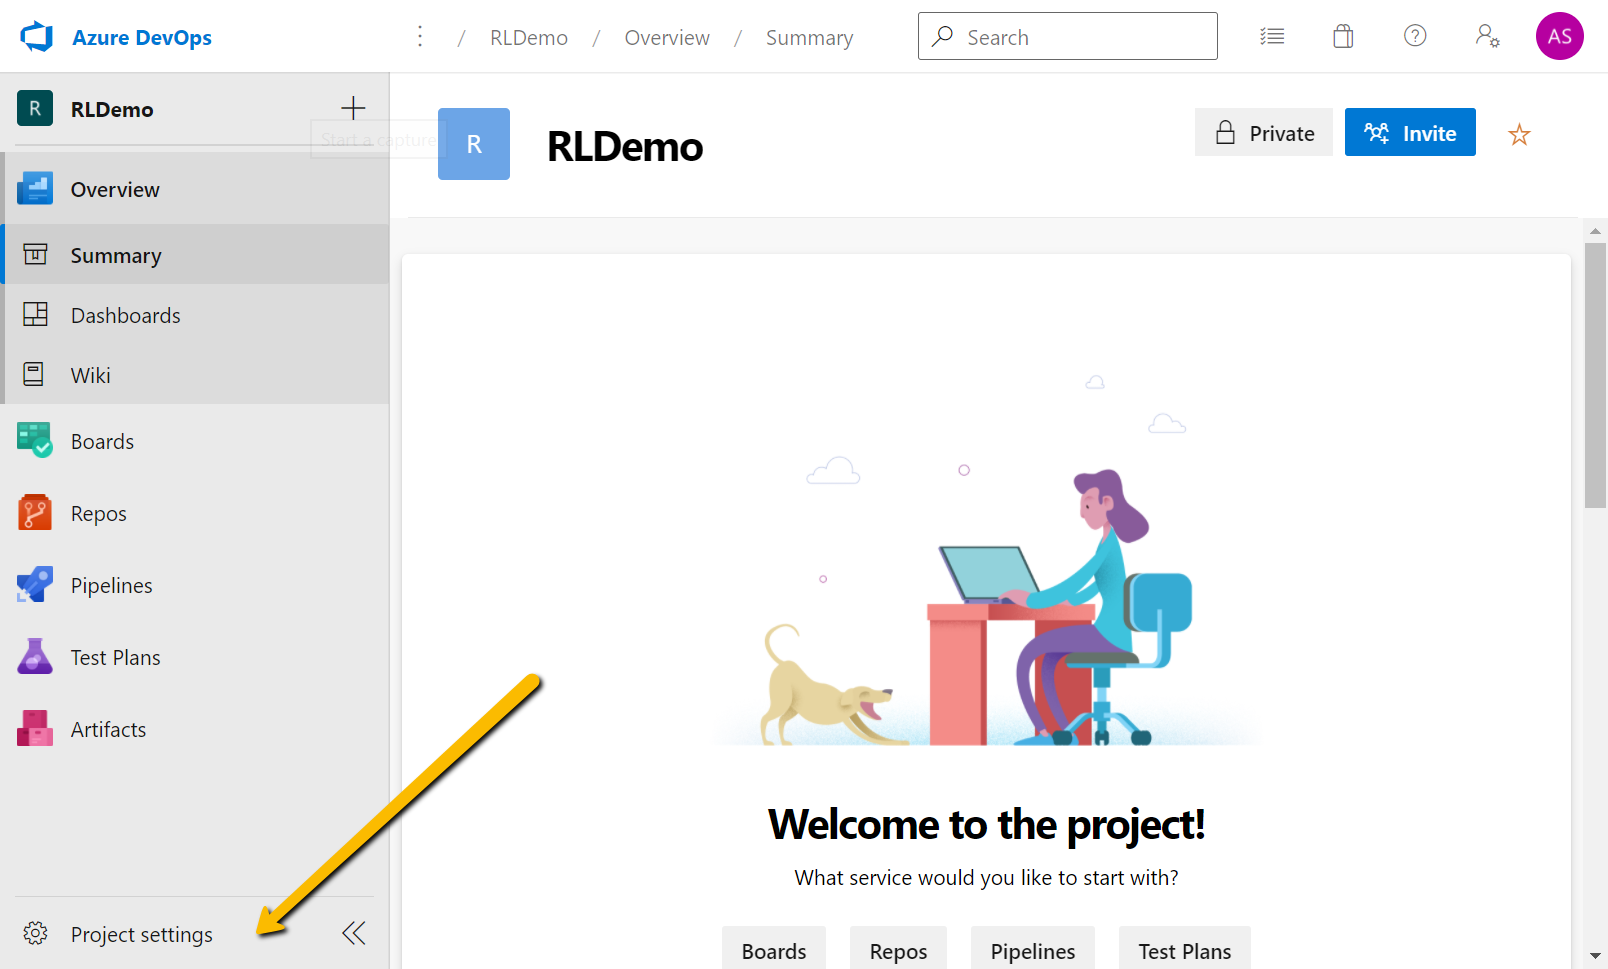
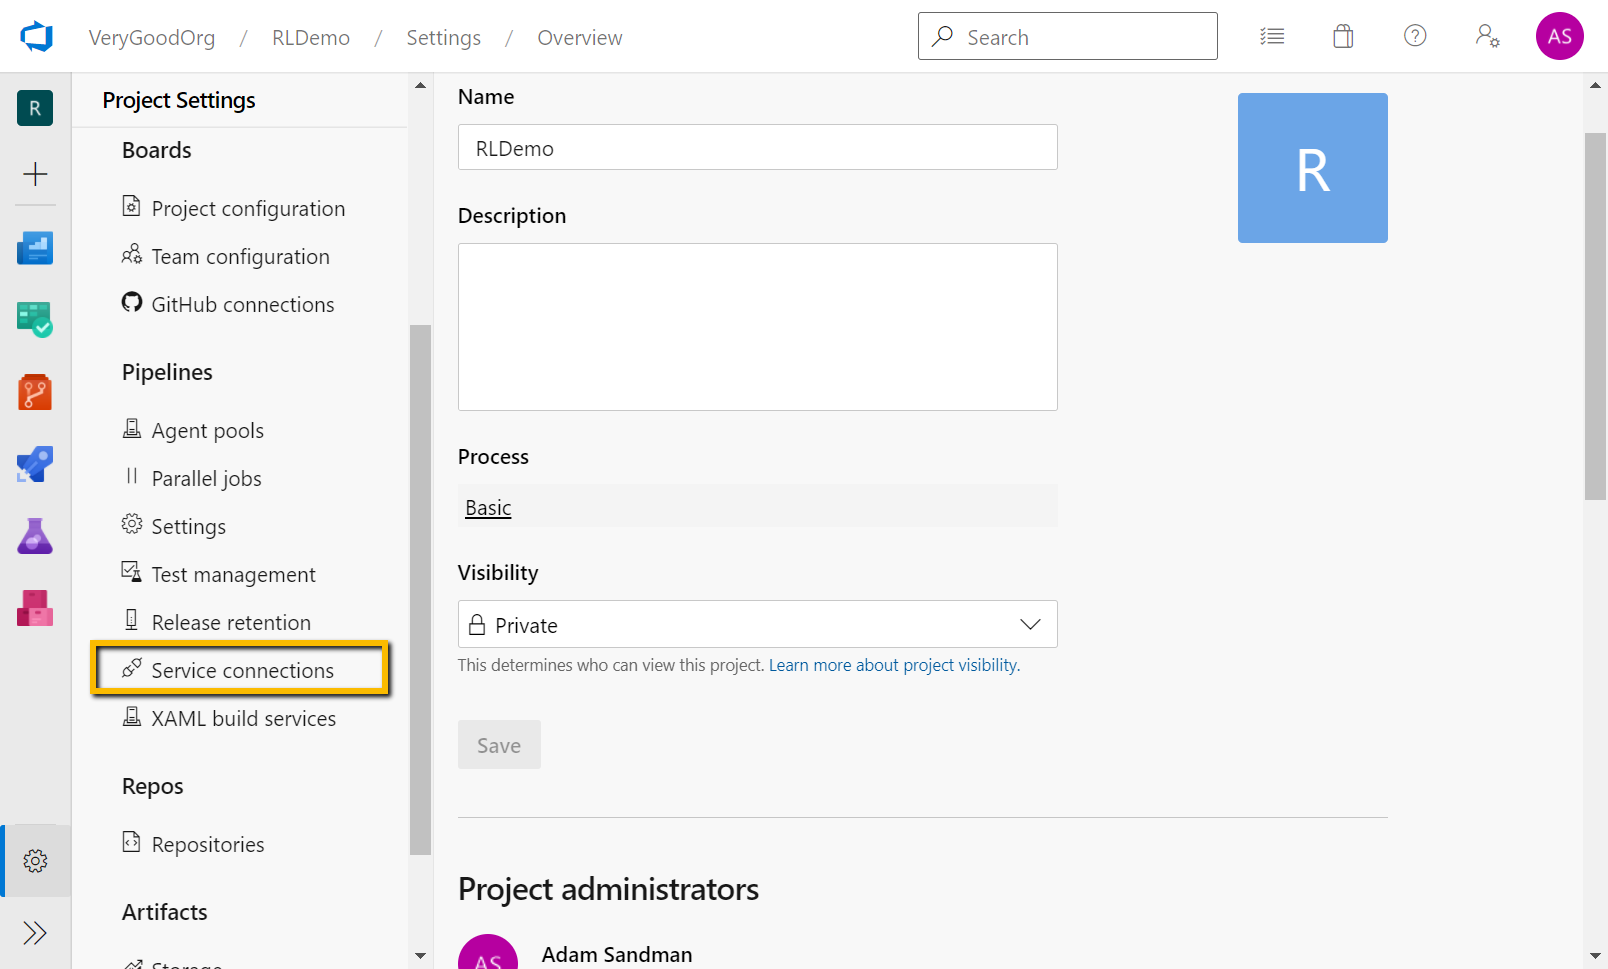
Now, define a service connection. This provides connection details for SpiraTeam, which are used later to gather test set information. So, we need to open Project settings:
Go to Service Connections:
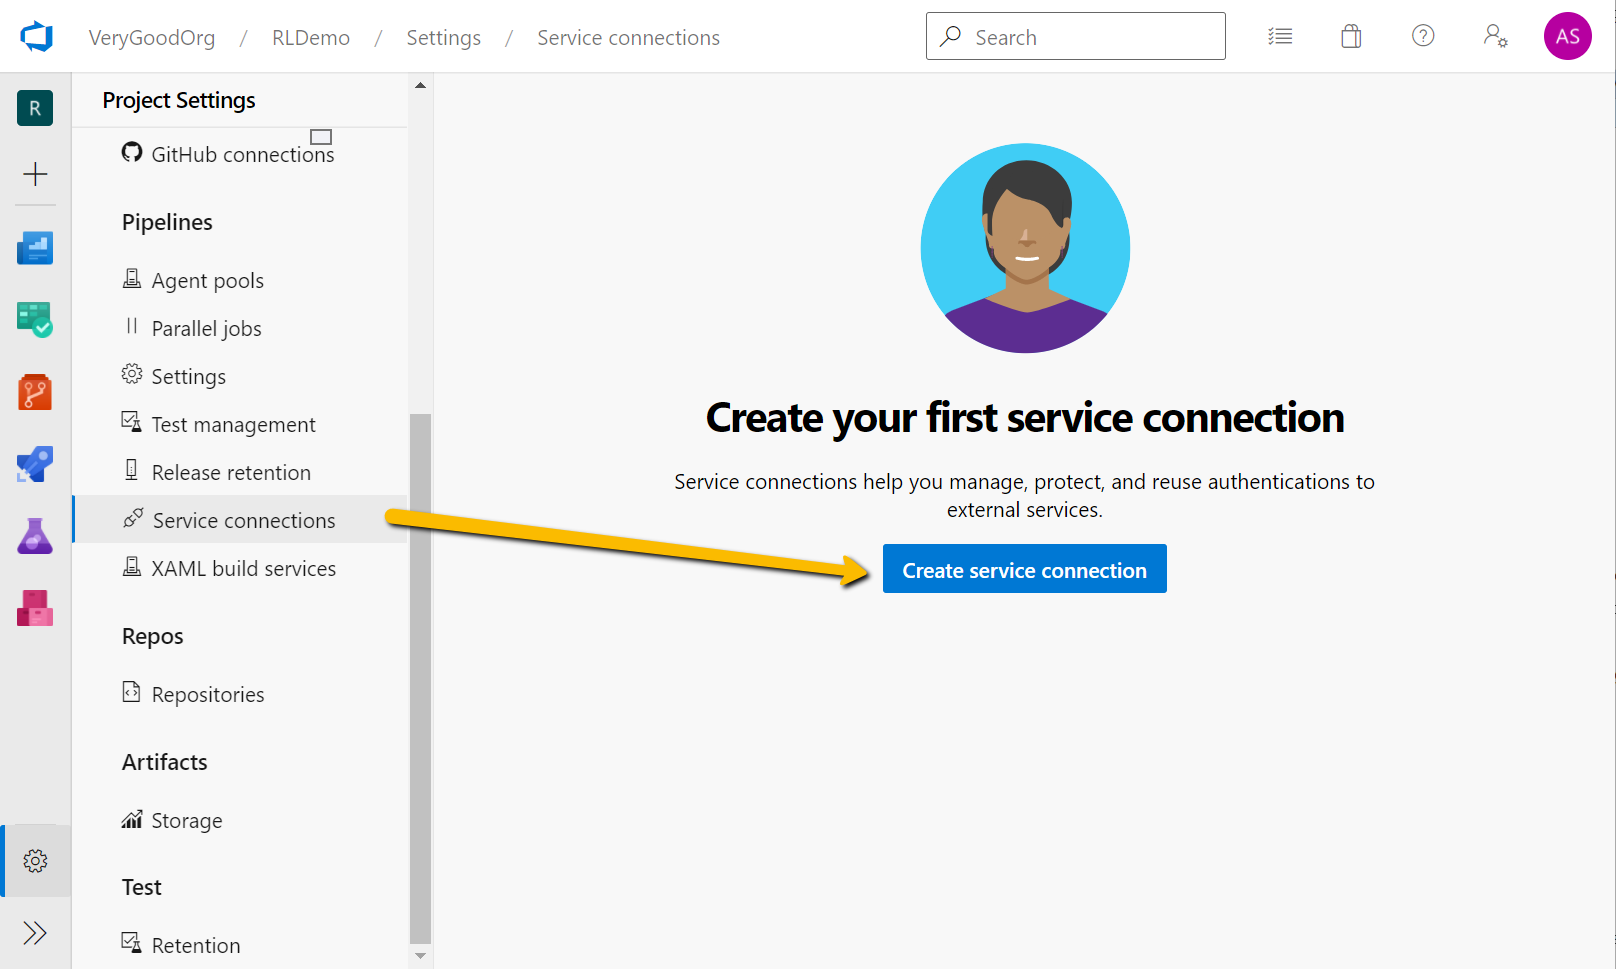
And Create service connection:
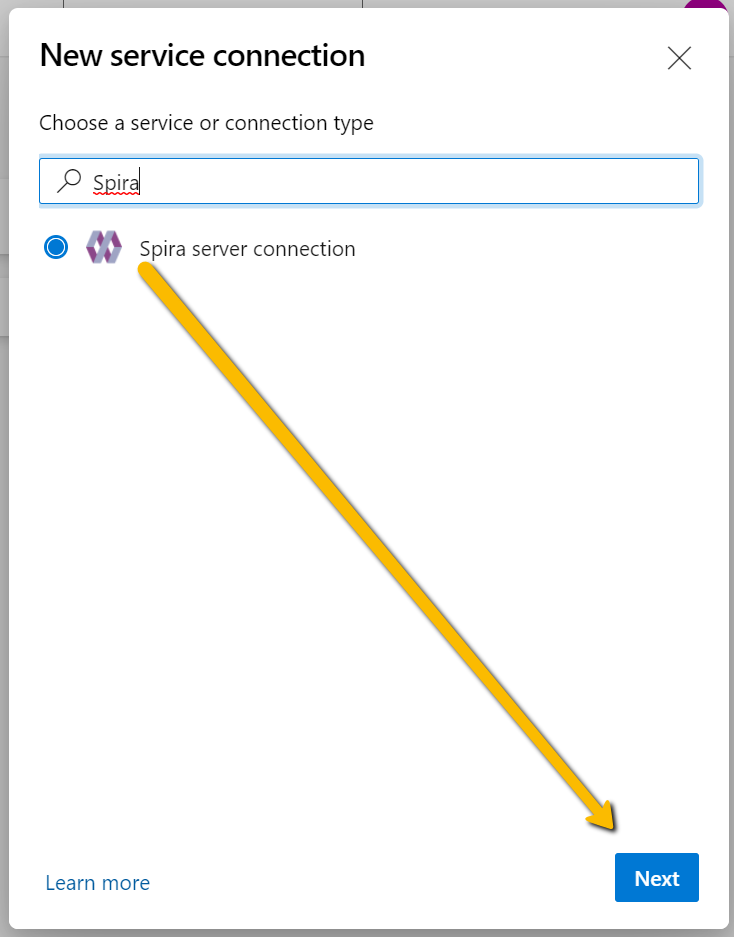
Choose the Spira service connection type (this type is added by the installed marketplace extension) and press Next:
Now define the connection details: SpiraTeam Server URL, Username, and API Key:
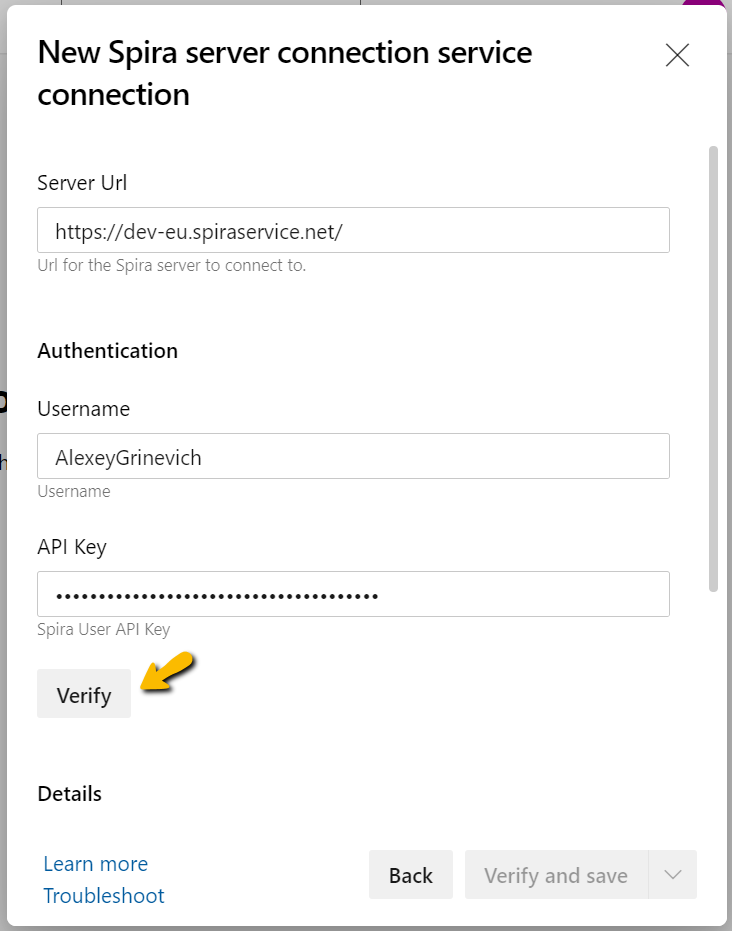
Then Verify it and provide a Service connection name:
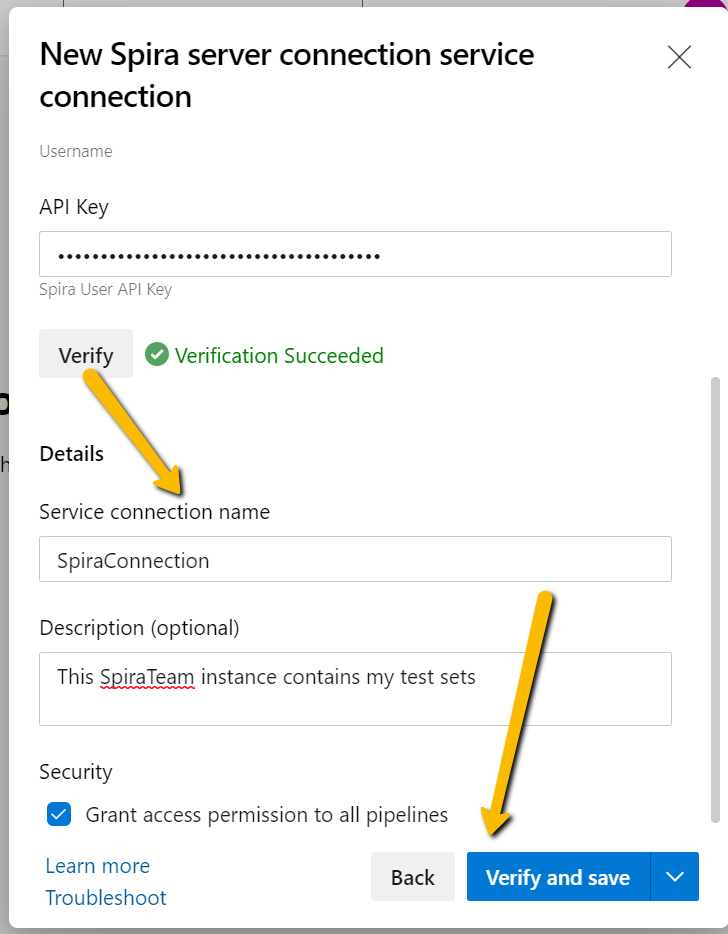
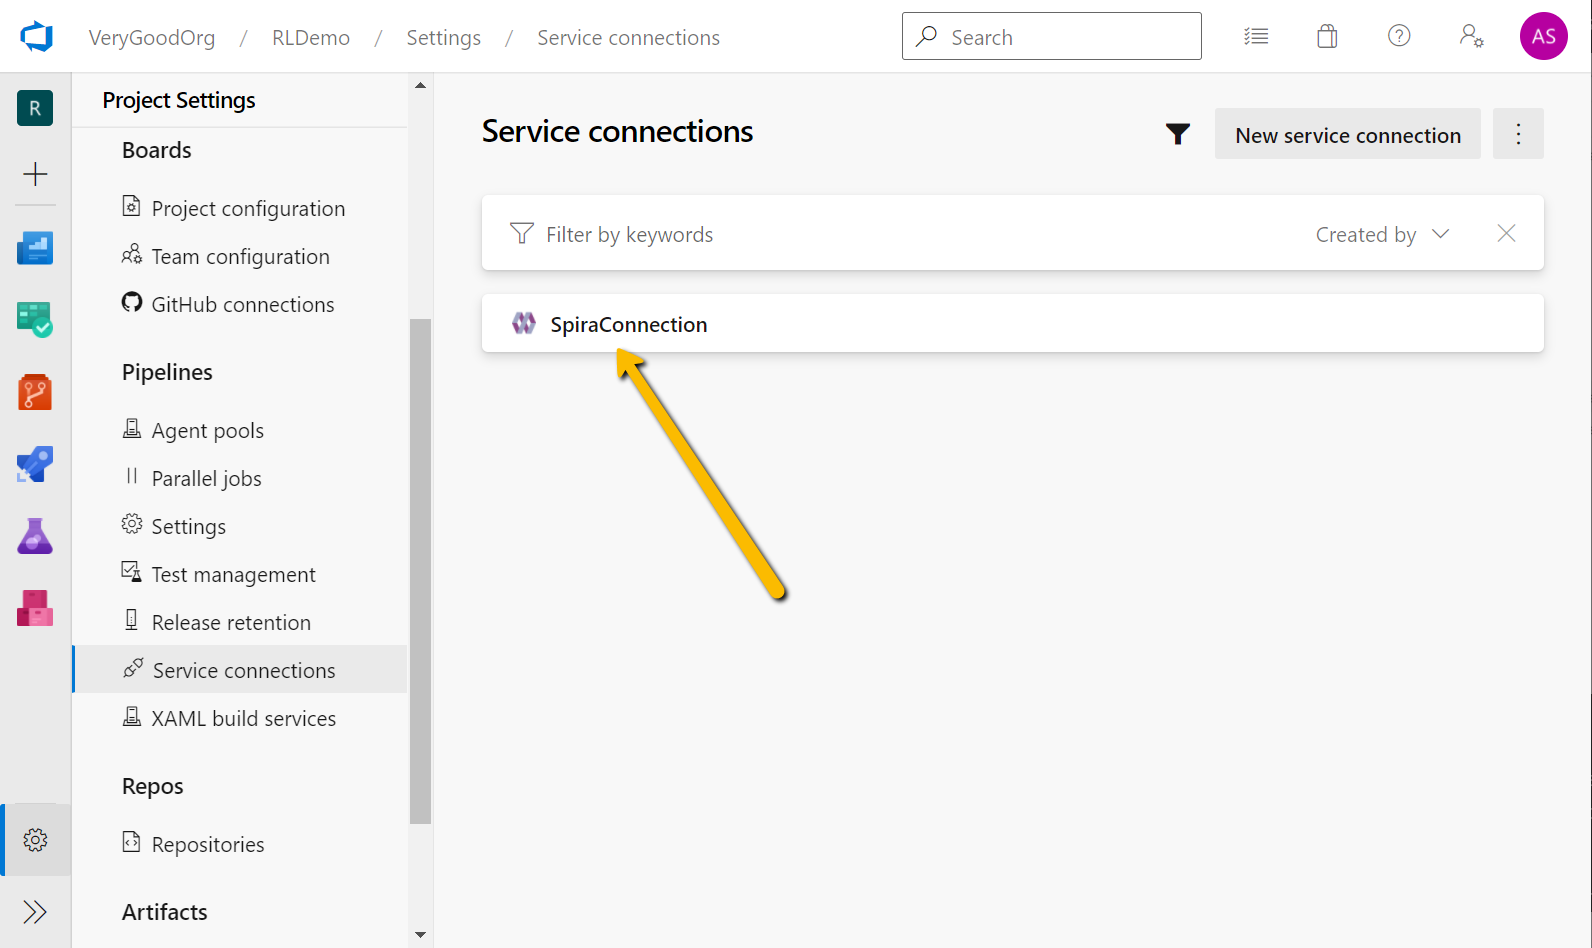
Finally, the connection shows up in the list:
Step 3: Define a Pipeline
Defining a pipeline means telling Azure DevOps where to store the pipeline definition, where to get the tests, what VM to use for execution, and what parameters to pass.
Define a Repository
In cases where you don't have a repository, simply define one for the given project:
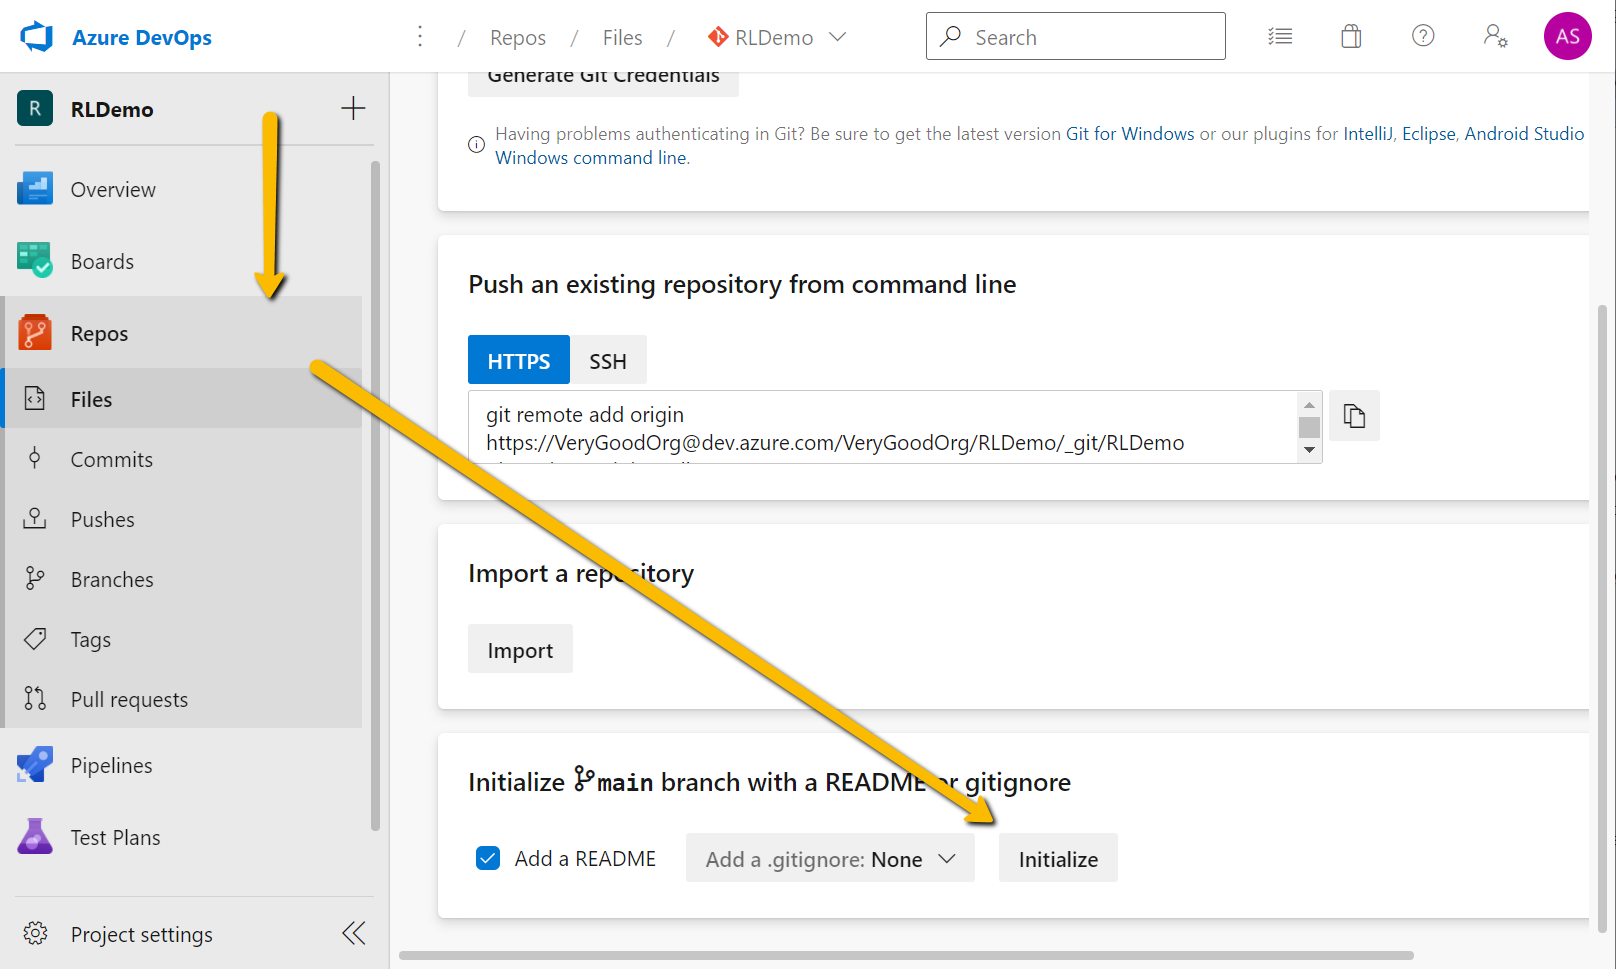
If you have a repo, you may skip this step and use your repository connection in the next step.
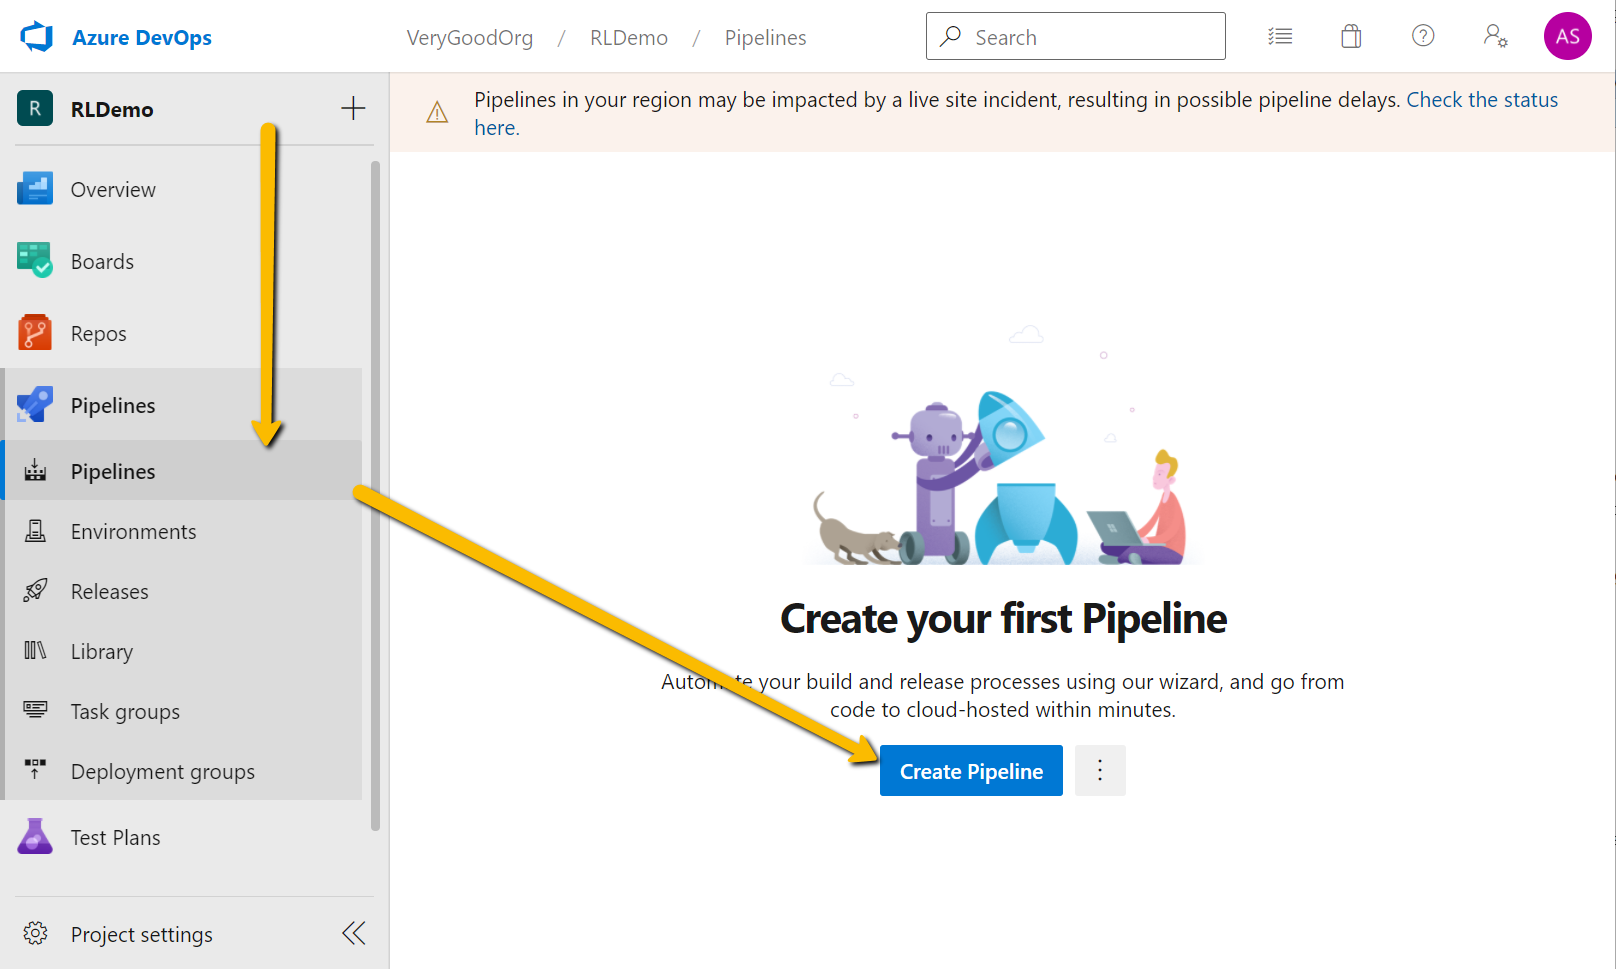
Create a Pipeline Definition
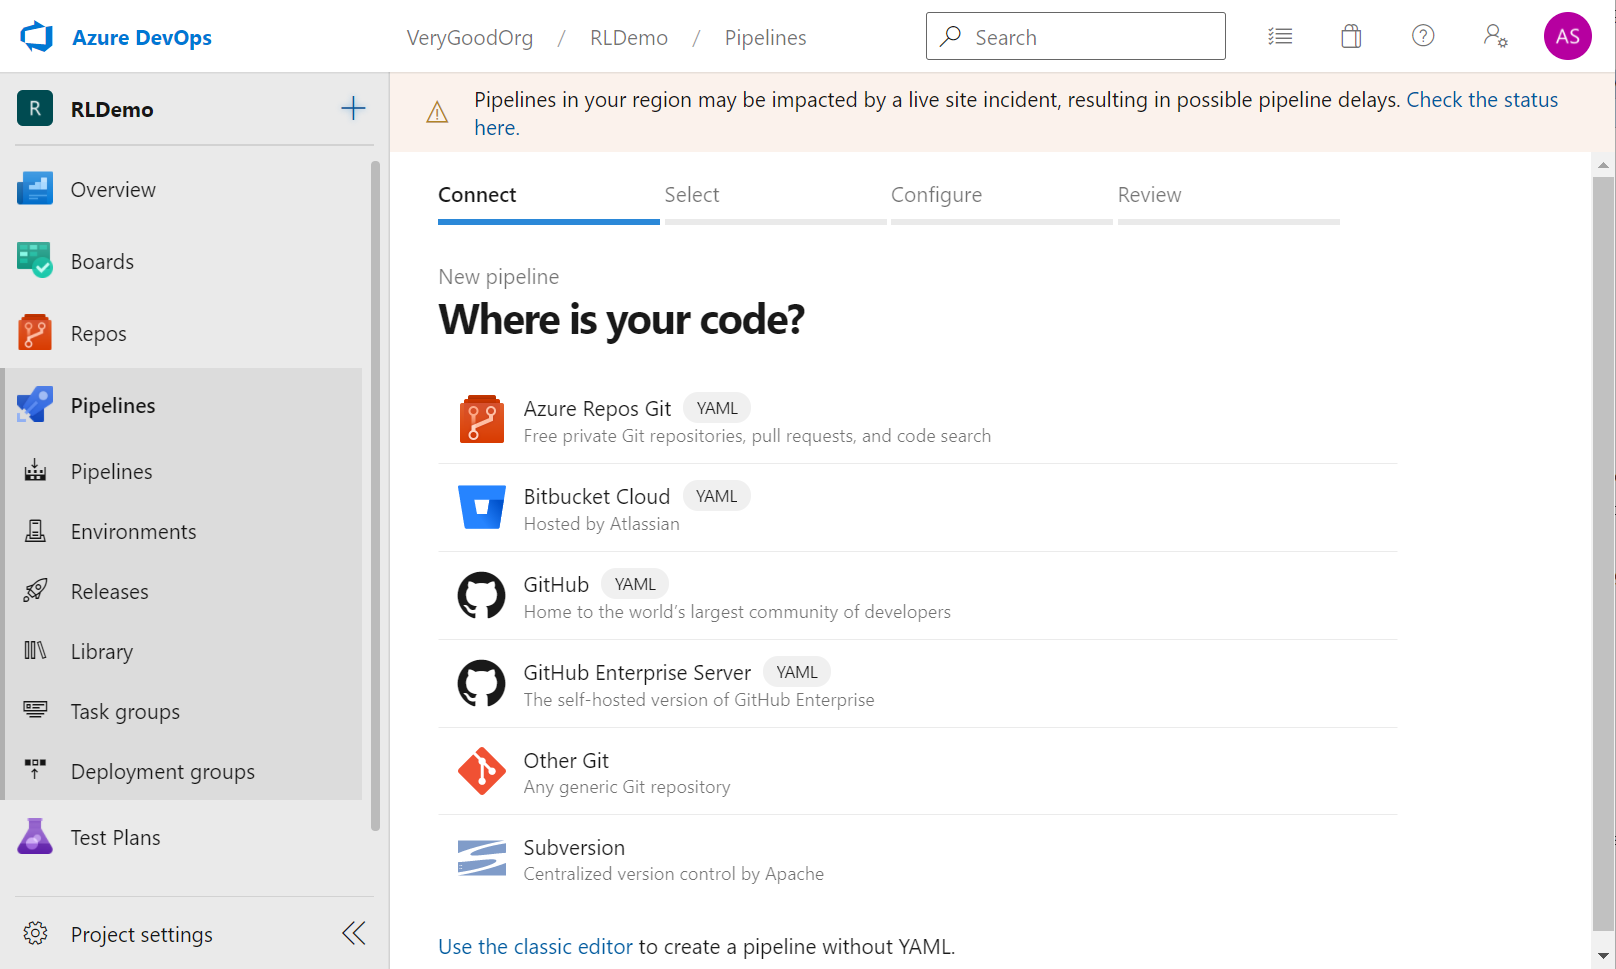
Go to your project, expand Pipelines, and choose Create Pipeline:
Select the GIT repository type:
And the repository itself:
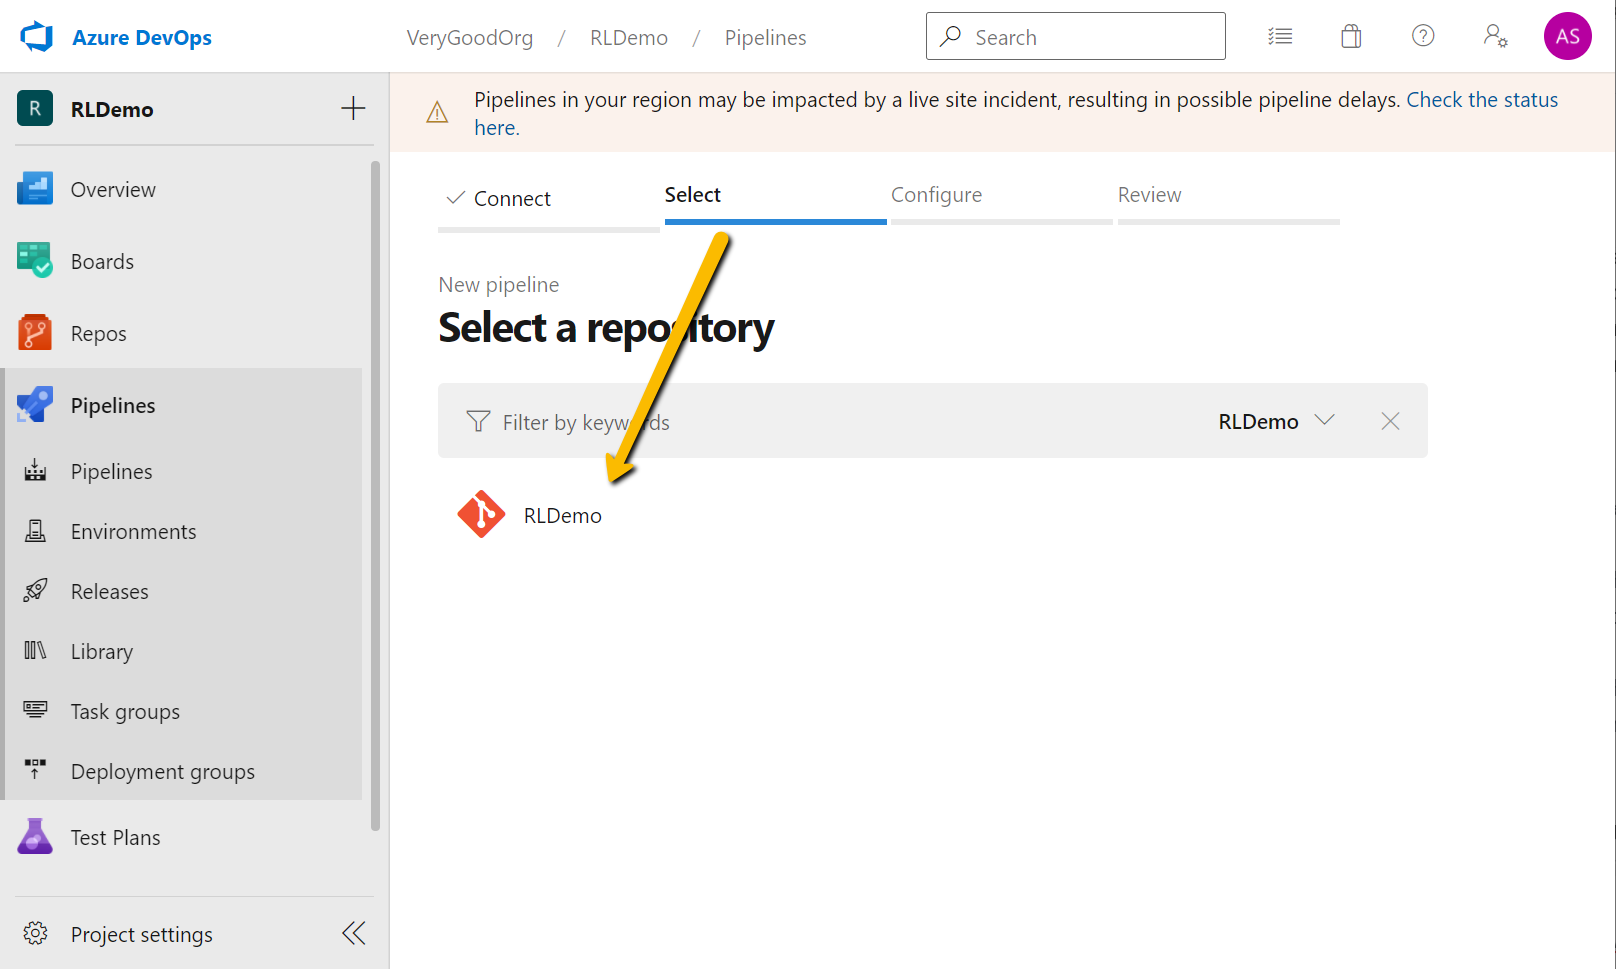
Here we are creating a new pipeline. However, you may use an existing one and just add a test execution task to it.
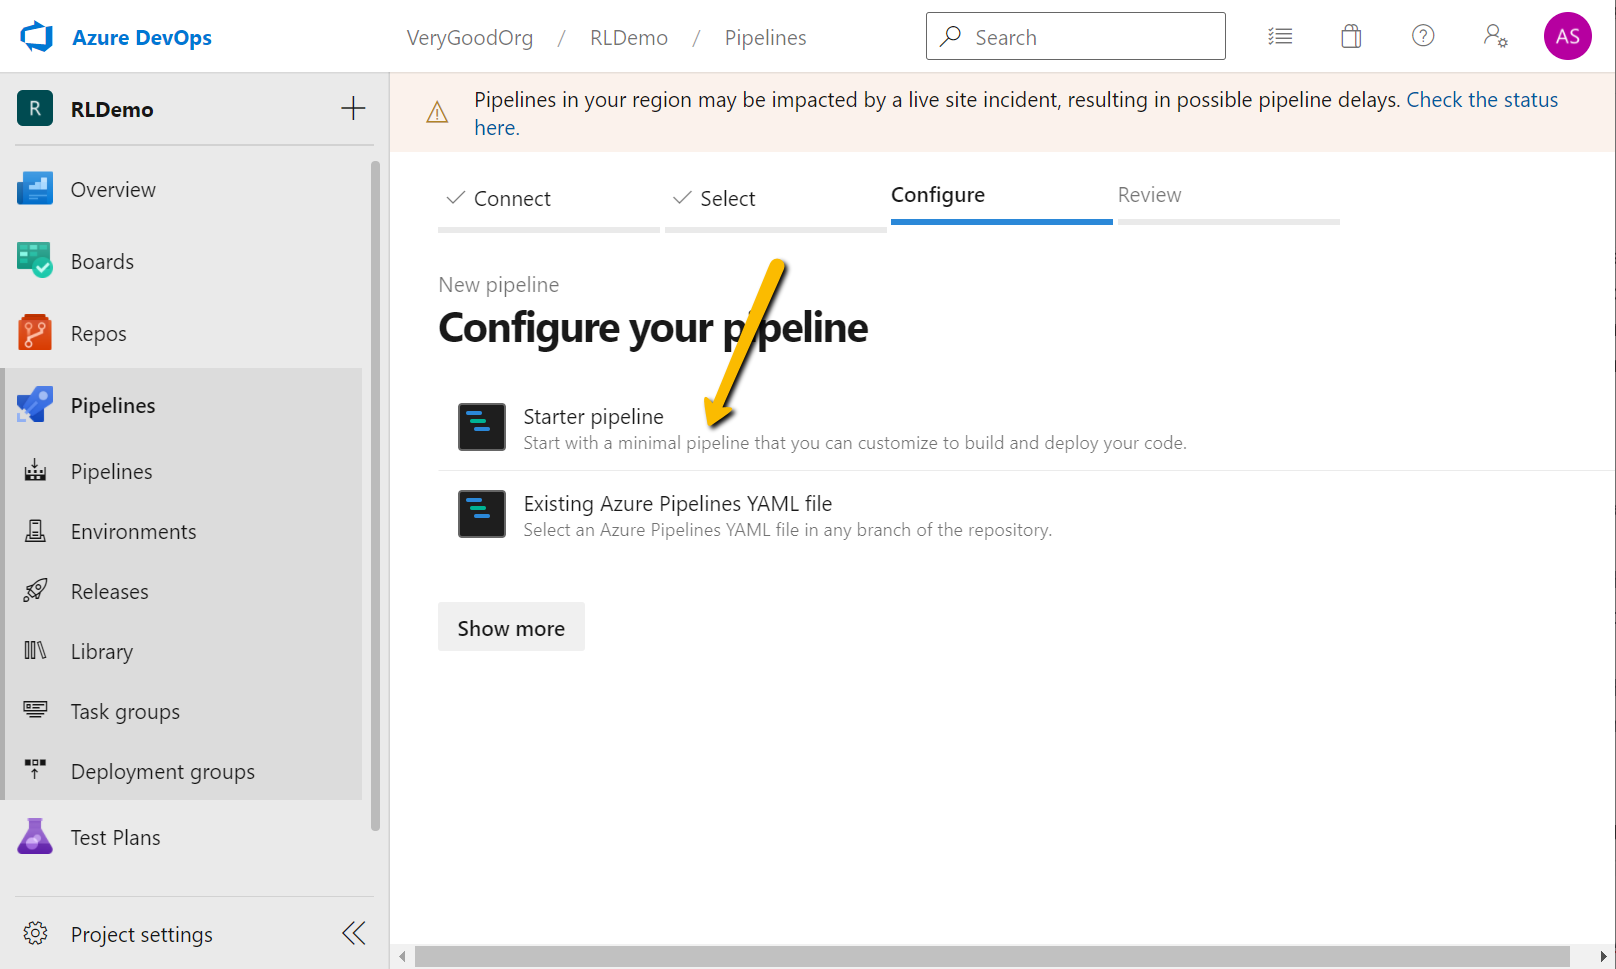
RapiseLauncher requires a Windows host. You may use a Microsoft-hosted agent, or set up an agent on your own VM or physical Windows machine.
Step 4: Add RapiseLauncher Task
Then you may use the Assistant to configure the task.
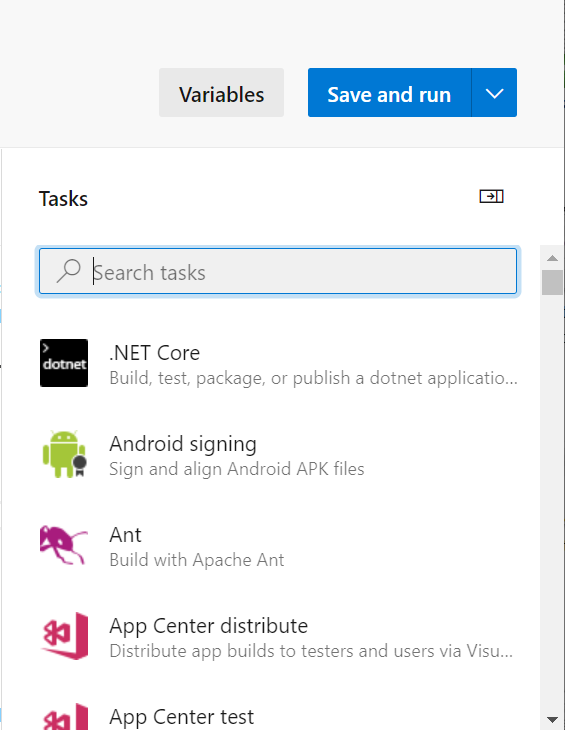
And filter by the word 'Rapise'. We need the task Run Rapise Test Set:

Now we need to configure the task execution parameters as follows:
-
SpiraTeam contains information for finding a test set
- Spira service/server endpoint - choose the Spira connection defined earlier from the dropdown.
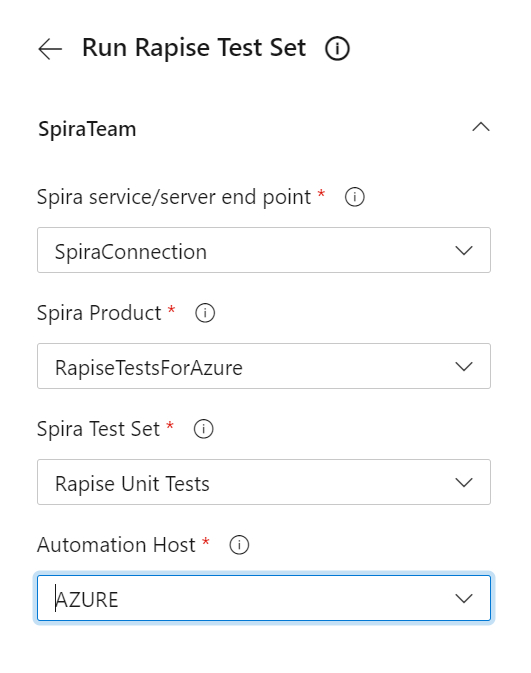
- Spira Product
- Spira Test Set
- Automation Host
- Spira service/server endpoint - choose the Spira connection defined earlier from the dropdown.
-
Execution Options
- Rapise Needs to Be Installed - if your VM is spun up for each test execution (i.e., you use a Microsoft-hosted Agent), then the task can install it. You don't need to install Rapise if you use your own agent and install it in advance. Also, you may have more than one Run Rapise Test Set task in your pipeline. In this case, only the first one needs to install Rapise.
- Rapise Version - we recommend specifying the same version that you used to create the tests. I.e.

- Rapise Version - we recommend specifying the same version that you used to create the tests. I.e.
- Rapise Needs to Be Installed - if your VM is spun up for each test execution (i.e., you use a Microsoft-hosted Agent), then the task can install it. You don't need to install Rapise if you use your own agent and install it in advance. Also, you may have more than one Run Rapise Test Set task in your pipeline. In this case, only the first one needs to install Rapise.
-
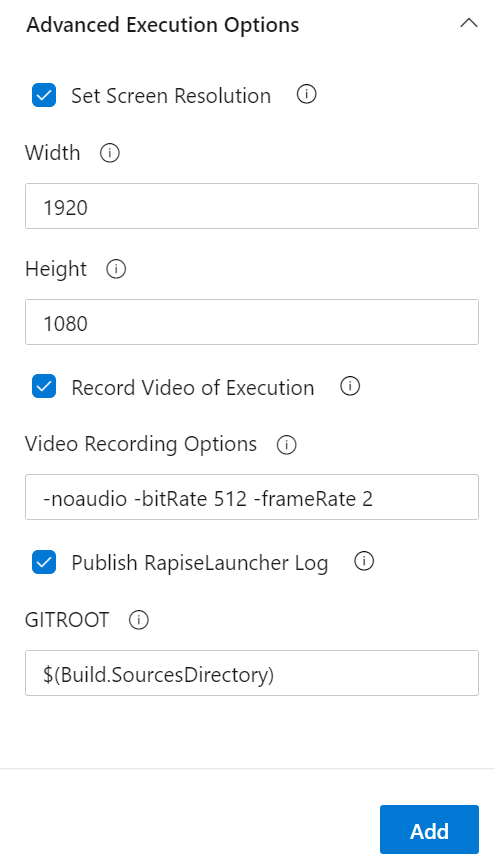
Advanced Execution Options
-
Set Screen Resolution - specify one of the standard screen resolutions for test execution. It should be one of the standard values (i.e., 1024x768, 1920x1080, etc., supported by the current execution host). A higher resolution results in more details on screenshots and video, but also consumes more space for recordings.
- Width
- Height
-
Record Video of Execution - a
ScreenCapture.wmvwill be generated and saved as a Test Run attachment.- Video Recording Options - a set of options for the
Microsoft.TestPlatformvideo recorder.
- Video Recording Options - a set of options for the
-
Publish RapiseLauncher Log - when enabled, the RapiseLauncher log is attached to the pipeline build log.
-
GITROOT is only needed if your tests are stored in Git and you check them out earlier in the pipeline or even before launching the pipeline.
-
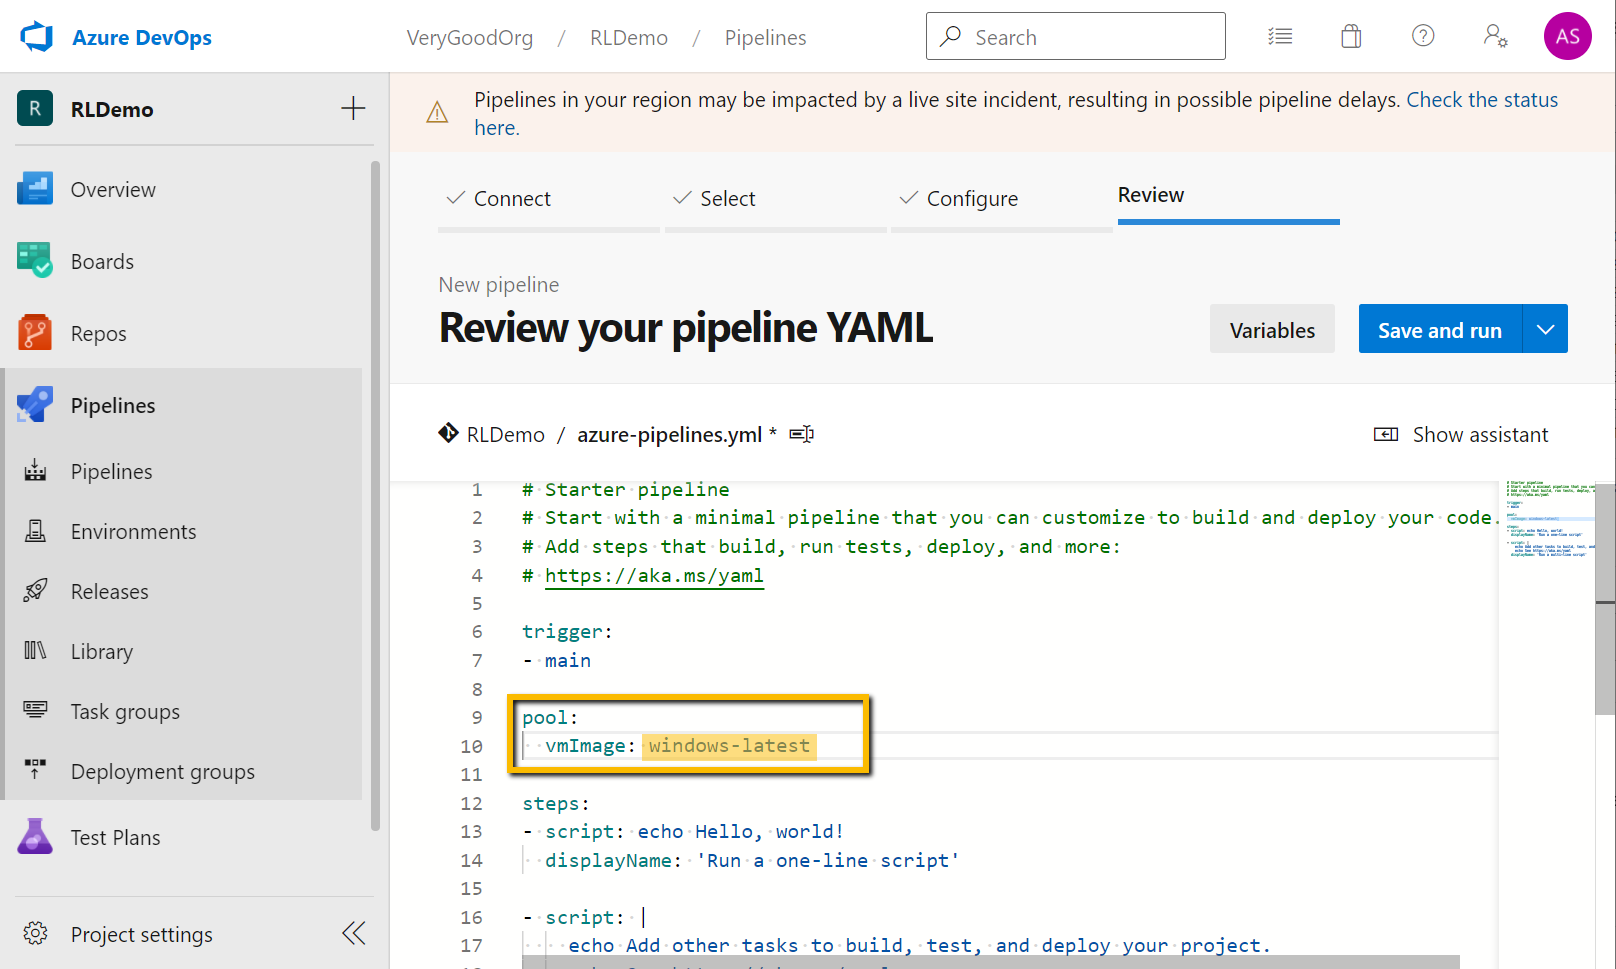
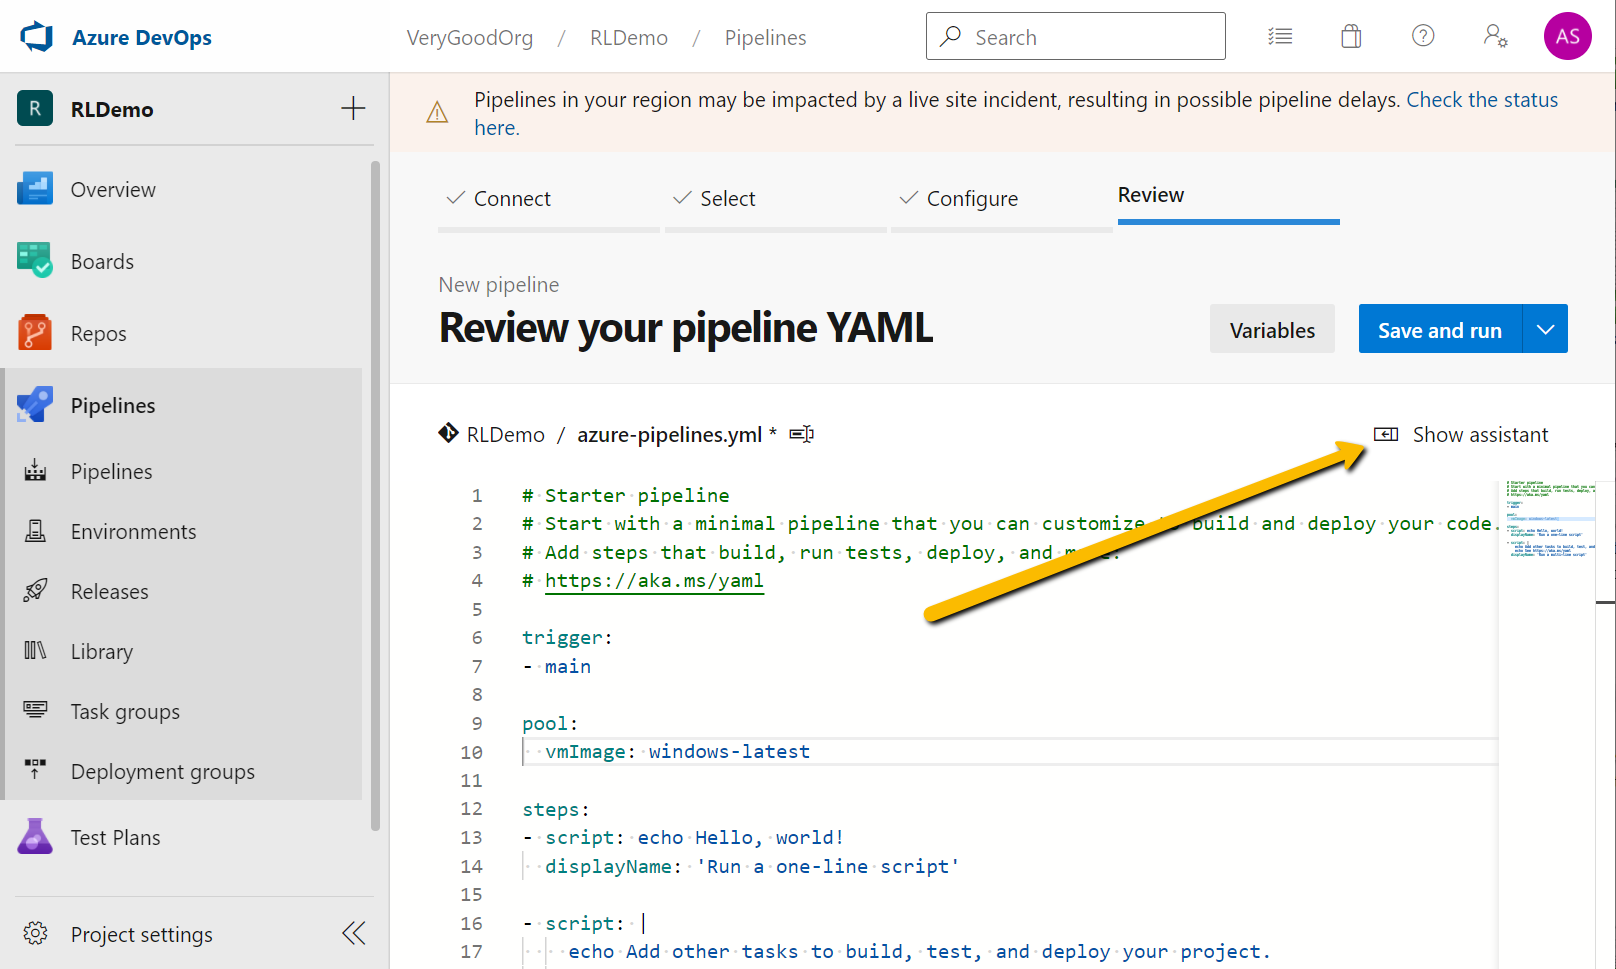
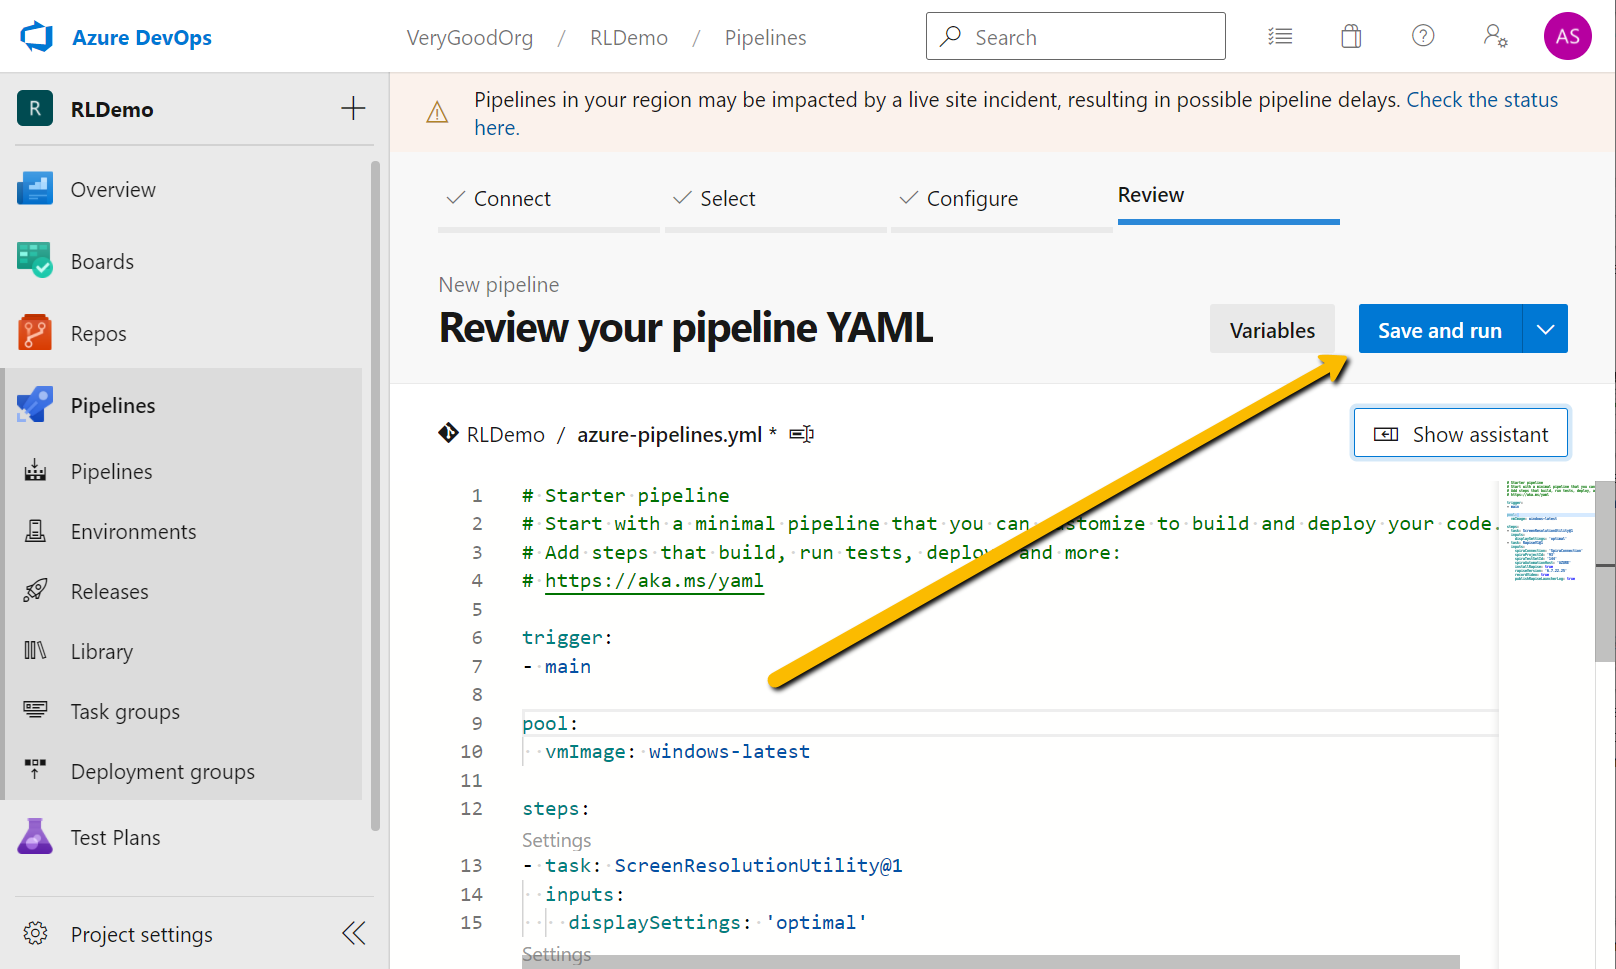
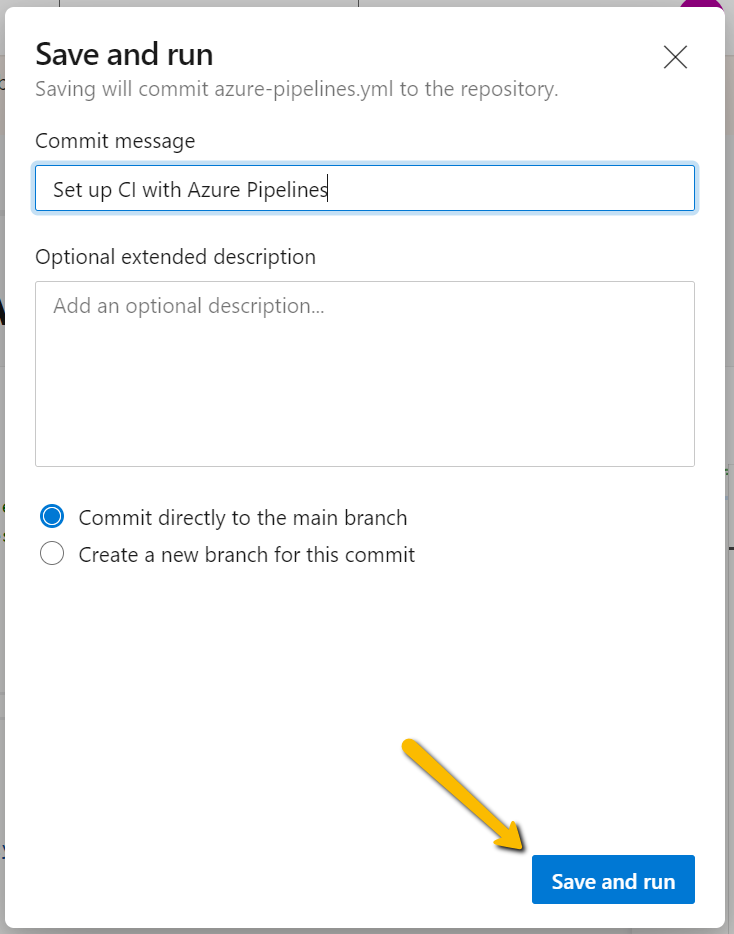
Finally, press Add. The task should appear in the steps: section of the YAML description:
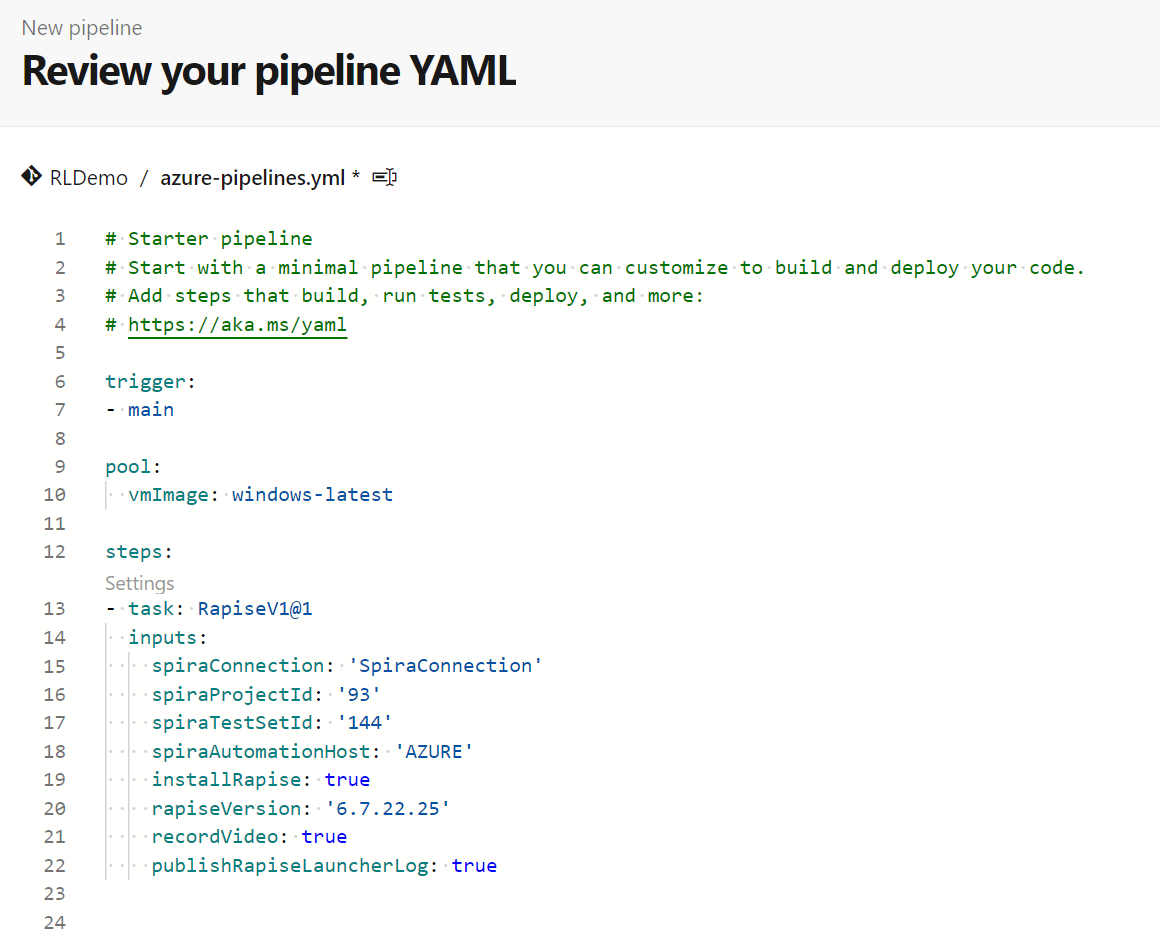
You can then tweak its configuration directly using the text editor.
trigger:
- main

pool:
  vmImage: windows-latest

steps:
- task: RapiseLauncherTask@1
  inputs:
    spiraConnection: 'SpiraConnection'
    spiraProjectId: '93'
    spiraTestSetId: '145'
    spiraAutomationHost: 'AZURE'
    installRapise: true
    rapiseVersion: '6.7.22.25'
    setScreenSize: true
    screenWidth: 1920
    screenHeight: 1080
    recordVideo: true
Step 5: Pipeline Execution Results
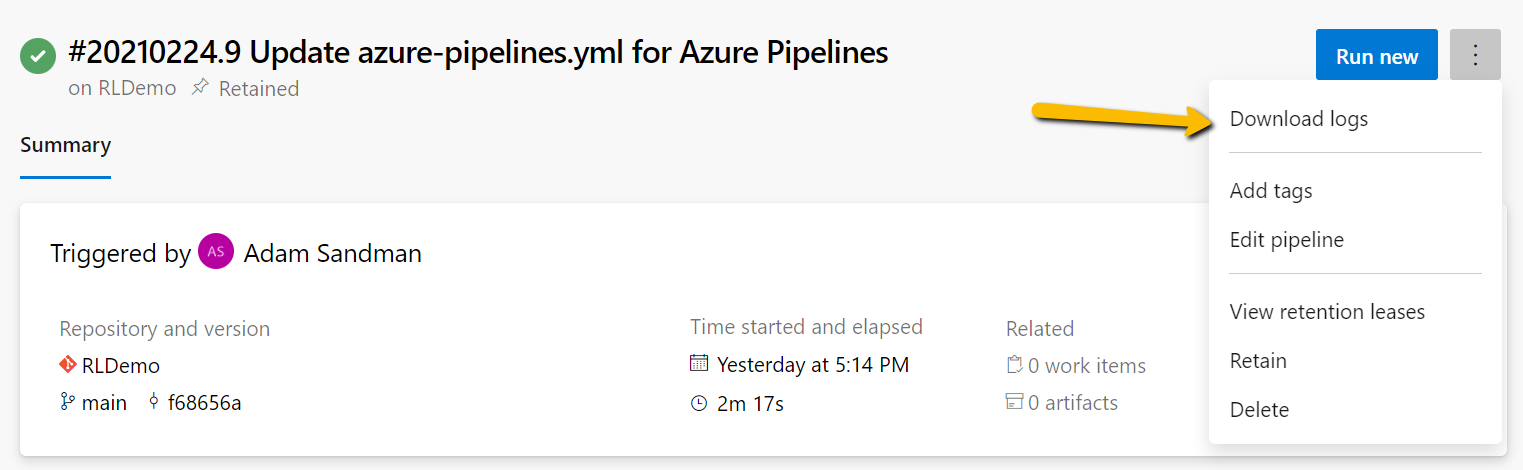
You can see the history of pipeline job runs and test execution logs.
From the pipeline run history, you can select any run:
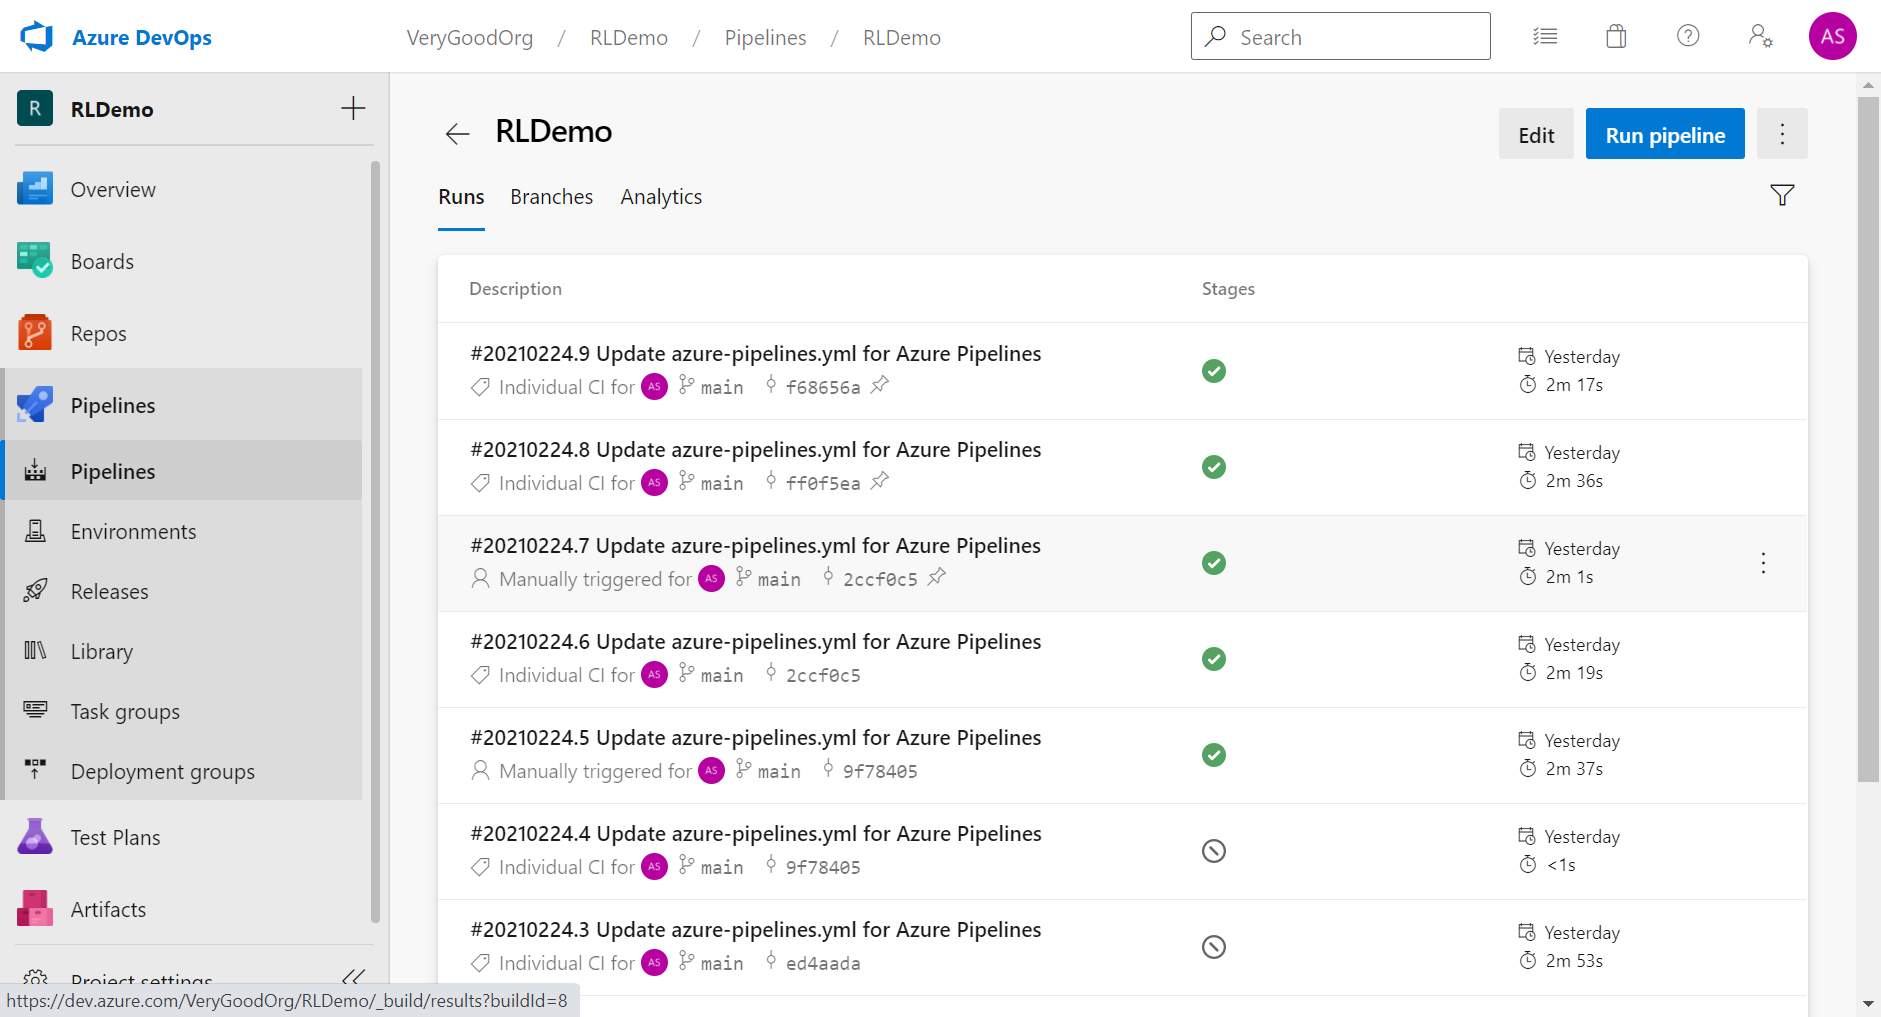
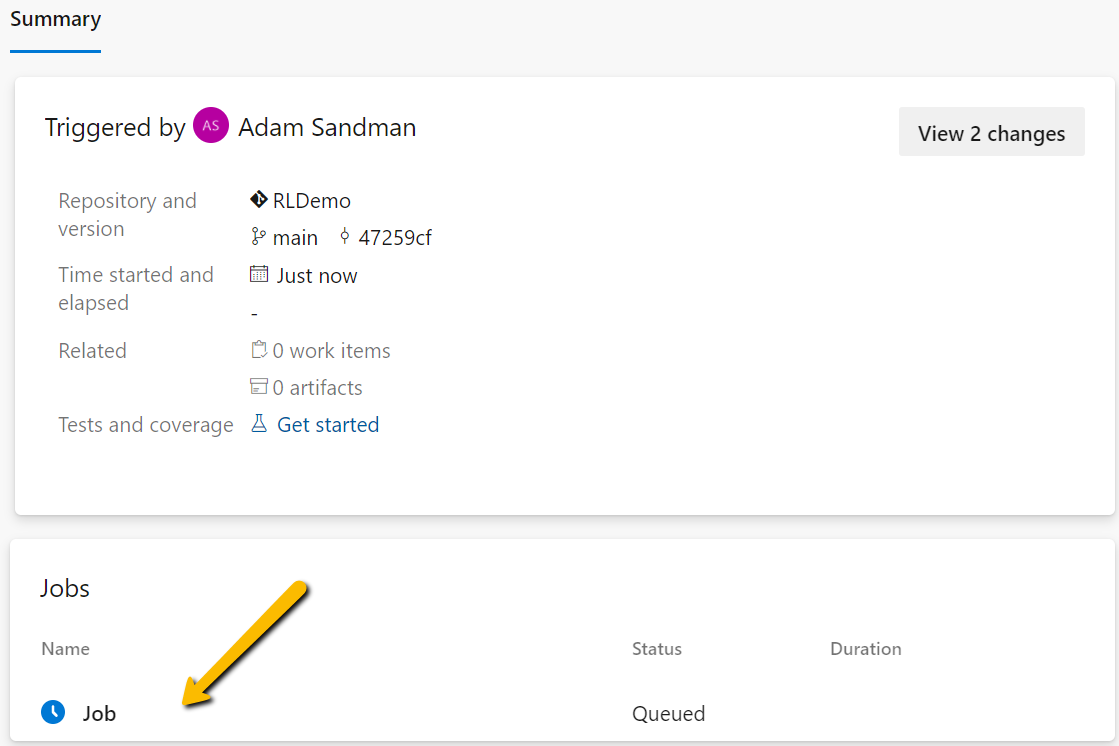
And select the Job:
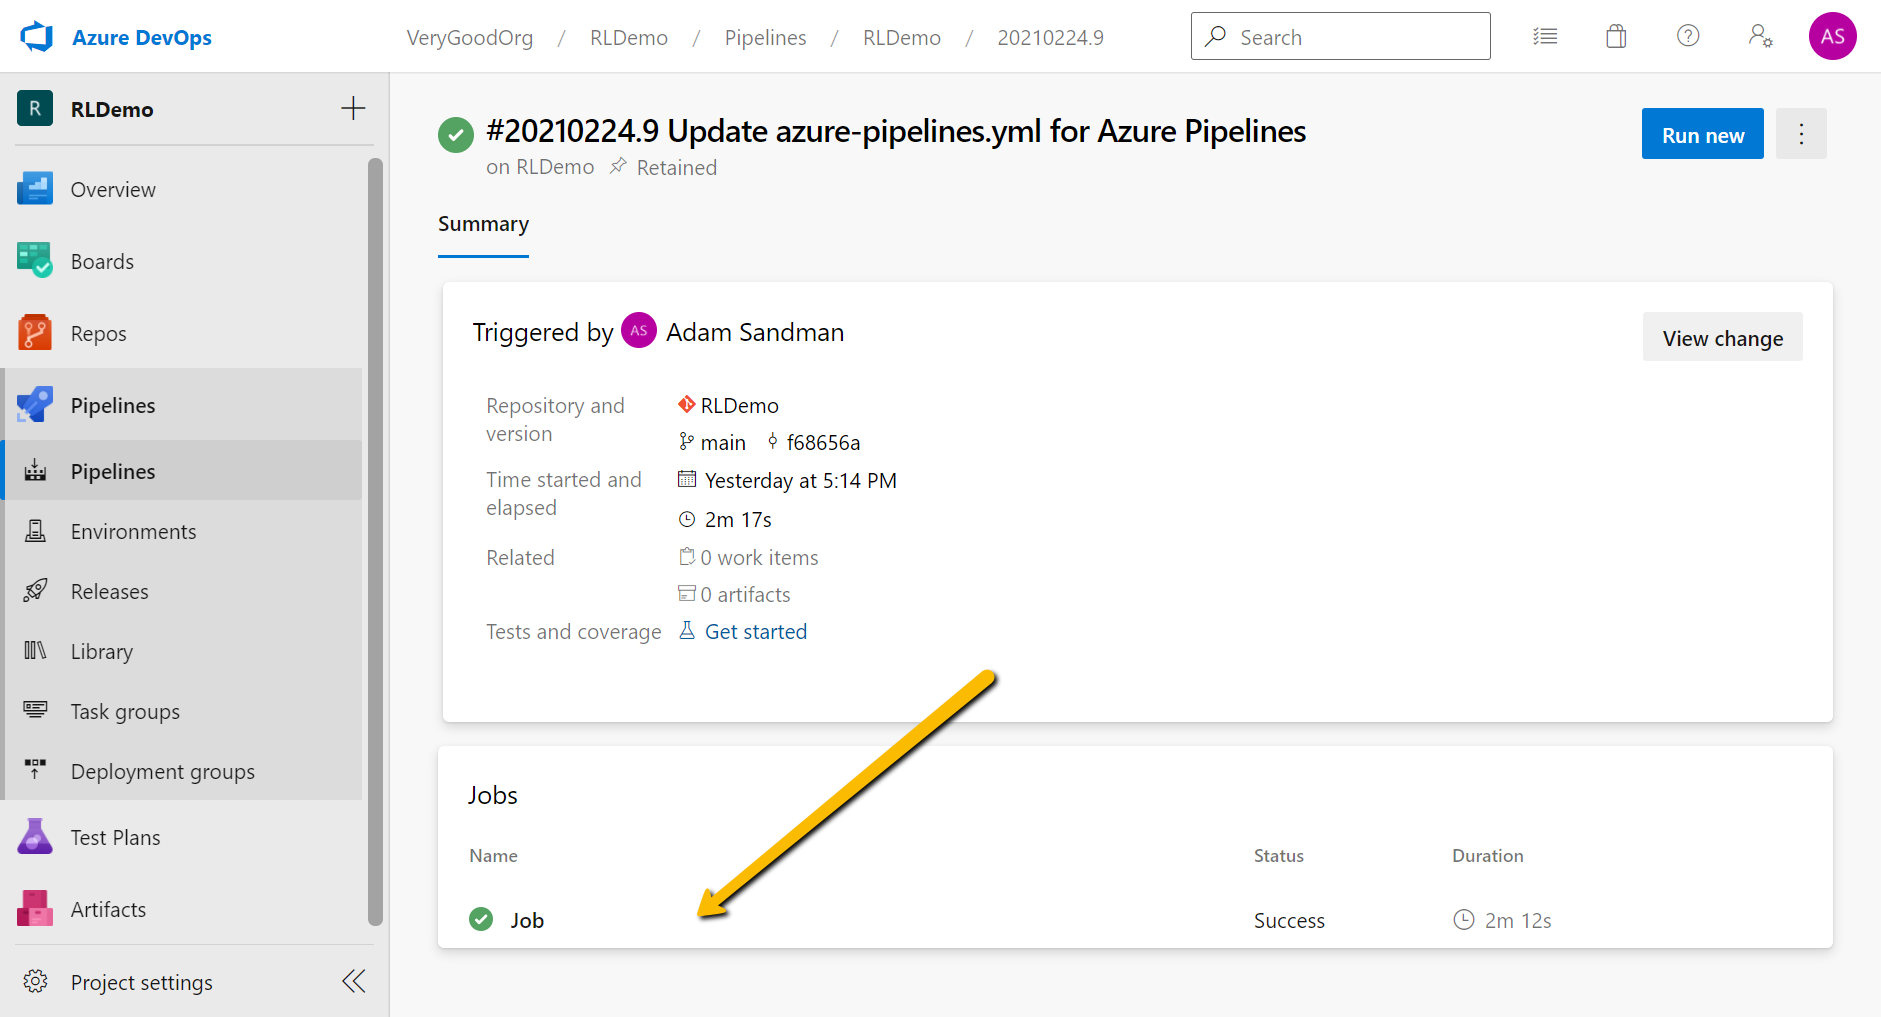
The job run contains information about each pipeline step. RapiseLauncher is the step that performs Rapise installation and test set launch.
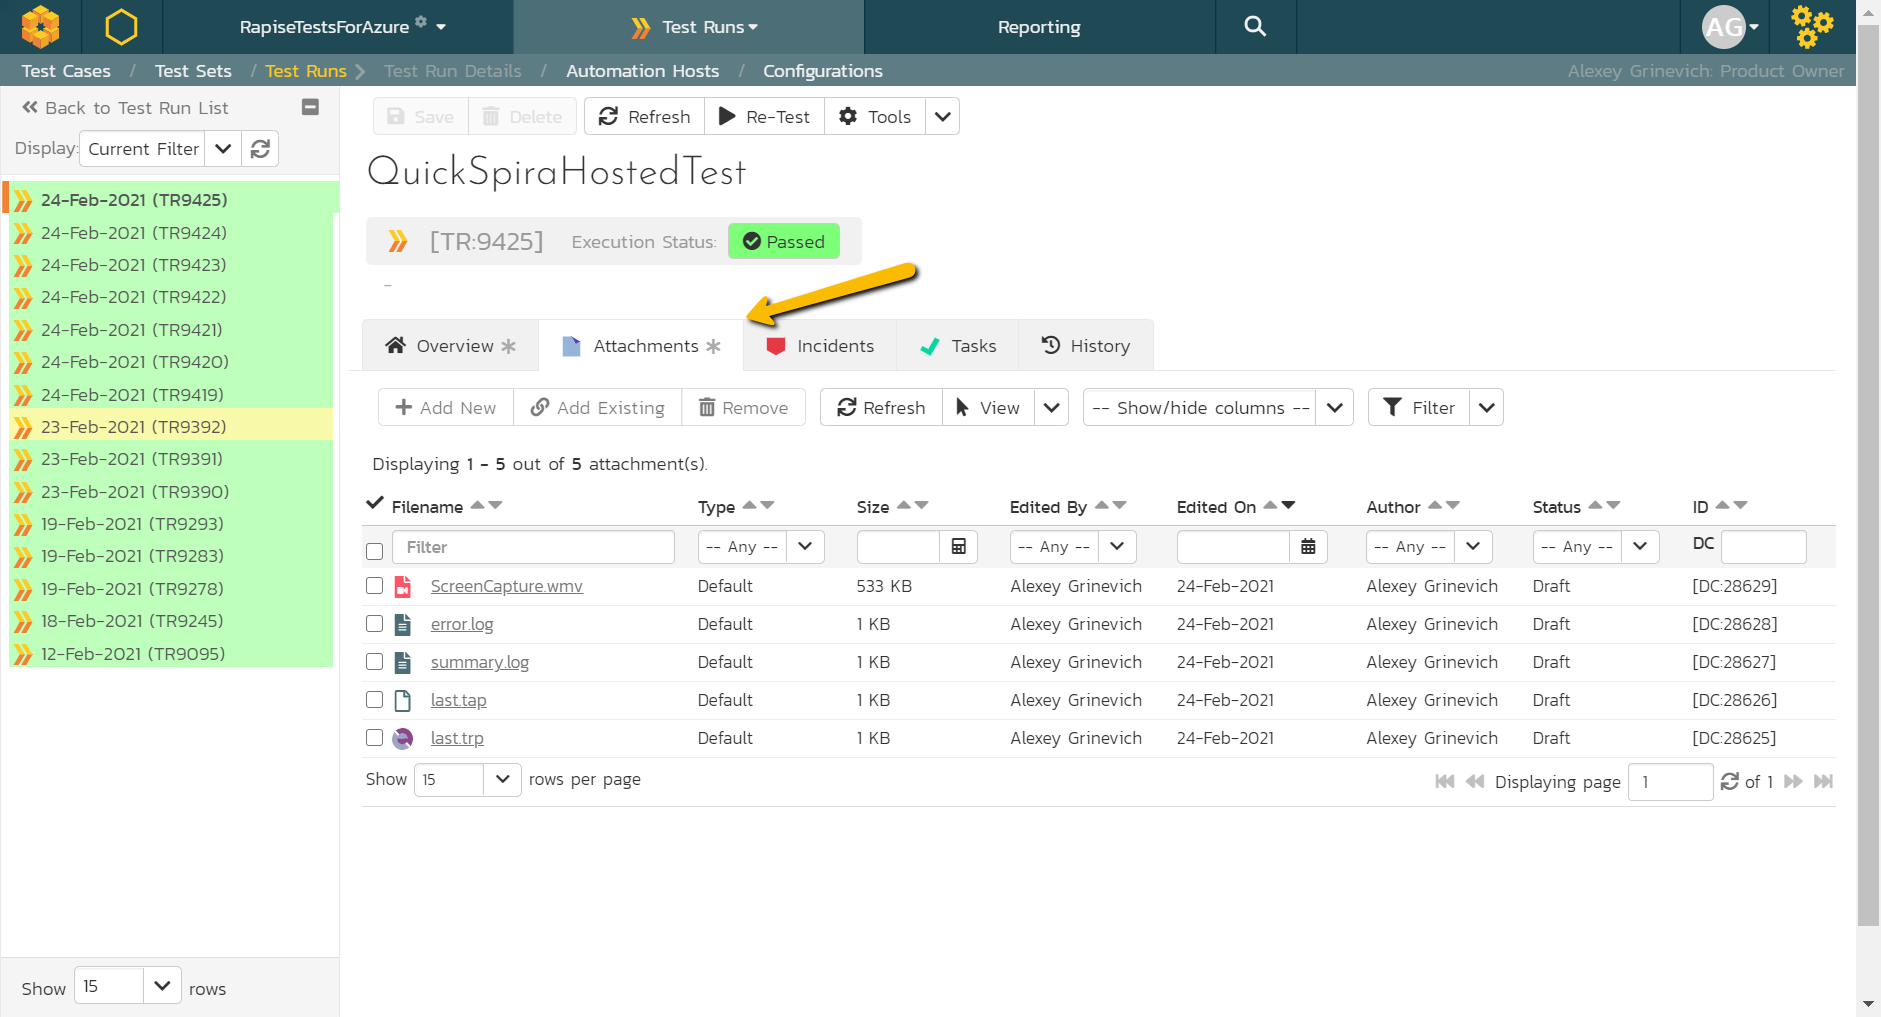
Also, you can find testing reports and videos in SpiraTeam:
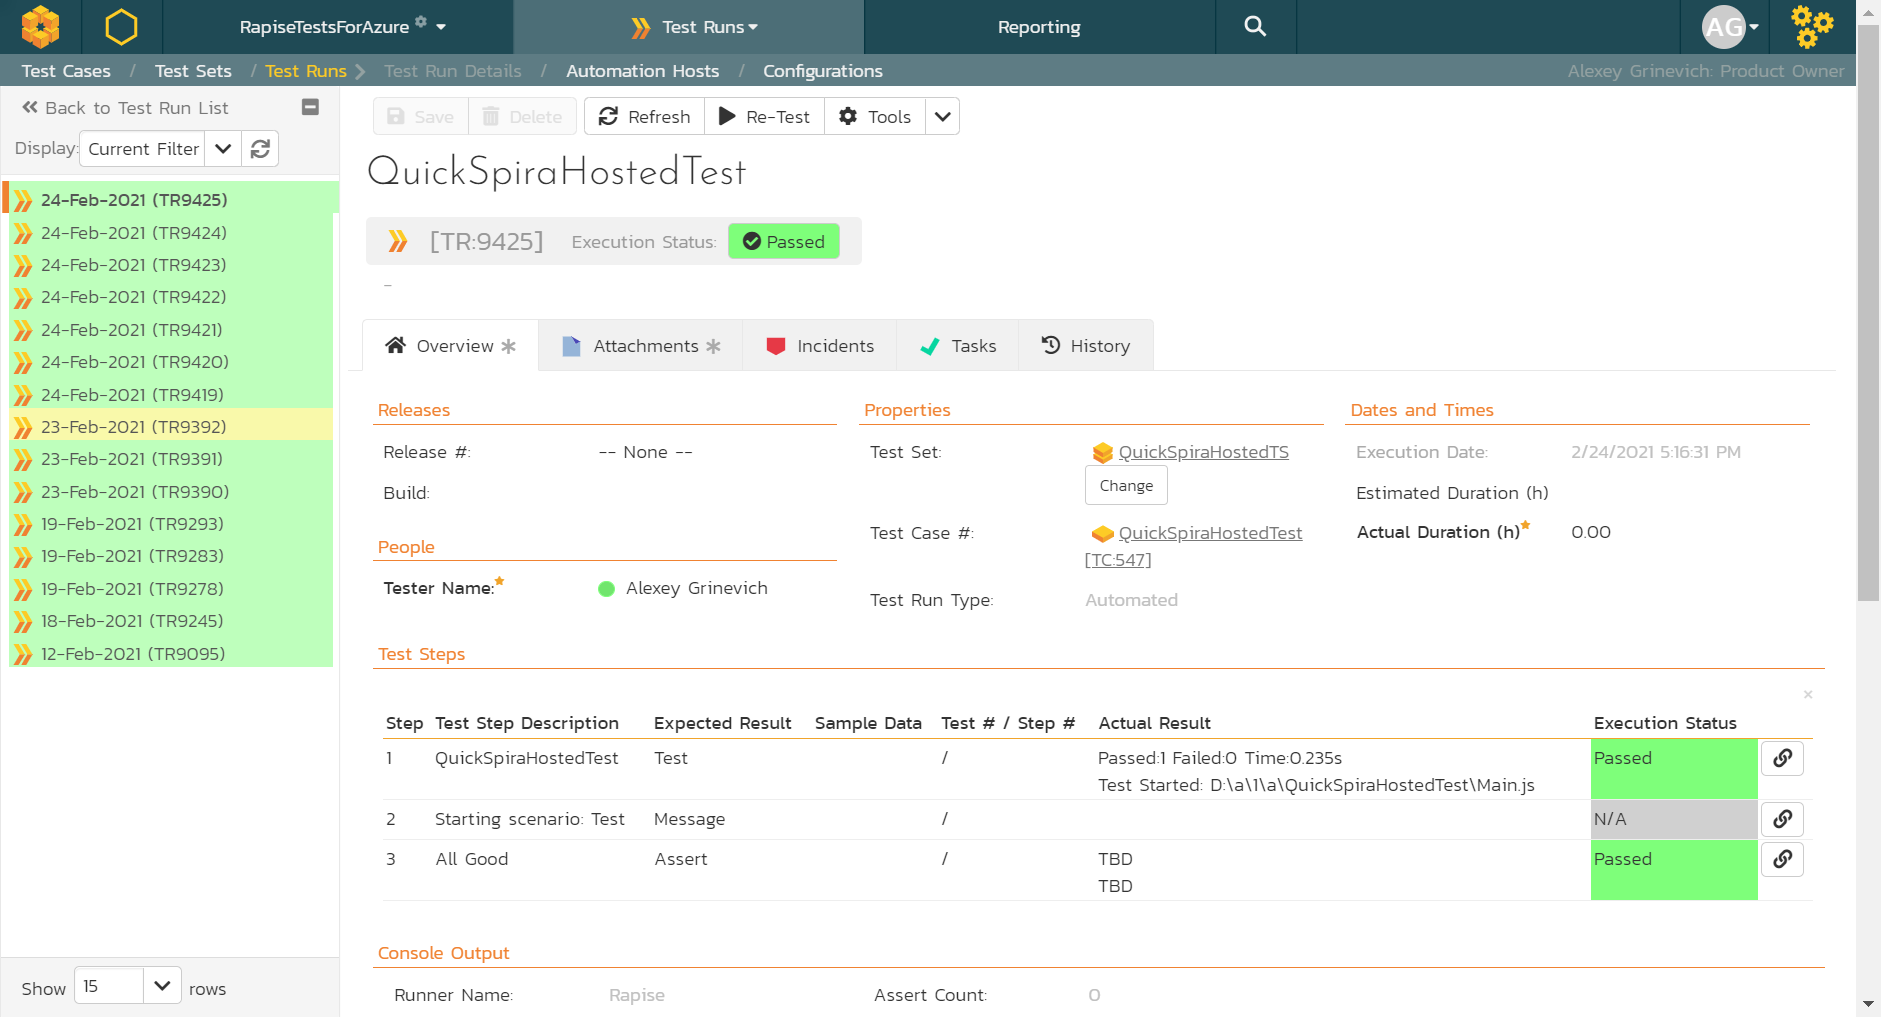
Log files and videos are located in the Test Run Attachments tab: