Setting Up Web Browsers
Before you can use Rapise with certain web browsers to perform web testing, you will need to install plugins to enable communication between Rapise and these browsers.
Important
Since Rapise 7.3, it is recommended to use Selenium WebDriver-based browser connectors for all web tests. Native Rapise plugins are considered outdated and should only be used for legacy tests and backward compatibility.
Internet Explorer
Unlike other web browsers, Internet Explorer requires no configuration steps. Once Rapise is installed, it is ready to connect to Internet Explorer for recording, playback, and learning without any further configuration.
Firefox
To test web applications using the Firefox web browser, you will need to install a Firefox extension that allows Rapise to interact with it:
-
Click the following link to open the extension page in a new tab: https://addons.mozilla.org/en-US/firefox/addon/rapisefirefox/
-
Click the
Add to Firefoxbutton to install the extension into your Firefox instance.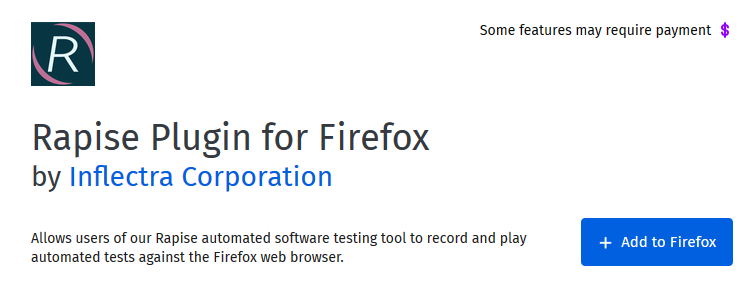
-
Once installation is complete, restart Firefox.
-
Firefox is then ready for automated testing with Rapise.
Note: Rapise requires localhost port 4247 to be accessible for correct operation. Please ensure this port is unblocked in your firewall.
Firefox For Rapise 6.5
For Rapise 6.5 and higher, you must update the RapiseFirefox extension. Simply click the link below to update the extension to the latest version.
https://addons.mozilla.org/en-US/firefox/addon/rapisefirefox/
Chrome
Important
The Chrome extension and Chrome HTML browser profile have been deprecated. This is because Google is going to remove MV2 extensions from the store . At Inflectra, we decided not to migrate to the MV3 extension format because it is unlikely possible due to security changes (the primary reason for the appearance of MV3). To enable Chrome-based testing, we implemented a Selenium-Based Recorder . Therefore, please consider switching to the Selenium - Chrome browser profile.
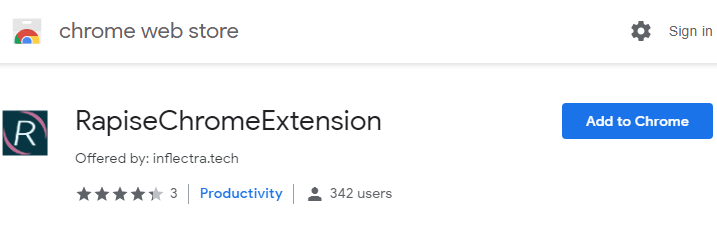
To test web applications using the Google Chrome web browser, you will need to install a Chrome extension that allows Rapise to interact with it:
-
Click the following link to open the extension page in a new tab: https://chrome.google.com/webstore/detail/rapisechromeextension/ibngcigigdlhaekbaknfbpcbgilmhahc
-
Click the ‘Add to Chrome’ button to install the extension into your Chrome instance.
-
It is recommended to enable the Allow access to file URLs and Allow in incognito checkboxes to ensure Rapise can also access web pages opened from local folders (using the
file://protocol) and in incognito Chrome windows when running automated browser tests. To do this, right-click this link chrome://extensions/?id=ibngcigigdlhaekbaknfbpcbgilmhahc, chooseCopy link address, and then paste the value into a new Chrome tab: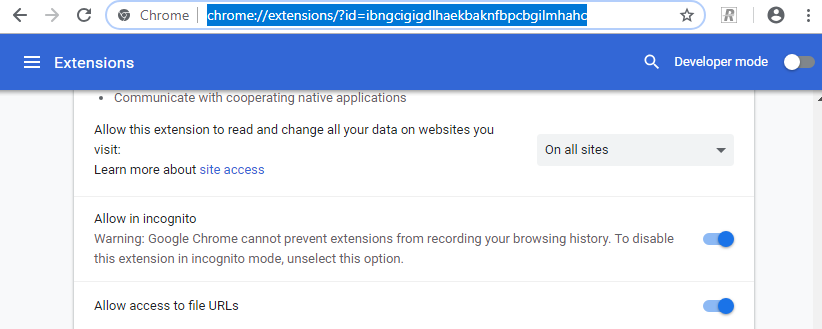
-
Once installation is complete, restart Chrome.
Chrome For Rapise 6.5
For Rapise 6.5 and higher, you must update the RapiseChrome extension. Simply click the link below to update the extension to the latest version.
https://chrome.google.com/webstore/detail/rapisechromeextension/ibngcigigdlhaekbaknfbpcbgilmhahc
Chromium Applications
The procedure for installing the Rapise extension differs when testing Chromium applications. Follow these recommended steps to enable automation for such applications:
-
Refer to http://www.chromium.org/administrators/pre-installed-extensions for instructions on how to install an extension for a Chromium application. It is easy to obtain the ID of the current version of the Chrome Extension. Install it in a regular Chrome browser by following the instructions above, and then check the information in Chrome by navigating to this URL: chrome://settings/extensionSettings.
-
In the Rapise Select an Application for Record dialog, choose the Chrome HTML library when recording tests, rather than Auto. Rapise's library auto-detection logic may fail because the executable name is not
chrome.exe. -
After modifying the Windows registry as described below, Rapise should be able to record and learn the application correctly.
HKEY_LOCAL_MACHINE\SOFTWARE\Google\Chrome\Extensions\malnpehoofemabajdignefgdoppndaeb\path\
TYPE: REG_SZ
VALUE: "C:\path\to\your\RapiseChrome.crx"
HKEY_LOCAL_MACHINE\SOFTWARE\Google\Chrome\Extensions\malnpehoofemabajdignefgdoppndaeb\version\
TYPE: REG_SZ
VALUE: "1.6.0"
-
For correct playback, you need to add the following line at the beginning of your
User.jsfile:
g_browserExecutablePath='C:\\the\\path\\to\\chromium-based\\app.exe';
With this change, the recorded test should play correctly.
Chrome Frame Applications
The following configuration enables Rapise to test Chrome Frame applications:
-
A 'packed' copy of the RapiseChrome.crx extension is provided with the Rapise installation. It can be found in the
C:\\Program Files (x86)\\Inflectra\\Rapise\\Extensions\\Chromeinstallation folder.
-
Add the following data to the Windows registry:
[HKEY_CURRENT_USER\Software\Google\ChromeFrame]
"EnableGCFProtocol"=dword:00000001
"IsDefaultRenderer"=dword:00000001
"AllowUnsafeURLs"=dword:00000001
[HKEY_LOCAL_MACHINE\SOFTWARE\Google\Chrome\Extensions\malnpehoofemabajdignefgdoppndaeb]
"path"="c:\\path\\to\\RapiseChrome.crx"
"version"="1.6.0"
-
In the Rapise Select Application to Record dialog box, explicitly choose the Chrome HTML library instead of Auto.
-
Record the test script as you normally would. Note that no Chrome browser or Chrome applications should be running when Internet Explorer with Chrome Frame is started and recording is performed.
You will need to make some changes to the recorded test to ensure correct playback. Insert this line at the beginning of the User.js file:
g_browserExecutablePath="iexplore.exe";
Ensure the Internet Explorer browser executable is available at the specified path on your PC, and correct it if necessary.
Edge
To test web applications using the Microsoft Edge web browser, you will need to install an Edge extension that allows Rapise to interact with it:
-
Right-click the following URL and choose
Open link in new tabto open the extension page: https://microsoftedge.microsoft.com/addons/detail/rapisemsedgeextension/ohghmiancfhdndeciiojhgalcfhllblh -
Click the ‘Get’ button to install the extension into your Edge instance.
-
It is recommended to enable the Allow in InPrivate and Allow access to file URLs checkboxes to ensure Rapise can also access web pages opened from local folders (using the
file://protocol) and in InPrivate Edge windows when running automated browser tests. To do this, right-click this link edge://extensions/?id=ohghmiancfhdndeciiojhgalcfhllblh, chooseCopy link, and then paste the value into a new Edge tab. -
Once installation is complete, restart Edge.
Using Other Browsers with Rapise
To test your applications using other web browsers (such as Safari or Opera), you can use the Selenium WebDriver libraries provided with Rapise. For instructions on how to set up the Selenium web browser libraries, please refer to this topic.