NUnit
About NUnit Integration
SeSNUnit provides a sample of using NUnit. It includes a special attribute to facilitate the execution of Rapise GUI tests within NUnit tests.
A standard NUnit test looks like this:
using System;
using NUnit.Framework;

[TestFixture]
public class MyTests
{
    [Test] /* – THIS IS AN ATTRIBUTE FOR STANDARD NUnit Test */
    public void MyTest1()
    {
        Assert.AreEqual(1, 2, "Check equality");
    }
}
Each test case is a function marked with the special [Test] attribute. NUnit uses this to discover test cases and organize them into sets.
Rapise integration makes the execution of Rapise tests as straightforward as running normal NUnit tests:
using System;
using NUnit.Framework;
using SeSNUnit; // We include the Rapise helper class

[TestFixture]
public class PlayerTesting
{
    // This line indicates that this NUnit test executes CrossBrowser.sstest using Rapise.
    [SeSNUnitTest(@"T:\Samples\Cross Browser\CrossBrowser.sstest")]
    public void TestIEandFirefox()
    {
        int exitCode = SeSNUnitHelper.TestExecute();
        Assert.AreEqual(0, exitCode);
    }
}
Now we use another attribute to mark the test:
[SeSNUnitTest(@"<path to .sstest>")]
This attribute simply marks the test as a wrapper for a specific Rapise test instance.
Installing NUnit
To run this sample, you need NUnit. You can download NUnit from this site http://www.nunit.org/index.php?p=download.
Download and install the NUnit package (for example, NUnit-2.4.8-net-2.0.msi).
This is an installation package file, so the only thing you need to do after downloading is to double-click the file.
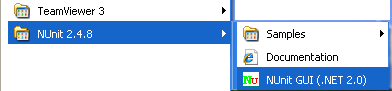
Run NUnit from the Start menu:
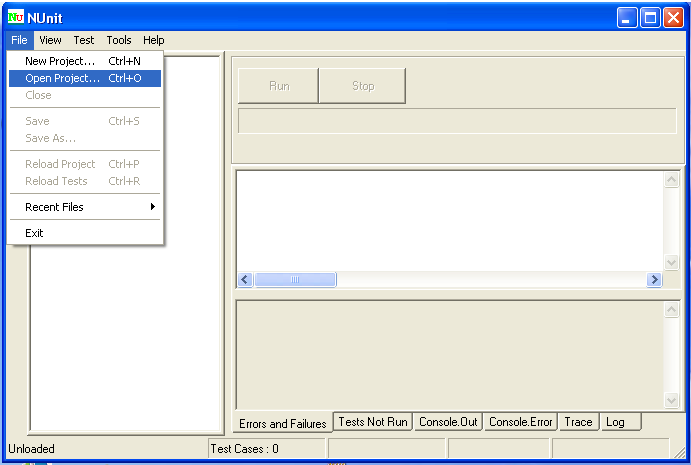
Select “OpenProject…” from the “File” menu:
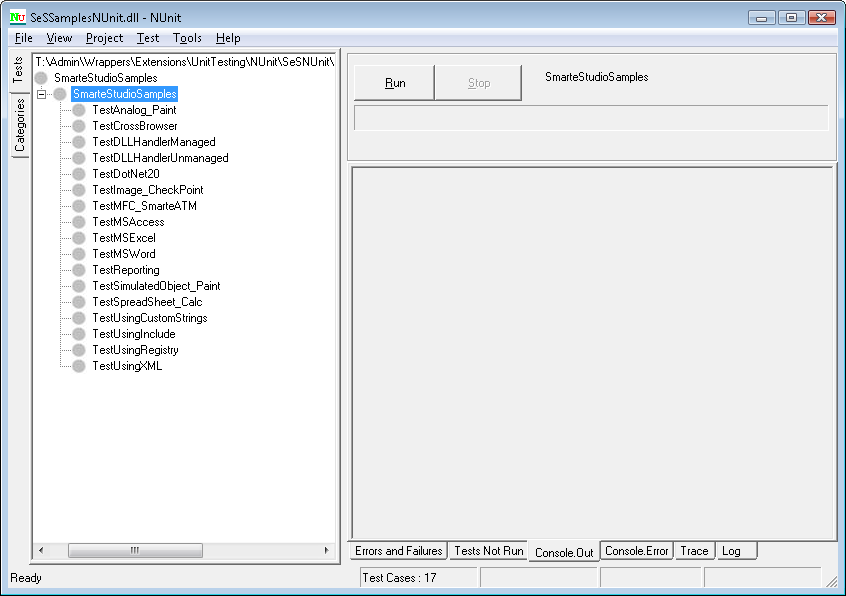
In the window that opens, find and select:
1 | |
Press “Run” to start the test.
After the test has finished, the NUnit GUI should look like this:
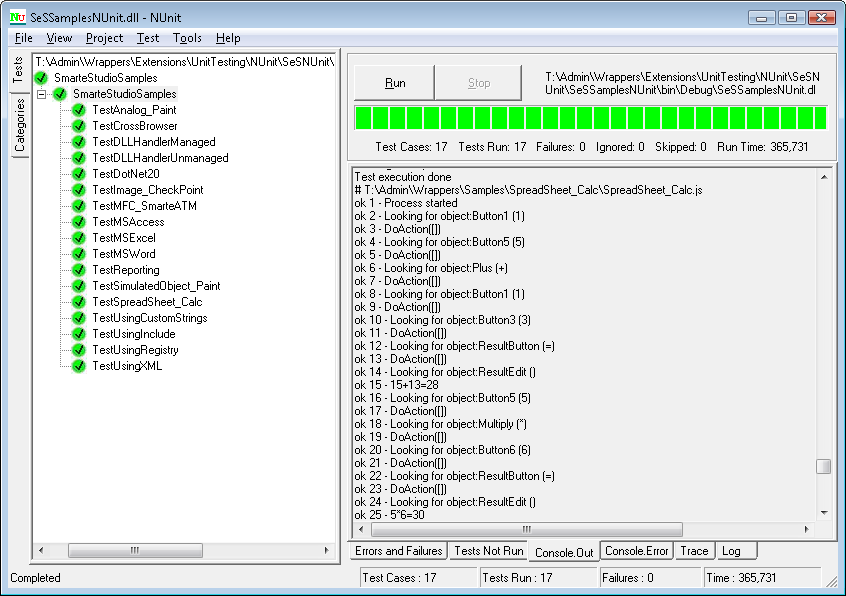
Tree Display
The left part of the window displays a test tree, which contains the tests for the current NUnit project.
From this tree, you can easily determine the test status. Successful tests are colored green and display a check mark. If any tests fail, they are marked red with an 'X' symbol.
Progress Bar
The progress bar shows the test's progress. Its color reflects the "worst" result obtained: red for any failures, yellow if some tests were ignored, and green for overall success.
Result Tabs
The tabs in the right-hand part of the display show the test run results. The Errors and Failures tab displays the error message and stack trace for both unexpected exceptions and assertion failures. The Tests Not Run tab provides a list of all tests that were selected for execution but were not run, along with the reason. The Console.Out, Console.Error, and Trace Output tabs display text output from the tests.
Visual Studio Templates
Templates are available to help you create tests in Visual Studio. To install them, run the installer file:
1 | |
and follow the installation process.
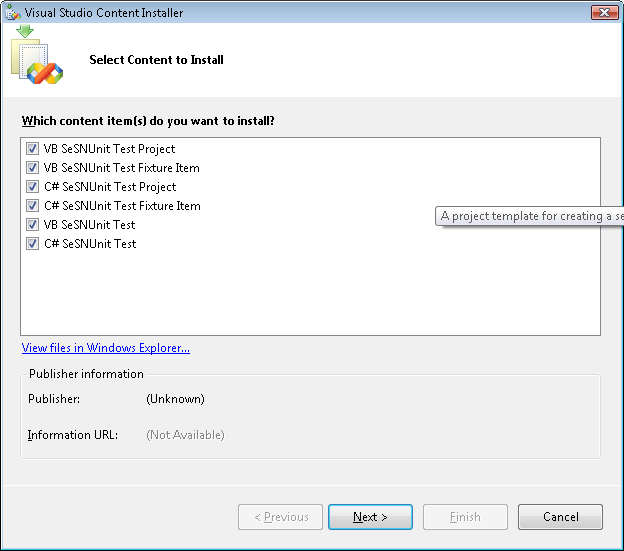
This will add the code snippets and project templates described below.
Creating SeSNUnit test
You might want to write your own SeSNUnit test. We provide a special template to help you do this. In this section, we'll explain how to use it.
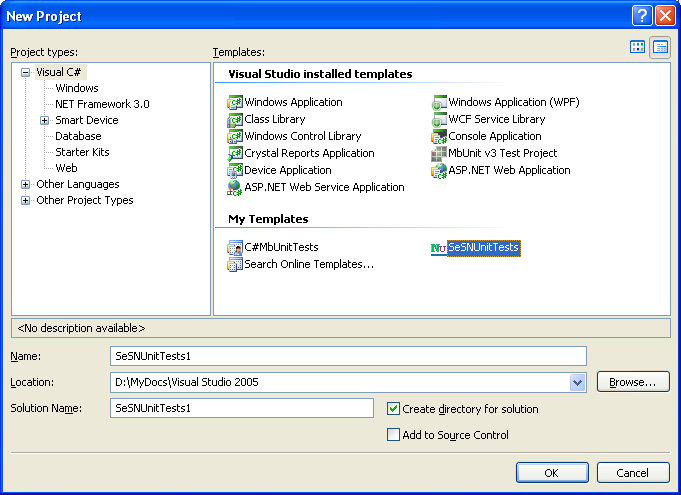
The only thing you need to do is create an SeSNUnitTests type project. To do this, open VS2005, click Project... on the Start Page (to the right of Create:), and in the window that opens, select SeSNUnitTests from the My Templates section. You can change the name of the DLL if desired; by default, it is SeSNUnitTests1:
In the created project, open the Fixture1.cs file. All necessary references are already added:
using System;
using System.Collections.Generic;
using System.Text;
using System.Diagnostics;
using NUnit.Framework;
using SeSNUnit;
The file also contains the Fixture1 class with the [TestFixture] attribute:
[TestFixture]
public class Fixture1
{
    ...
}
This attribute marks a class that contains tests and, optionally, setup or teardown methods.
There are a few restrictions on classes used as test fixtures:
- It must be a publicly exported type.
- It must not be abstract.
- It must have a default constructor.
- It must have no more than one of each of the following method types:
SetUp,TearDown,TestFixtureSetUp, andTestFixtureTearDown.
If any of these restrictions are violated, the class will be shown as a non-runnable test fixture and will turn yellow in the NUnit GUI if you attempt to run it.
Additionally, it is advisable that the constructor not have any side effects, as NUnit may construct the object multiple times during a session.
Within the class, we have SetUp() and TearDown() methods, plus one test method:
[SetUp()]
public void SetUp()
{
    //TODO - Setup your test objects here
}

[TearDown()]
public void TearDown()
{
    //TODO - Tidy up your test objects here
}

[SeSNUnitTest(/*Insert path to .sstest file which must be run.*/)]
public void TestSeS()
{
    int exitCode = SeSNUnitHelper.TestExecute();
    Assert.AreEqual(0, exitCode);
}
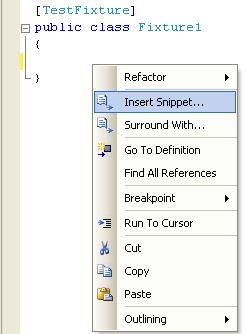
You now also have a snippet that allows you to easily add the TestSeS method with the [SeSNUnitTest(@"<path to .sstest>")] attribute. Right-click within the class body and, from the context menu that opens, select Insert Snippet…:
From there, select My Code Snippets (if your snippets are in the My Code Snippets folder; otherwise, select the appropriate folder), and then SeSNUnitTest:
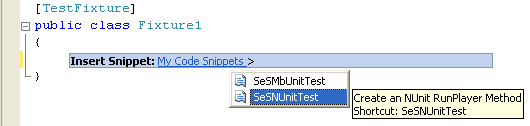
This code will be added:
[SeSNUnitTest(/*Insert path to .sstest file which must be run.*/)]
public void TestSeS()
{
    int exitCode = SeSNUnitHelper.TestExecute();
    Assert.AreEqual(0, exitCode);
}
You just need to add the path of the .sstest file to the SeSNUnitTest attribute. If you add code via the snippet in a standard SeSNUnit Test project, you will have two TestSeS methods, so remember to change the name of one of them.