Create New Test Dialog
Purpose
The Create New Test Dialog allows you to create a new Rapise test case, testing framework, or standalone test. You can choose to connect to Spira and store the new test in the central test management system, or you can save the test locally.
If the test is intended to be the root of a larger test framework, it is recommended to refer to KB 371 for further guidance.
Framework Mode
Starting a New Testing Framework
Go to File > Create New > Test Automation Framework to create a new testing framework.
Adding a Test Case to a Testing Framework
Refer to the section on Creating a New Test Case.
Single Test Mode
In certain situations, such as quickly checking something or conducting proof of concept (POC) experiments, individual tests are often required. If your current test falls into this category, follow these steps to create a new test:
Select File > Create New > New Test. This will initiate the creation process for a new test, as described below.
(a) Creating in Spira
By default, Rapise will ask you to save the new test into the Spira test management system:
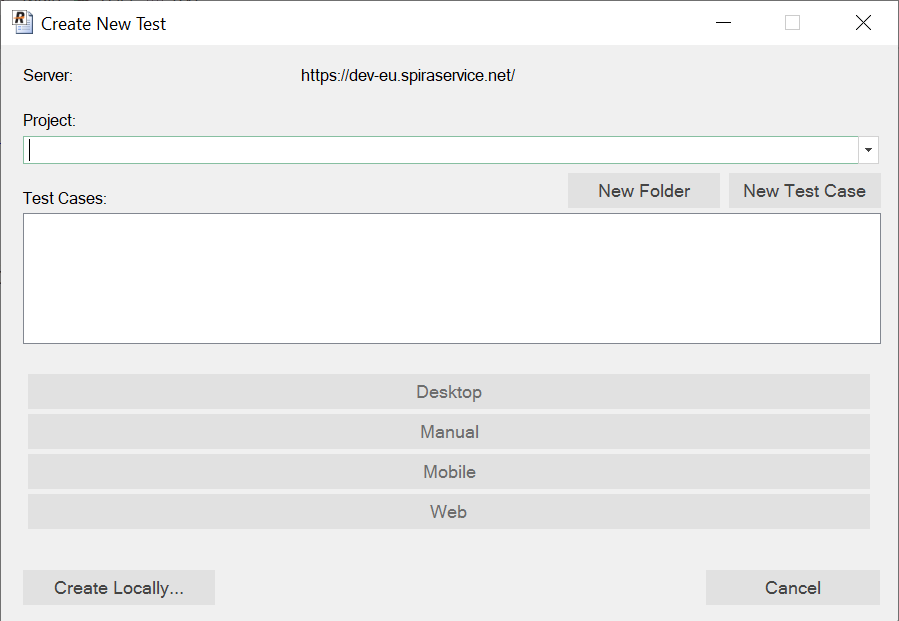
If you do not plan on using Spira for managing your test scripts (or are unable to connect when creating the test), you can click Create Locally... to create the test case locally. You can always save to Spira later.
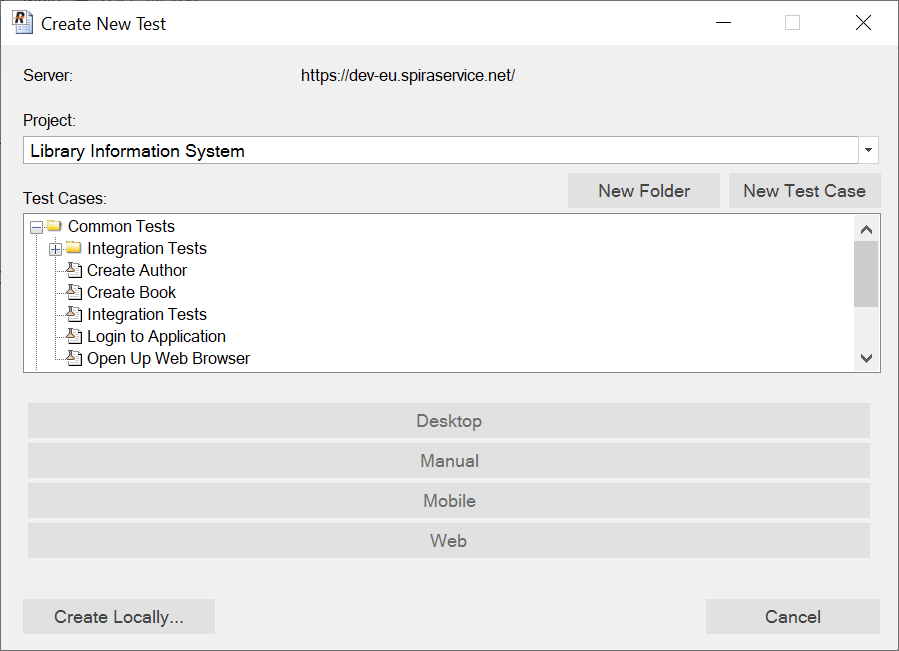
Assuming you have already configured the connection to Spira, you first need to select the project in Spira. This will then display the test case folders and test cases in Spira:
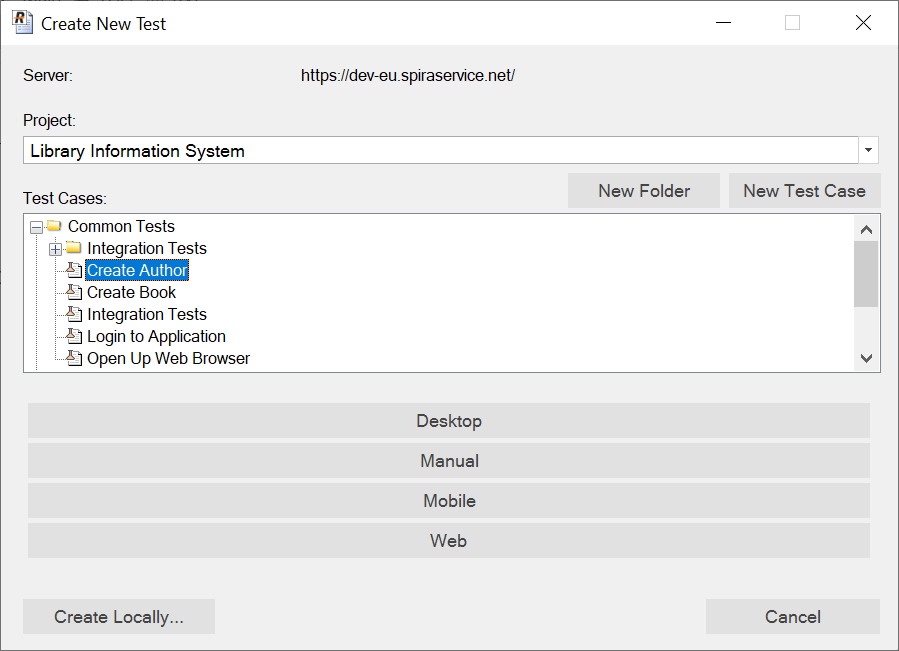
If there is an existing test case in Spira that has not yet been linked to Rapise:
If you want to create a new test case in Spira, simply click New Test Case:
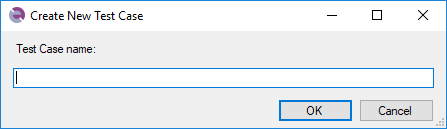
Then enter the name of the new test case and click OK. Once it has been created, you can then select it in the test case list and click Create from Spira.
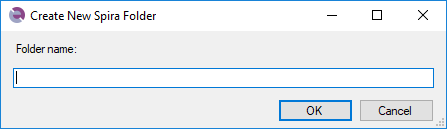
Sometimes there is no existing folder in Spira that makes sense to use. In which case, you can first use the New Folder button to create an empty folder for new test cases:
Regardless of which option you choose, you need to select a test type to proceed.
Test Types
Rapise currently offers four types of tests:
- Basic: Use this type for testing desktop applications or any other testing that does not involve web browsers or mobile devices.
- Manual: Select this type only if you are creating or executing manual tests.
- Mobile: Choose this type if you are testing applications running on mobile devices.
- Web: Opt for this type if you are testing web applications running in a web browser.
Scripting Language
Once you have created the test, Rapise will ask you to choose the scripting language (RVL or JavaScript).
(b) Creating Locally
If you choose the Create Locally option, the following dialog box is displayed:
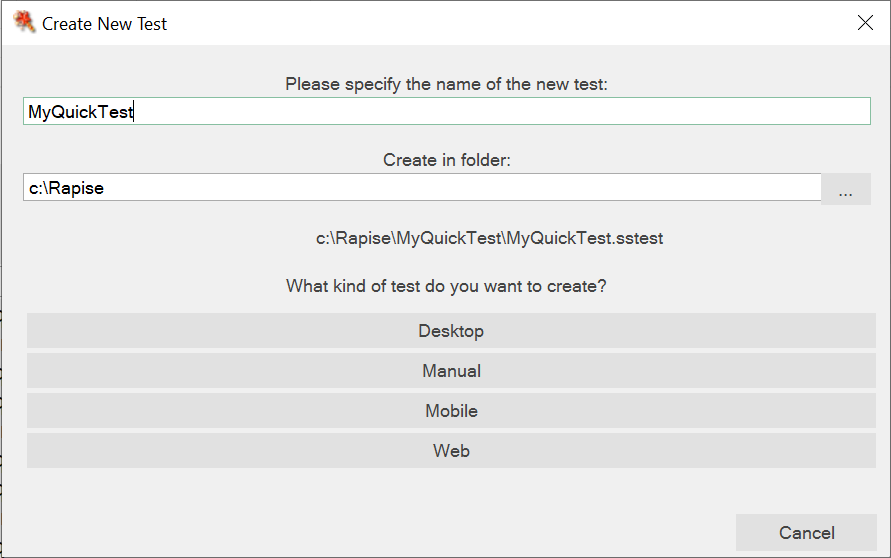
You need to enter the following information:
- Test name - Enter the name of the new test.
- Folder - Choose the folder on your local computer where you want to store the Rapise test.
- Test type - Rapise currently offers four test types:
- Basic - Use this for testing desktop applications or other testing not involving web browsers or mobile devices.
- Manual - Select this only if you will be creating or executing manual tests.
- Mobile - Select this if you will be testing applications running on mobile devices.
- Web - Select this if you will be testing web applications running in a web browser.
Once you select the test type, Rapise will ask you to choose the scripting language (RVL or JavaScript). Once you have chosen the scripting language, the new test will be created and saved locally.