Recording Activity Dialog
Purpose
The Recording Activity Dialog is used for Recording, analog recording (absolute and relative), Object Learning, and creating Simulated Objects.
How to Open
This dialog opens slightly differently depending on the type of test being recorded:
-
Web Testing - When you click the Record / Learn button in the Test ribbon, this dialog appears.
-
Mobile Testing - When you click the Record / Learn button in the Test ribbon, this dialog appears.
-
Other Testing - After selecting the application to be recorded in the Select an Application to Record dialog, this dialog appears.
Advanced Mode vs. Standard Mode
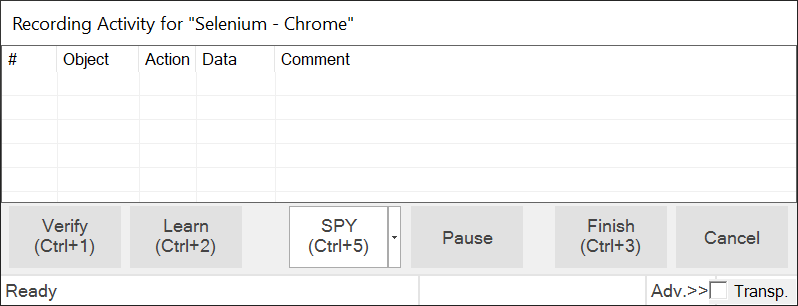
When you first open the dialog, it appears in Standard mode:
This mode shows the most widely used options and is usually sufficient for most recording needs.
However, if you need to perform analog recording or want more control over the type of object being recorded, click the Adv.>> link to switch to Advanced mode:
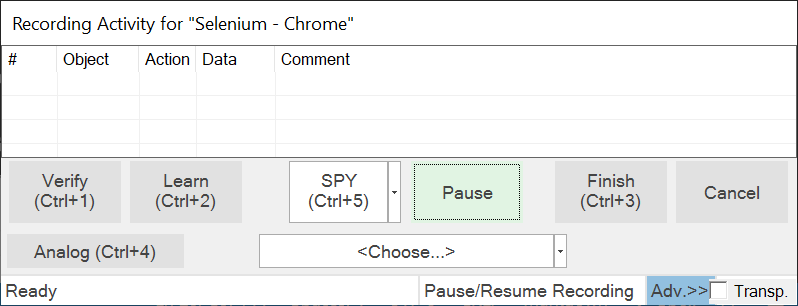
Clicking the Advanced link switches it back to Standard mode.
The Grid
As you interact with the AUT (A**pplication **U**nder **T**est), your actions are recorded in the grid of the **Recording Activity dialog. The following screenshot shows the Recording Activity dialog after two interactions with www.google.com: (1) Inflectra was first entered into the query text box, and (2) the Google Search button was then pressed.

Context Menu
If you right-click in the grid, a context menu with three options appears:
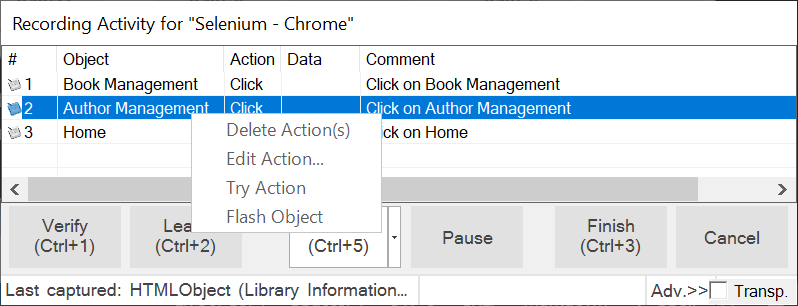
- Delete Action removes the selected row.
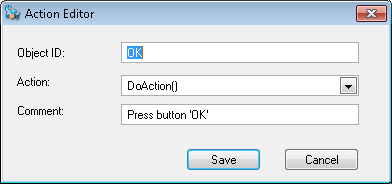
- Edit Action opens the Action Editor Dialog, which can also be opened by double-clicking a grid entry.
- Press Try Action, and Rapise executes the action.
Standard Mode Features

The following options are available in the dialog in both modes:
-
Verify Ctrl+1 - Press to open the Verify Object Properties dialog.
-
Learn Ctrl+2 - Use this to learn an object. Place the mouse cursor over the object you wish to learn. It should become highlighted with a purple box. Press Ctrl+2 while the object is highlighted. You will see a line added to the Recording Activity dialog, signifying that the object has been learned.
-
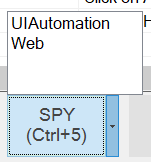
SPY Ctrl+5 - The Spy Button opens the Object Spy dialog. The Object Spy dialog allows you to view the state of the objects in your program. Viewing object state is called Object Spying. The Object Spy dialog is described here. You can also use the SPY button to learn an object that is not visible or is covered by another object.
If you are performing cross-application recording, you may need a different type of Spy. Here, you can switch between available Spy modes:
-
Pause - The Pause Button temporarily stops Recording. Any interaction you perform with the AUT is ignored. When you press the Pause Button, the title of the button changes to Resume. Press the Resume button to continue recording.
-
Finish Ctrl+3 - The Finish button ends the Recording session. The dialog is closed, and the information collected during Recording is used to create a script. The script is then displayed.
-
Cancel - The Cancel button stops Recording, closes the dialog, and discards any actions recorded or objects learned during the Recording session.
Advanced Mode Features
The following additional features are available in Advanced mode:
-
Analog Ctrl+4 - The Analog button begins Analog Recording. Analog Recording tracks mouse movements, keyboard inputs, and clicks. To end Analog Recording, press Ctrl+Break
-
Simulated Drop-Down Menu - An object can be learned if it matches a rule specified in the Recording/Learning libraries available. The drop-down menu lists the possible rules for learning objects in the current application:
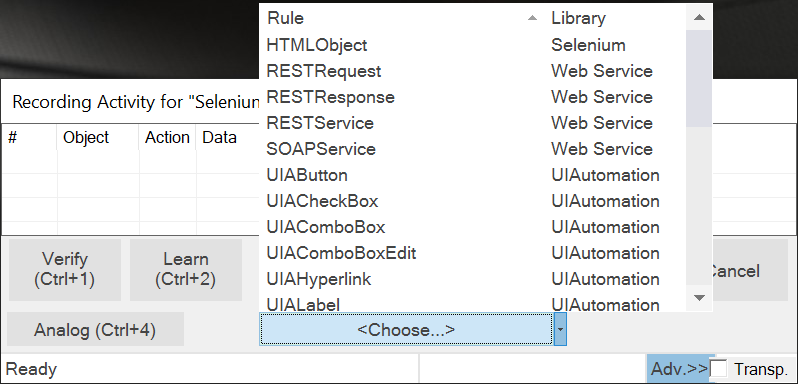
If you cannot learn an object with one library rule, try another in the list. Create a Simulated Object only if other, more flexible alternatives have been exhausted.
To learn an object using a specific library
-
Double-click a rule in the drop-down list. The button text changes to the text you selected.
-
Press the button.
-
Select an object on the screen and make sure it is highlighted with a rectangle.
-
Press Ctrl+2 to learn the object.
Transparent Option
While the Recording Activity (RA) dialog is open, it is always on top. The Transparent checkbox makes the RA dialog transparent so that you can interact with objects behind it. The image below illustrates the difference:
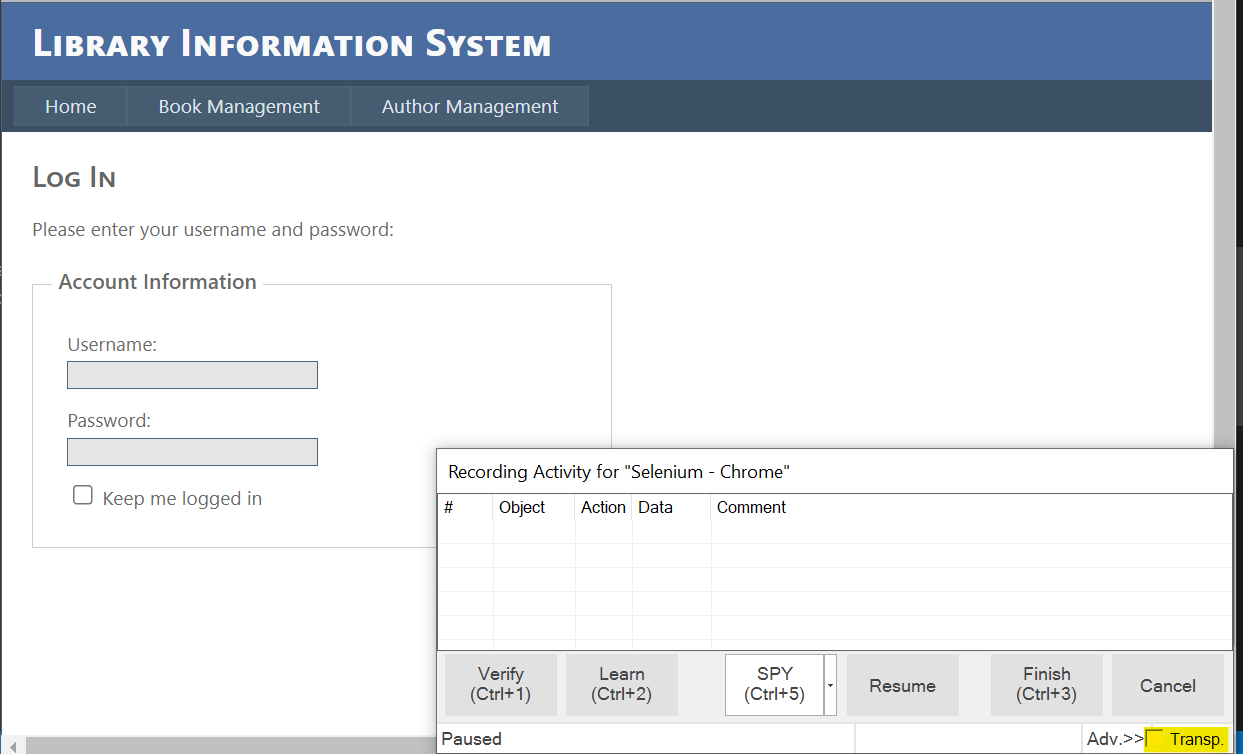
When you click the Transparent option, it looks like this:
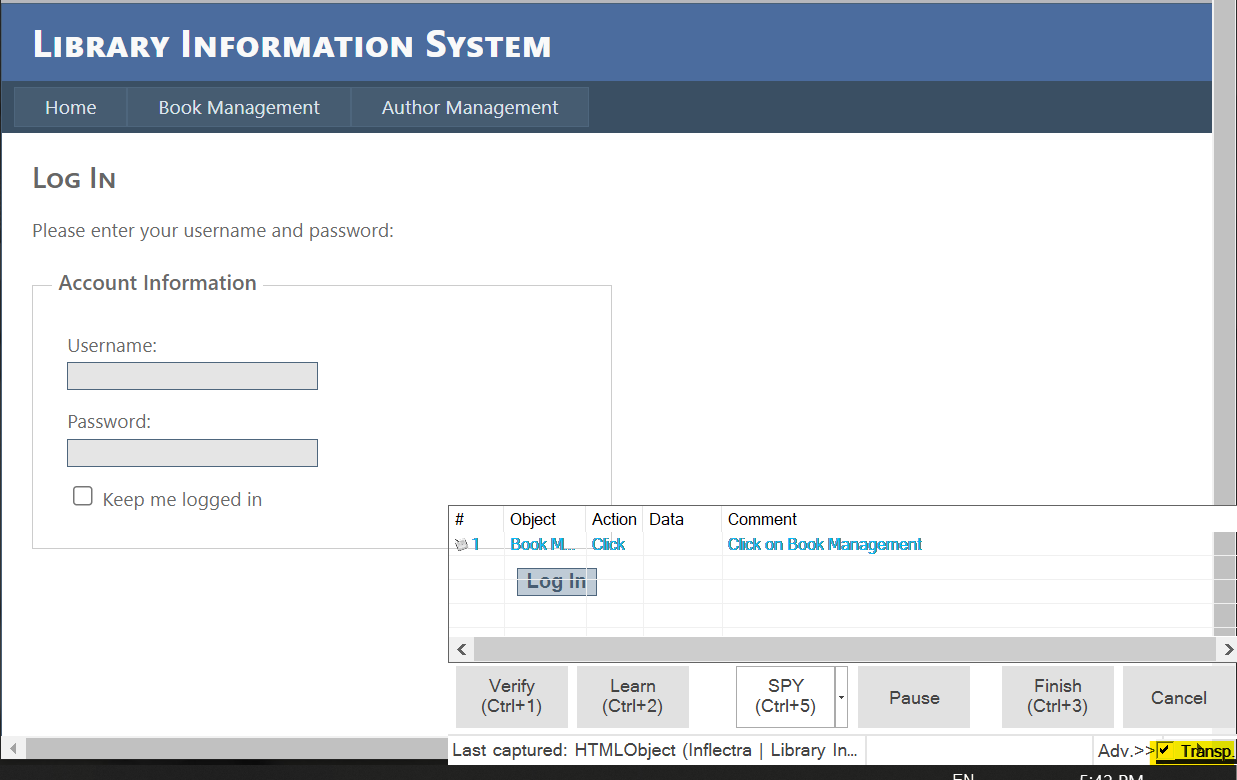
The main advantage of this mode is that you can click in the area where the RA dialog is displayed, and the clicks will be sent through to the AUT.