Setting Up Selenium
This section describes the process for setting up Rapise to work with Selenium. Since Rapise is a Windows® application, you can use a single computer running Rapise to test with the following web browsers:
- Google Chrome
- Microsoft Edge
- Internet Explorer
- Mozilla Firefox
However, because Safari only runs on Apple Mac computers, testing with Apple Safari requires two computers: a Mac running Safari and a PC running Rapise.

Configuring Selenium on a PC
Once Rapise is installed on your local computer, you need to perform the following steps to configure each web browser for use with Selenium and Rapise:
Rapise 7.3+
The process of configuring Rapise for interaction with browsers via Selenium WebDriver is now fully automatic.
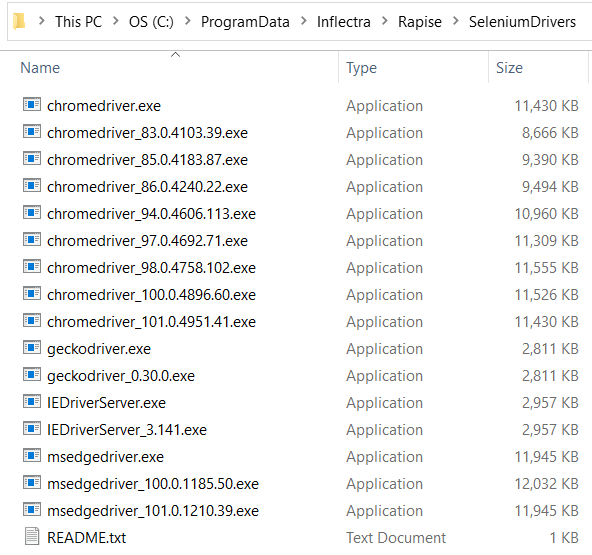
Rapise downloads WebDriver executables (chromedriver.exe, geckodriver.exe, etc.) when needed. It automatically detects the version of the required driver executable for both standalone and embedded browsers (e.g., Chrome in Microsoft Teams, Skype, Microsoft Unified Service Desk, etc.). Each downloaded driver executable is saved with version information in its name. Rapise automatically switches executables based on the executed test.
Here is an example of the
c:\ProgramData\Inflectra\Rapise\SeleniumDrivers
folder on a machine with Rapise:
Rapise 7.2
This method is applicable to all browsers except Safari.
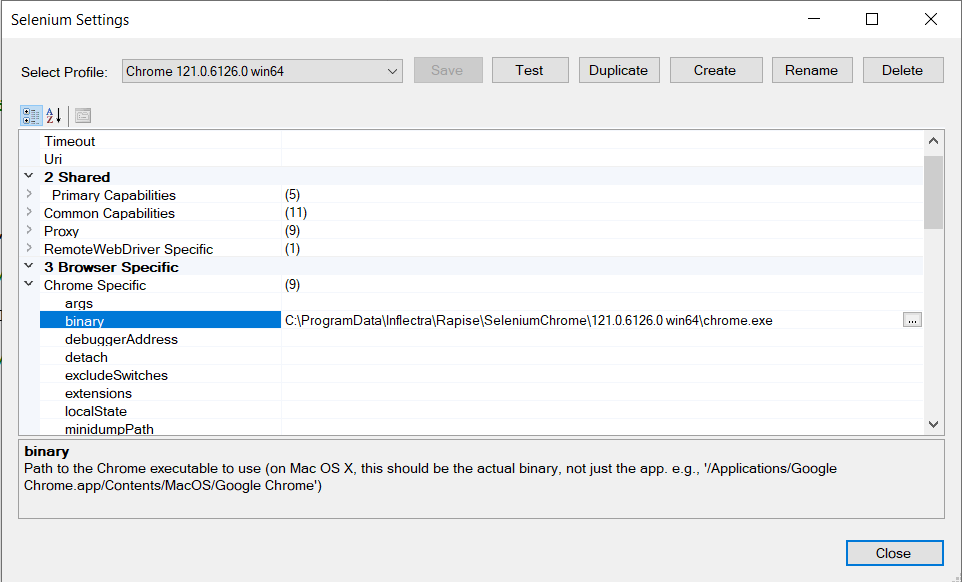
- Open Selenium Settings Dialog
- Select the desired profile.
- Configure profile settings.
- Press the
Testbutton on the toolbar.
If the Selenium driver for the selected browser is not yet installed or is not compatible with the current version of the browser, Rapise will then prompt you. If you answer Yes, Rapise will download the driver executable and place it into
c:\ProgramData\Inflectra\Rapise\SeleniumDrivers
This is the default folder where Rapise searches for Selenium drivers.
To run tests that use Selenium profiles on machines without downloaded Selenium drivers, you can add the following into TestInit function:
WebDriver.DownloadDriver();
See Also
Legacy
Chrome
To use Selenium with Google Chrome, you will need to download the latest version of ChromeDriver:
http://chromedriver.storage.googleapis.com/index.html
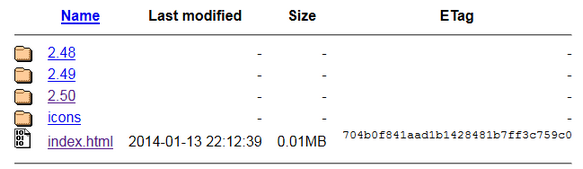
At the time of writing, the list of versions was:

Clicking the folder for the latest version displays the various files available for download:
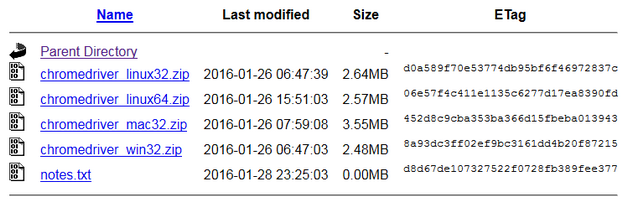
Download chromedriver_win32.zip to your local PC.
The chromedriver.exe file inside the zip archive needs to be copied into the C:\Program Files (x86)\Inflectra\Rapise\Bin folder (or your Rapise installation directory).
Firefox
To use Selenium with Mozilla Firefox, download the latest version of GeckoDriver:
https://github.com/mozilla/geckodriver/releases
Download geckodriver-vx.xx.x-win32.zip to your local PC.

The geckodriver.exe file inside the zip archive needs to be copied into the C:\Program Files (x86)\Inflectra\Rapise\Bin folder (or your Rapise installation directory).
Microsoft Edge
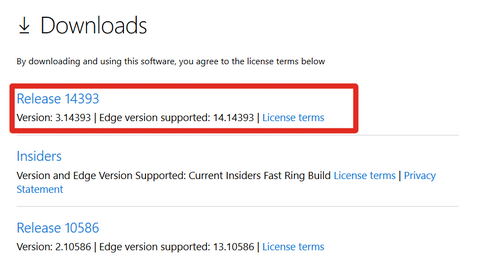
To use Selenium with Microsoft Edge, download the latest version of Edge WebDriver from the Microsoft website:
https://developer.microsoft.com/en-us/microsoft-edge/tools/webdriver/#downloads
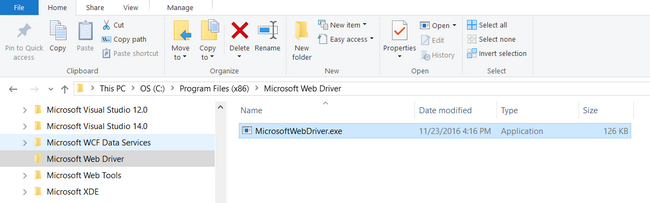
Create a new folder on your local PC, named:
C:\Program Files (x86)\Microsoft Web Driver
Download MicrosoftWebDriver.exe to the local folder you just created:
Internet Explorer
To use Selenium with Internet Explorer, download the latest version of IEDriver:
http://selenium-release.storage.googleapis.com/index.html
At the time of writing, the list of versions was:
Clicking the folder for the latest version displays the various files available for download:
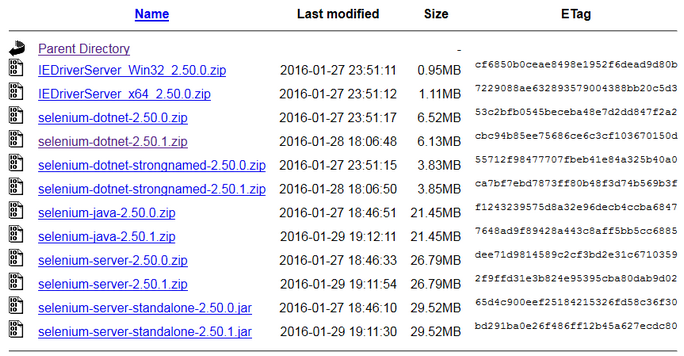
Download IEDriverServer_XXXX_X.X.X.zip to your local PC:
- IEDriverServer_Win32_X.X.X.zip (for 32-bit Internet Explorer)
- IEDriverServer_x64_X.X.X.zip (for 64-bit Internet Explorer)
The IEDriverServer.exe file inside the zip archive needs to be copied into the C:\Program Files (x86)\Inflectra\Rapise\Bin folder (or your Rapise installation directory).
Chrome for Testing
In 2023, Google introduced Chrome for Testing—a new Chrome flavor that specifically targets web app testing and automation use cases. It addresses the problem of auto-update: great for users, painful for developers. In Rapise, we implemented an easy way to manage Chrome for Testing binaries. It allows for downloading Chrome binaries and automatic creation of browser profiles.
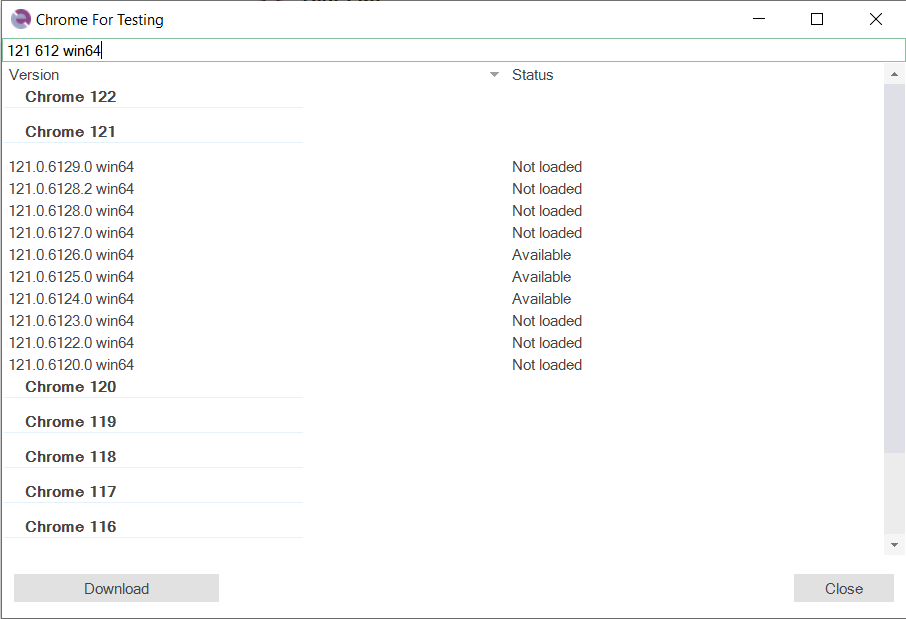
Chrome for Testing Dialog
To open the Chrome for Testing dialog, use the main menu Tools > Chrome for Testing. This will display a list of available Chrome versions.
The list is retrieved from:
https://googlechromelabs.github.io/chrome-for-testing/known-good-versions-with-downloads.json
Filters
You can filter the list by using search tokens separated by spaces; Rapise will search within the text of the Version and Status columns. A space serves as an AND logical operator. Here are a few filter examples:
available- Displays all downloaded Chrome versions.121 win64- Finds all 64-bit versions of Chrome whose version number contains '121'.
Actions
- When a
Not loadedversion is selected, use theDownloadbutton to download the binaries and create a profile. - When an
Availableversion is selected, the button name changes toCreate Profile; use it to create a profile referencing the selected Chrome version.
Binaries Location
Chrome binaries are downloaded to:
c:\ProgramData\Inflectra\Rapise\SeleniumChrome
Updating WebDriver DLLs in Rapise
If the version of WebDriver DLLs shipped with Rapise is not compatible with your browser, you can update the corresponding DLLs. Go to the main Selenium website: http://www.seleniumhq.org/download/ and download C# WebDriver Bindings:
Download Selenium-dotnet-x.x.x.zip from the website. Unzip the archive, then navigate to the net40 subfolder, extract the following two files, and copy them into the C:\Program Files (x86)\Inflectra\Rapise\Bin folder (or your Rapise installation directory):
- WebDriver.dll
- WebDriver.Support.dll
Note: You must close Rapise before copying these files into the Bin folder.
Installing Selenium on a Mac
The primary reason for running Selenium on a Mac is to execute tests against the Safari web browser. While you can also use the Mac to test with Firefox, Opera, and Chrome, we do not recommend this approach, as it adds needless complexity.
Safari
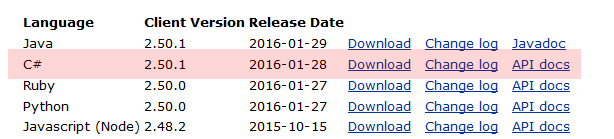
First, download the latest version of the Selenium server for Apple Mac computers:
http://selenium-release.storage.googleapis.com/index.html
At the time of writing, the list of versions was:
Clicking the folder for the latest version displays the various files available for download:
Download selenium-server-standalone-X.XX.X.jar to the Mac.
Run this Java application by double-clicking the downloaded .JAR file in Finder. This will start the Selenium server.
Note: You must have Java (ideally the latest version) installed on the Mac first.
You are now ready to test web applications in Safari. The final step is to tell Rapise where to find that Selenium instance. To do this, open Rapise (on your PC), click Settings > Selenium, and then select the Safari profile:
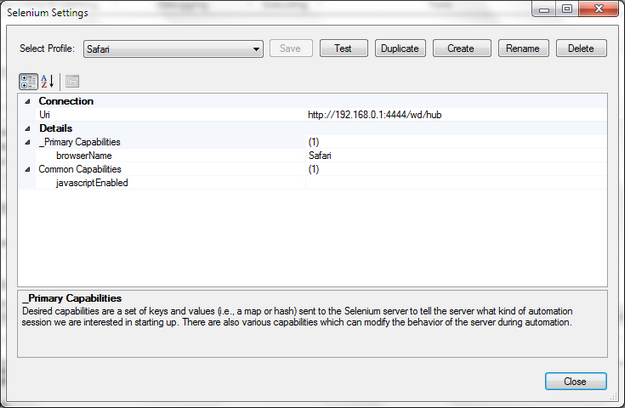
Now, change the Uri field to point to your Mac. The URI format is:
- http://<IP or DNS name of MAC computer>:4444/wd/hub
(for example it could be http://test-mac01.local:4444/wd/hub or http://192.168.0.52:4444/wd/hub)