Toolbar: Spreadsheet Editor
Ribbon Tab: Spreadsheet

Purpose
The Spreadsheet tab lets you edit Microsoft Excel spreadsheet files from within Rapise. This is useful when you need to edit the test data used in data-driven automated testing.
How to Open
The Spreadsheet tab is available whenever an Excel (XLS or XLSX) file is visible in the Content View.
Clipboard

The Clipboard section provides the following options:
-
Paste - Pastes the spreadsheet cells from the clipboard to the current selection.
-
Cut - Cuts the current selection and places it on the clipboard for pasting.
-
Copy - Copies the current selection and places it on the clipboard for pasting.
Font
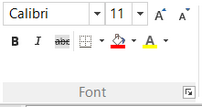
The Font section provides the following options:
-
Font Name - Changes the font typeface used in the selected cells.
-
Font Size - Specifies the font size to use.
-
Increase Font Size - Increases the current font size by 1pt.
-
Decrease Font Size - Decreases the current font size by 1pt.
-
Bold - Makes the selected text bold.
-
Italic - Makes the selected text italic.
-
Strikethrough - Marks the text as deleted (strikethrough).
-
Borders - Changes the borders for the selected cells.
-
Fill Color - Changes the background color of the selected cells.
-
Text Color - Changes the foreground color of the selected cells.
Alignment
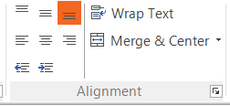
The Alignment section provides the following options:
-
Top Align - Aligns the cell text vertically to the top.
-
Middle Align - Aligns the cell text vertically to the middle.
-
Bottom Align - Aligns the cell text vertically to the bottom.
-
Left Align - Aligns the cell text horizontally to the left.
-
Center Align - This aligns the cell text horizontally to the center.
-
Right Align - This aligns the cell text horizontally to the right.
-
Outdent - Reduces the indentation of the text by one position.
-
Indent - Increases the indentation of the text by one position.
-
Wrap Text - Toggles text wrapping inside the selected cells.
-
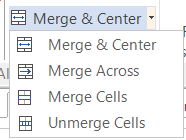
Merge & Center - Provides options to merge and center multiple cells:
Style
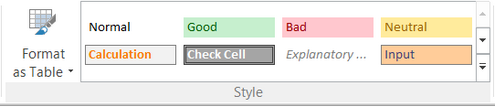
The Style section provides the following options:
-
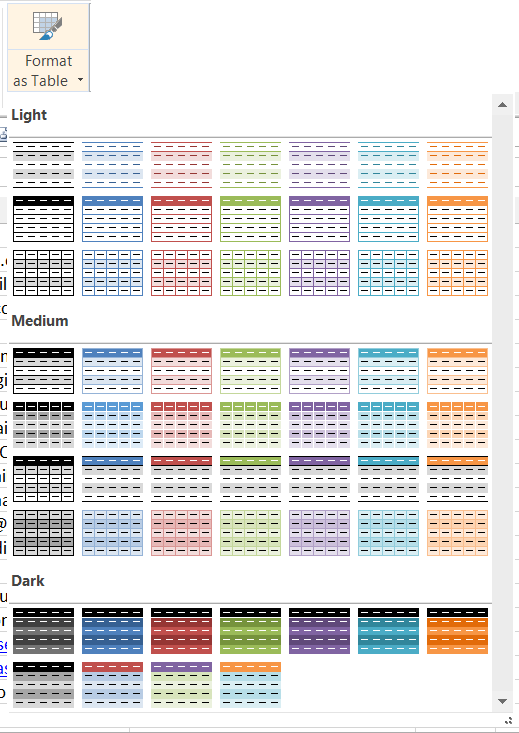
Format as Table - Automatically formats a range of cells as a predefined table style:
-
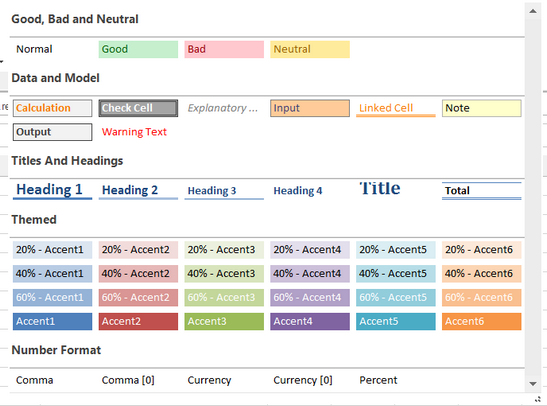
Prebuilt Styles - Displays a list of predefined styles that can be applied to the selected cells:
Cells
The Cells section provides the following options:
-
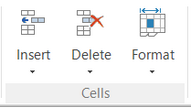
Insert - Inserts new cells, rows, columns, or an entire sheet.
-
Delete - Deletes specific cells, rows, columns, or an entire sheet.
-
Format:
-
Cell Size - Specifies the row height and/or column width.
-
Visibility - Shows/hides specific rows or columns (unlike deletion, this only hides them).
-
Organize Sheets - Renames the sheet.
-
Ribbon Tab: View
Purpose
The View tab lets you change the display of Microsoft Excel spreadsheet files from within Rapise. This is useful when you need to edit the test data used in data-driven automated testing.
How to Open
The View tab is available whenever an Excel (XLS or XLSX) file is visible in the Content View.
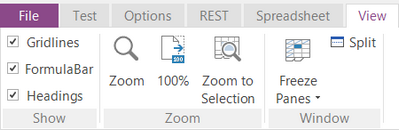
Show
This section controls the display of grid lines, the formula bar, and/or headings in the spreadsheet editor.
Zoom
This section contains the following options:
* Zoom - Changes the display zoom level:
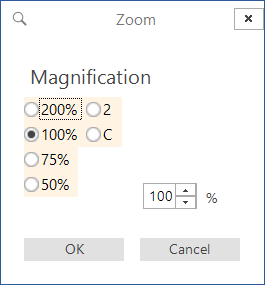
- 100% - Quickly resets the zoom to 100%.
- Zoom to Selection - Auto-zooms to display the current selection.
Window
This section contains the following options:
* Freeze Panes - Freezes specific rows/columns to prevent them from scrolling:
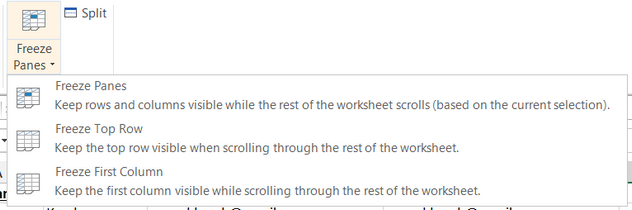
- Split - Splits the display into multiple windows.