Microsoft Dynamics 365 Unified Service Desk
Unified Service Desk (USD) is a hybrid application. It is a Windows desktop application with embedded browser components. Follow this guide to set up a test automation framework for USD.
Hybrid Application
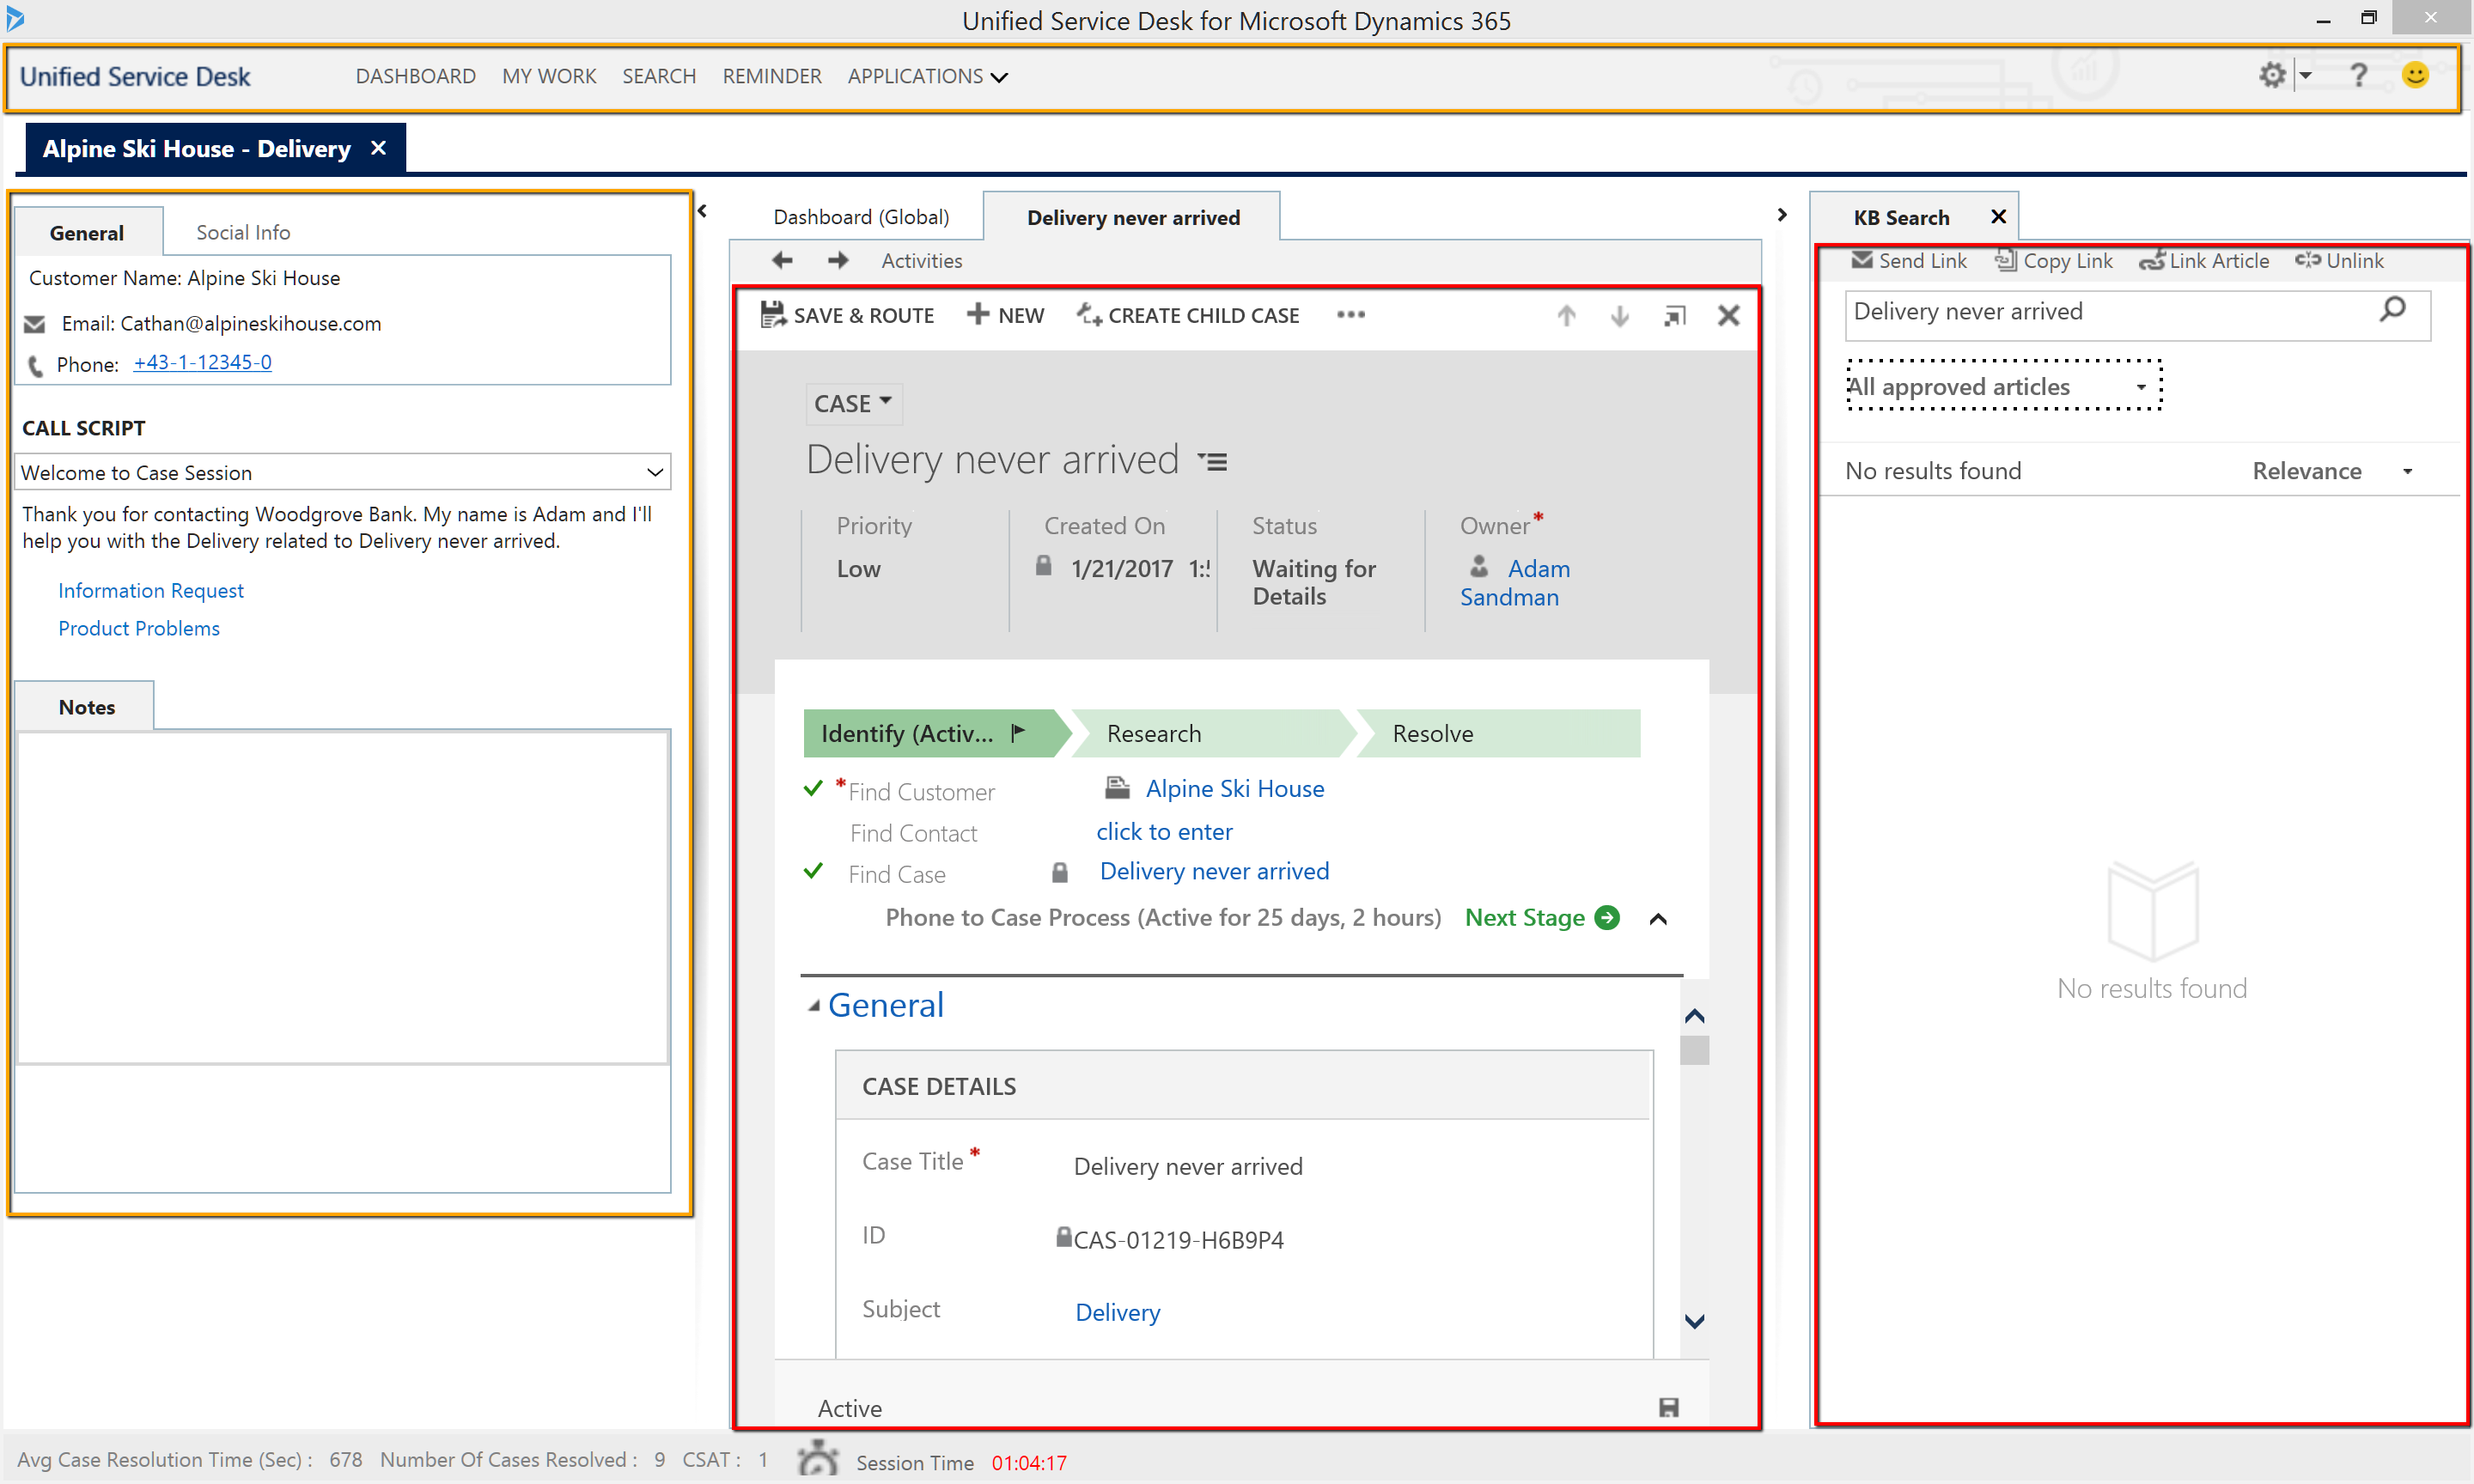
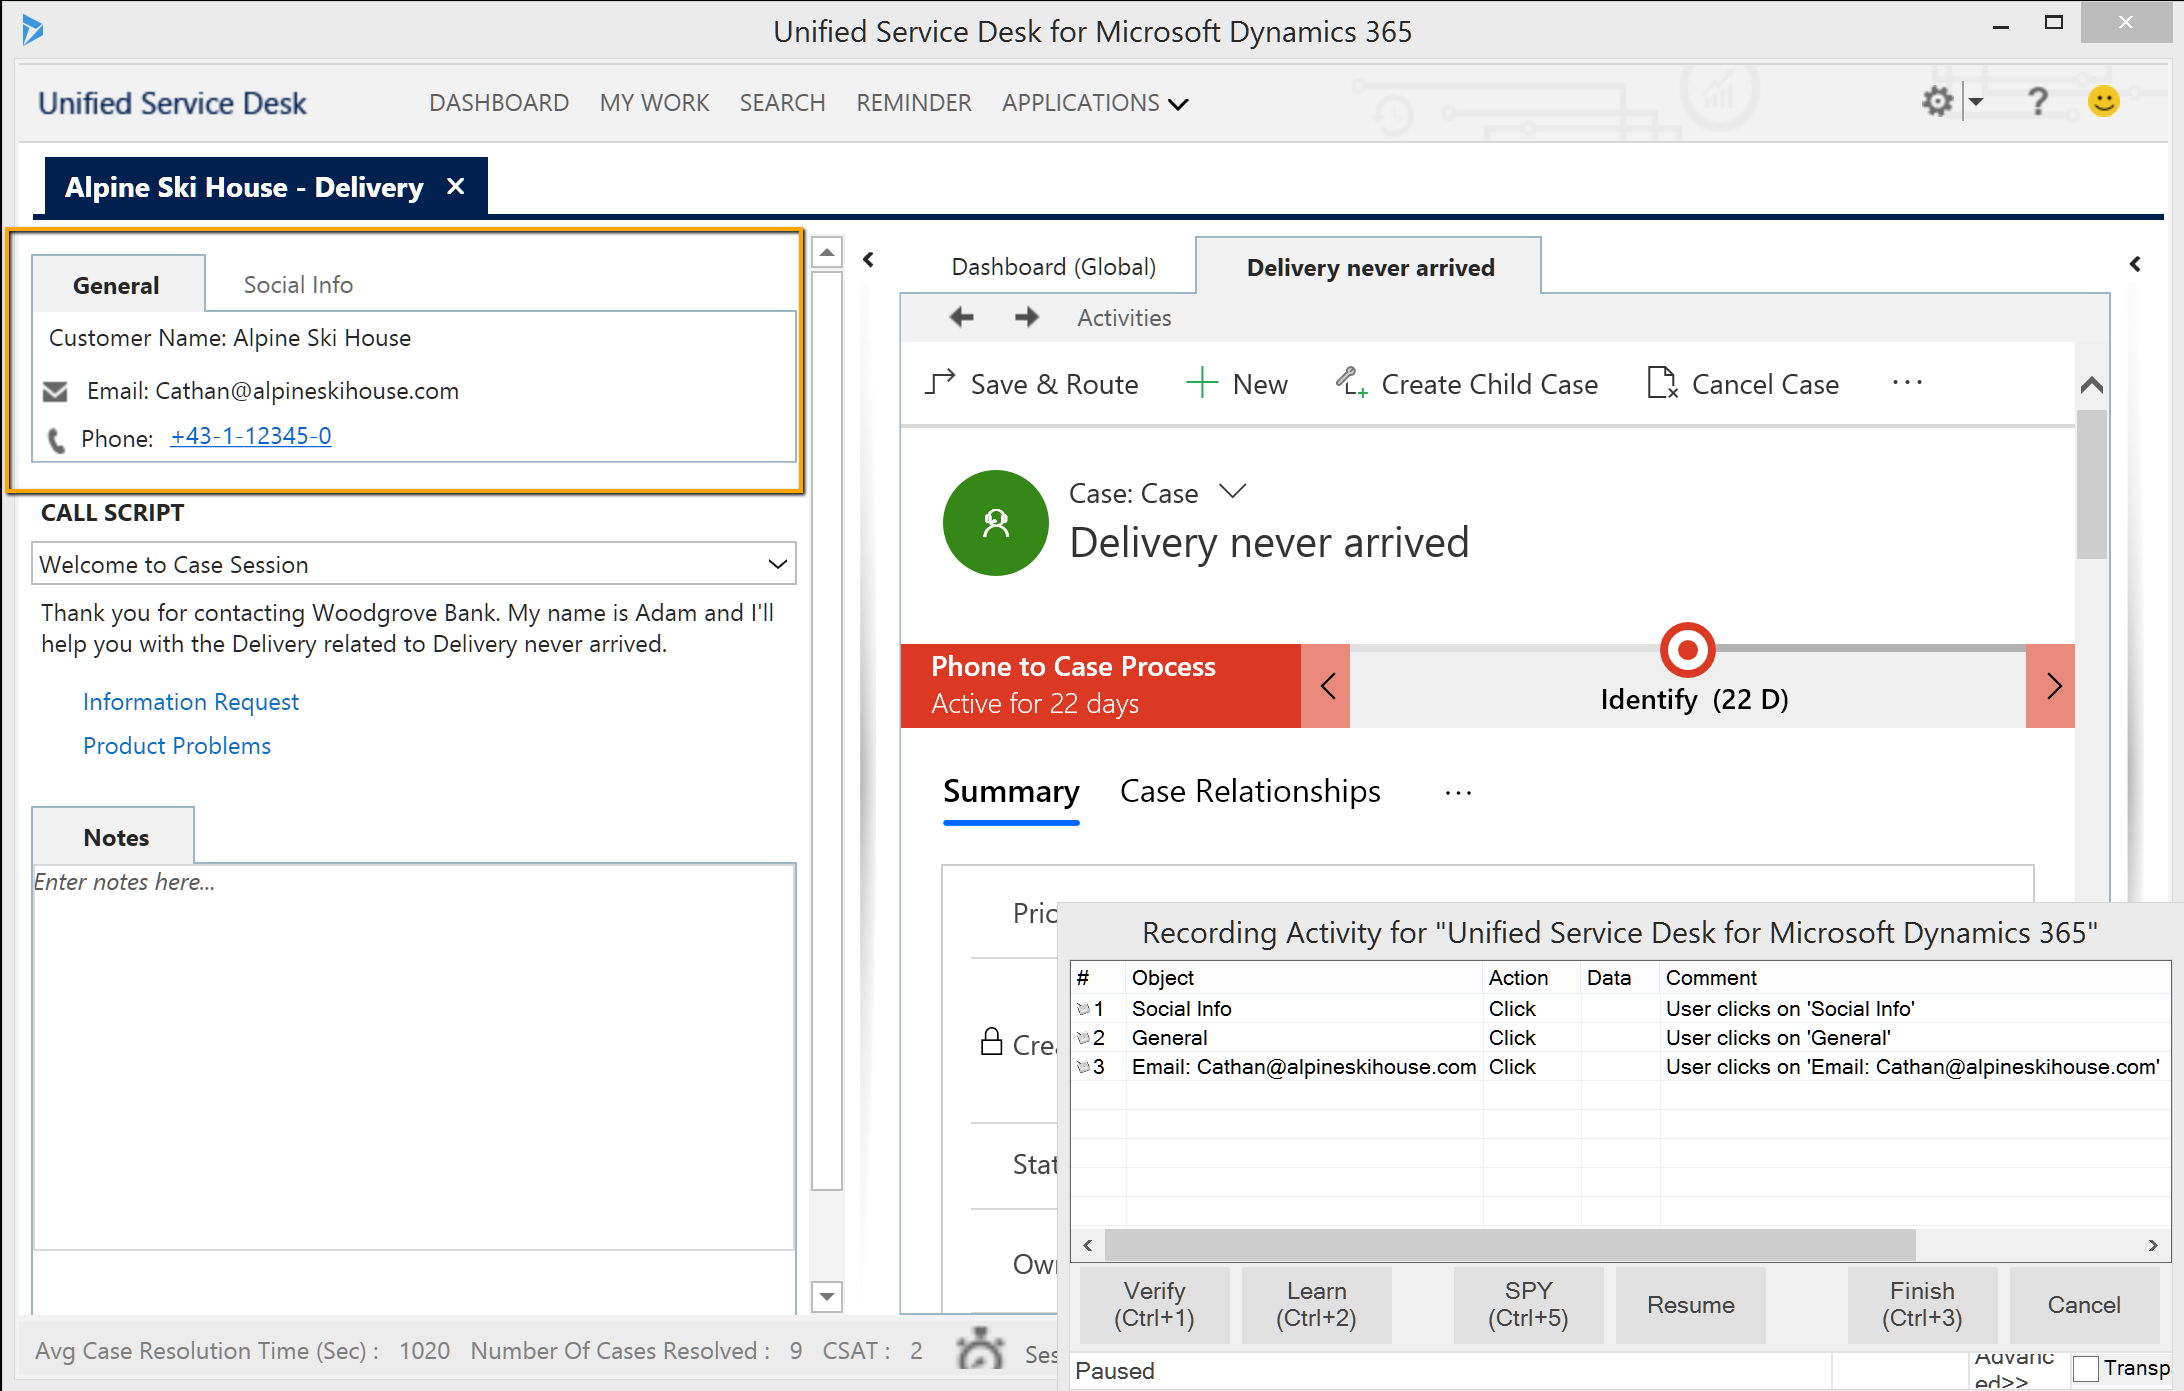
Most panels in USD are web views (highlighted in red), and some parts are pure desktop areas (highlighted in orange). Rapise can interact with web content in USD just as it interacts with pure web applications loaded into browsers. Desktop parts of USD are controlled through the UIAutomation library.
Browser Profile
To interact with web content in USD, a browser profile must be configured. Rapise will use this profile to connect to embedded browser components.
- In the main menu, select
Settings > Browser. - Select the Internet Explorer HTML profile and click Duplicate.
- Specify a name for the new profile: UnifiedServiceDesk.
- Set the Browser Path to
C:\Program Files (x86)\Microsoft Dynamics CRM USD\USD\UnifiedServiceDesk.exe - Set the
Default Click Modeto click. - Save the profile.
Test Framework
Root Test
The suggested approach for building a test framework for USD is to create a root, empty test that will serve as a container for test scenarios and building blocks.
Let's create the USDFramework test. Choose Web methodology, the UnifiedServiceDesk browser profile, and RVL options during the setup process.
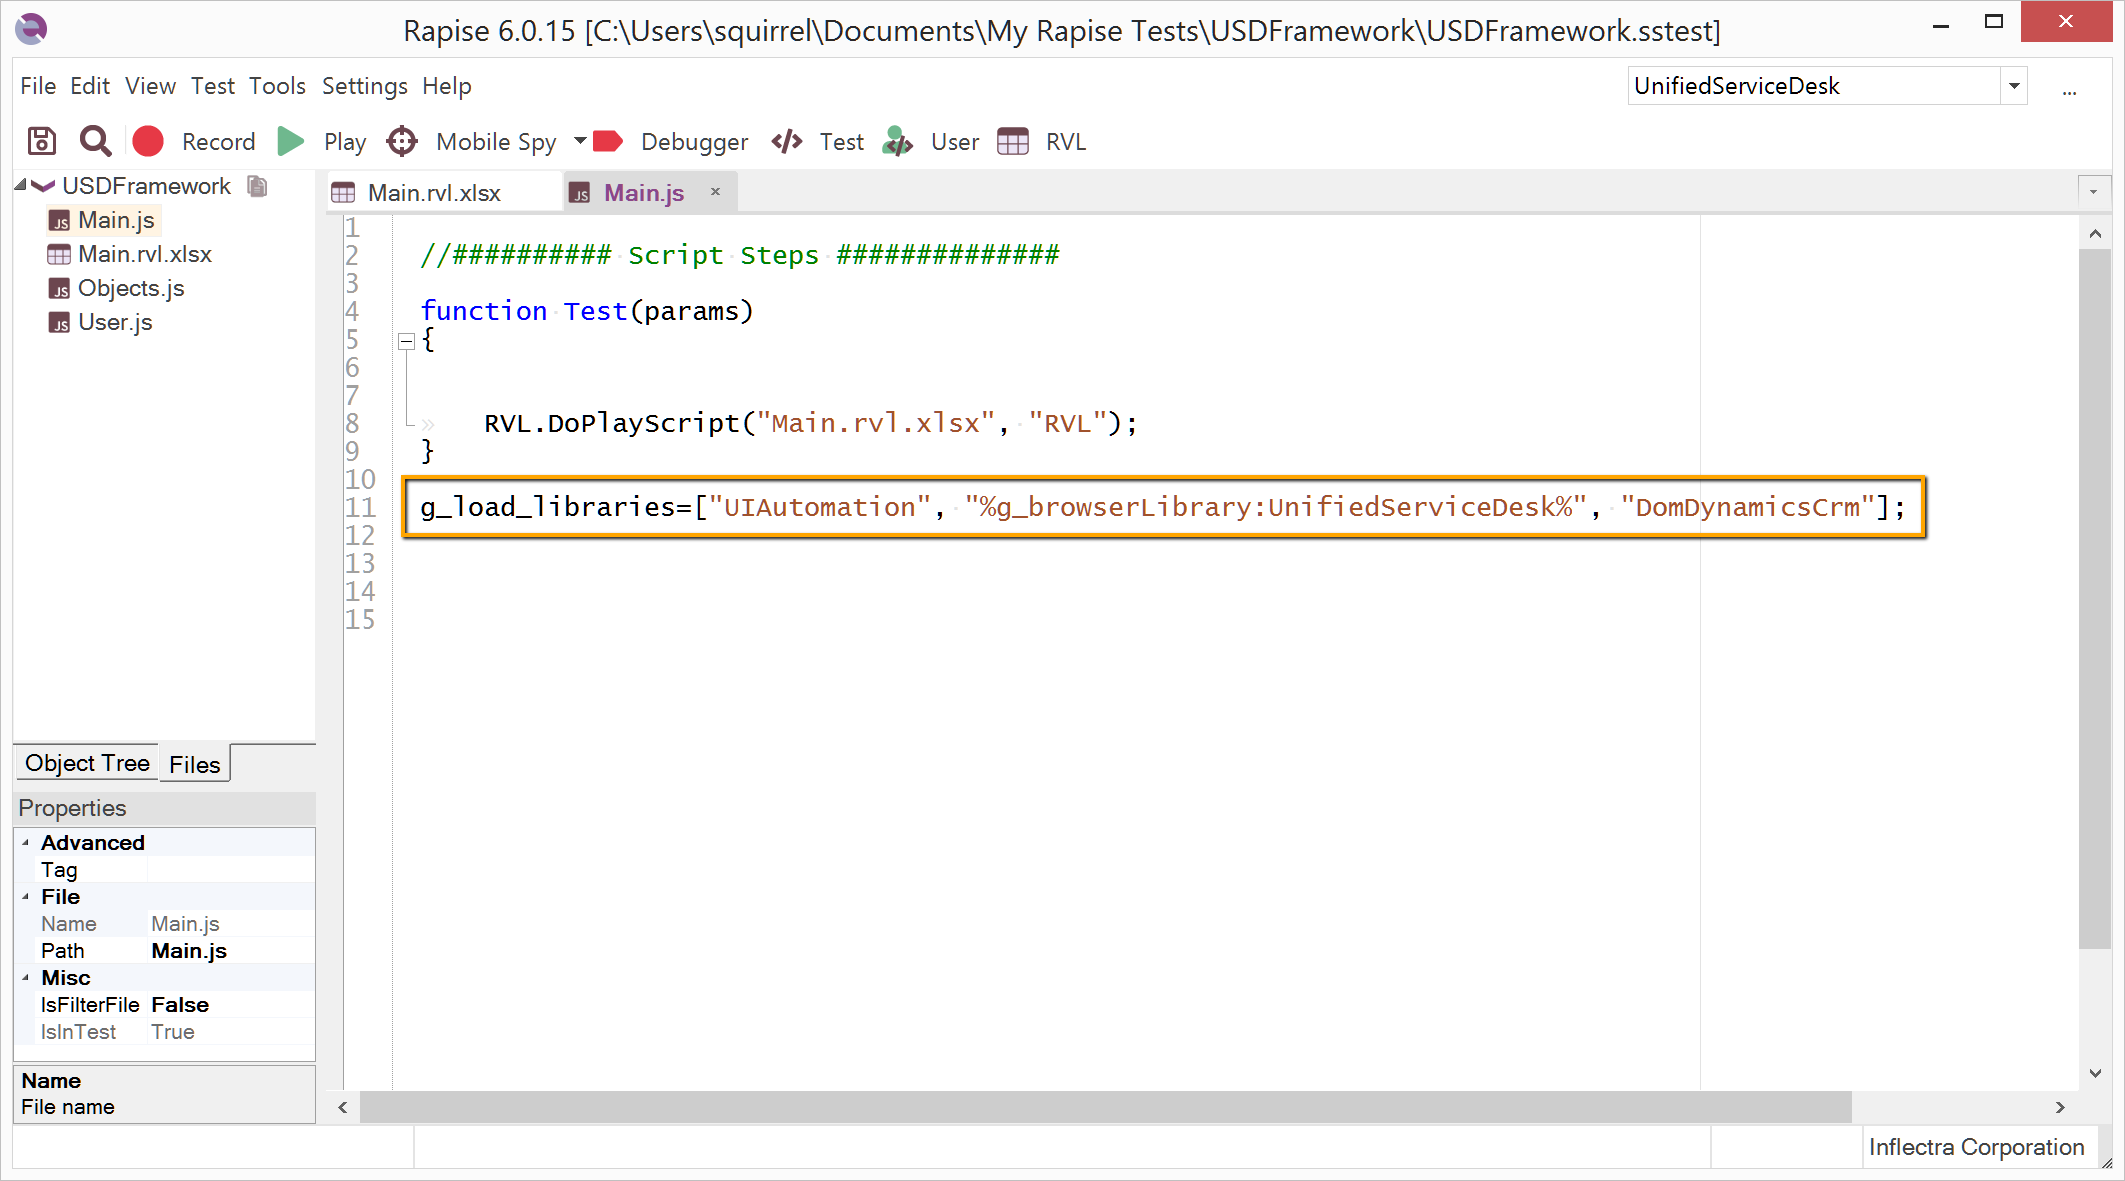
In the test's main file (Main.js), specify the list of libraries to load:
g_load_libraries=["UIAutomation", "Web", "DomDynamicsCrm"];
Browser Automation Sub-Test
To record web content-related actions, create a sub-test inside USDFramework. Let's name it USDDashboard. Choose Web methodology and the UnifiedServiceDesk browser profile during the setup process.
Double-click the USDDashboard test to open it in another instance of Rapise. Append DomDynamicsCrm to the list of loaded libraries.
Also, in USDDashboard's User.js file, insert the following line:
g_webPluginsAutoDetect = false;
You can now record web steps into USDDashboard.
Desktop Automation Sub-Test
To record desktop content-related actions, create a sub-test inside USDFramework. Let's name it USDCallScript. Choose Desktop methodology during the setup process.
Double-click the USDCallScript test to open it in another instance of Rapise. Insert the following snippet into Main.js:
function TestPrepare()
{
    if (g_recording)
    {
        g_UIAutomationWrapper.DeepPointTracking(true);
    }
}
The DeepPointTracking flag fixes a bug in USD's UI Automation tree that prevents automation tools from tracking elements located under the cursor.
![]()
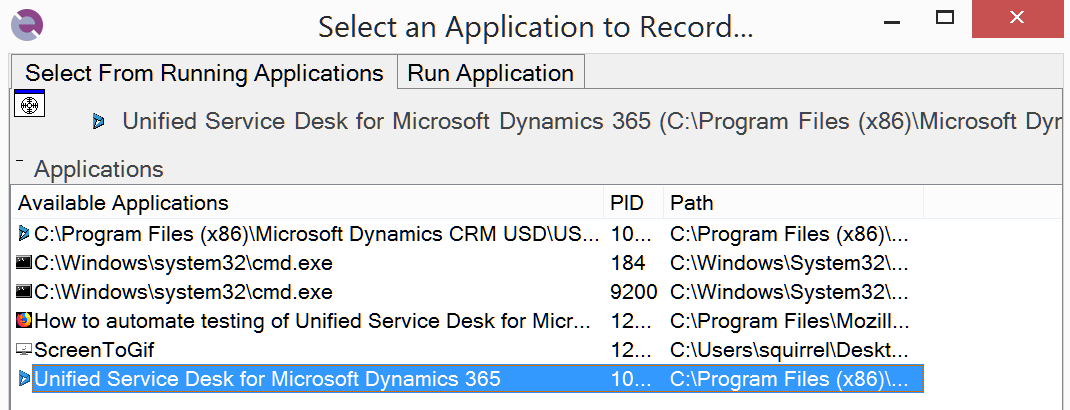
Let's record steps into USDCallScript. After pressing Record, choose Unified Service Desk from the list of applications.
Note: The recording part is missing from the video above because screen capturing software interferes with Rapise's desktop recording.
Here is the test playback.
Assembling Blocks
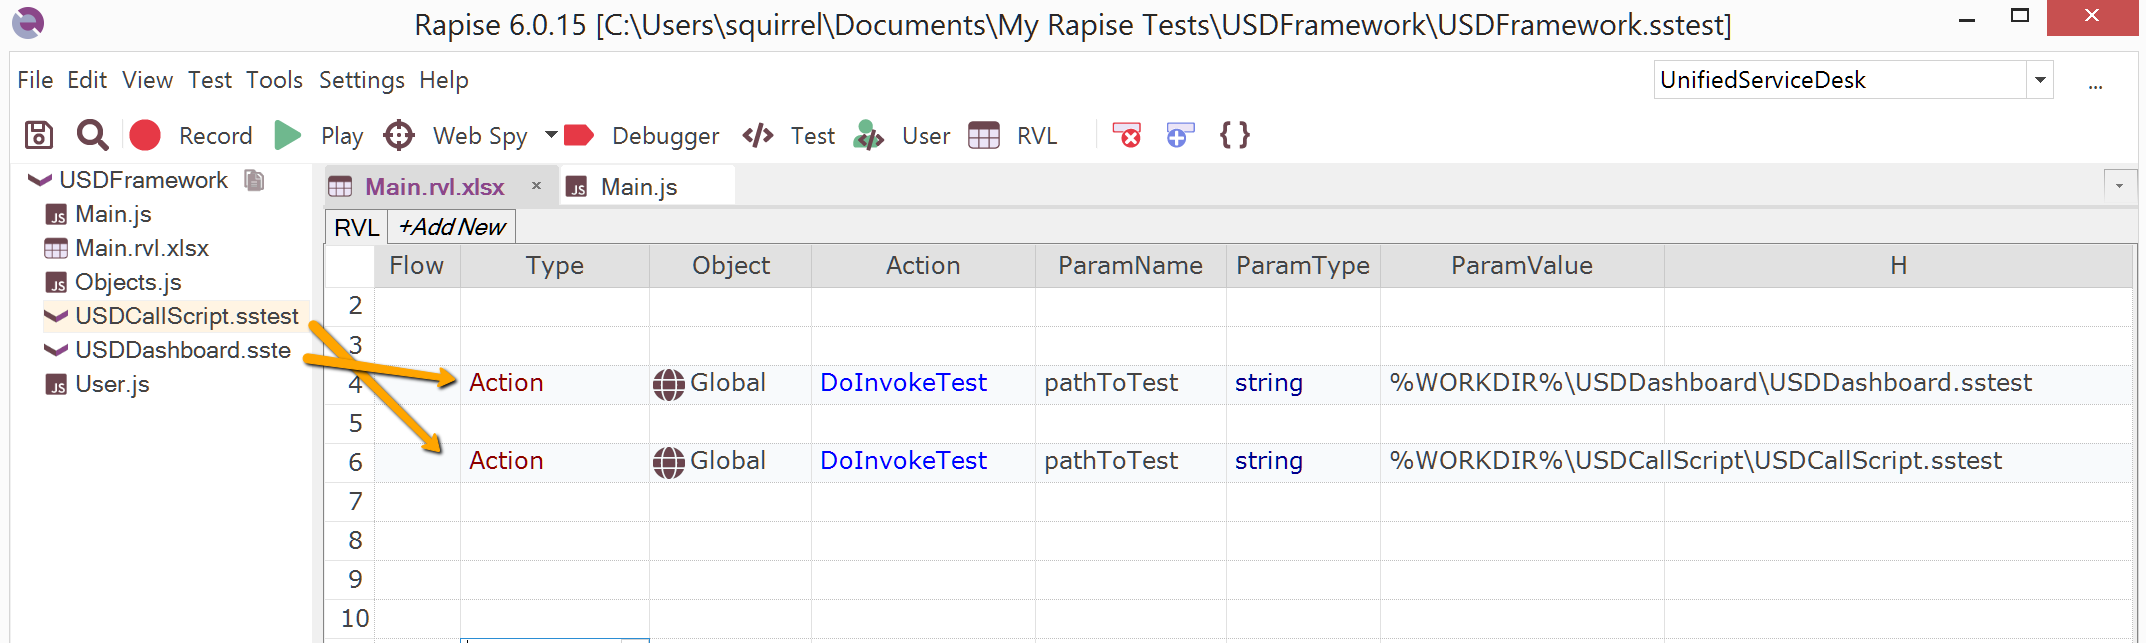
You can now execute USDDashboard and USDCallScript from USDFramework. Open the USDFramework test and drag-and-drop the sub-tests onto the RVL sheet.
The test framework created during this session is available on GitHub.